
Soldering is one of those skills that looks harder than it is. Once you understand the sequence — heat the joint, not the solder — every connection becomes repeatable. This guide walks through the tools, the technique, and the safety rules you need to make your first joint in South Africa.
Whether you are repairing a broken headphone cable, building a simple circuit, or fixing a component on a PCB, the steps below are the same.
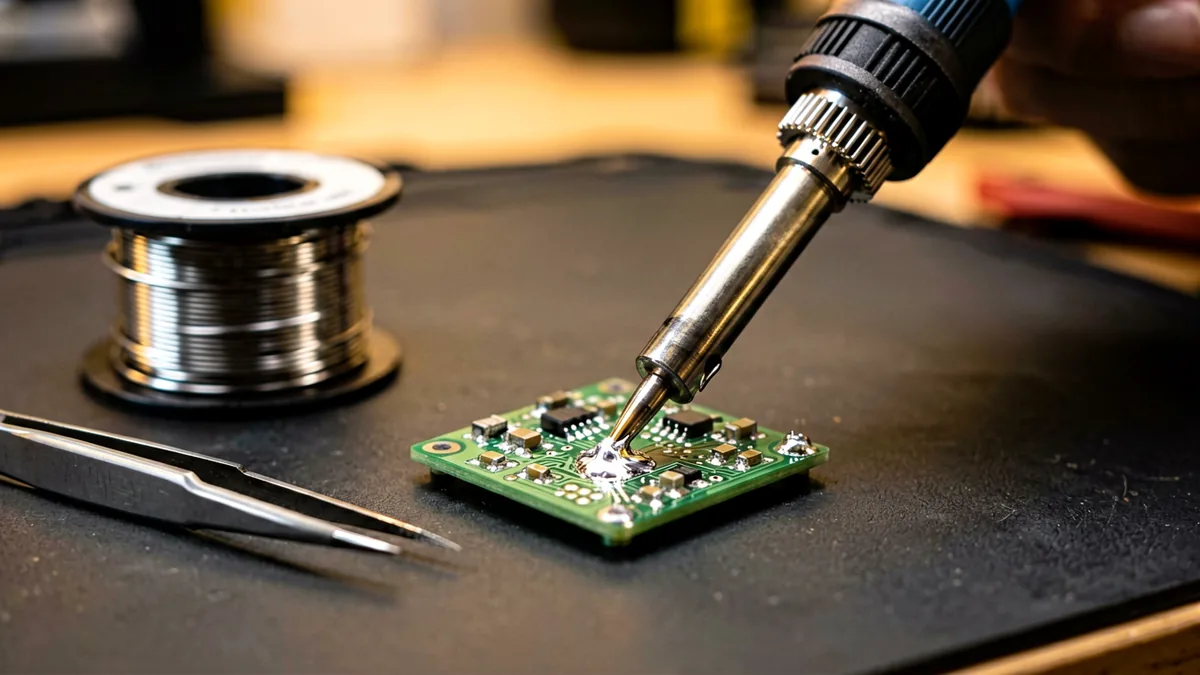
Soldering Iron for Beginners:
Alt: A 220–240V pencil soldering iron with a fine pointed tip resting on a small stand
Prompt: Photorealistic close-up of a soldering iron tip making a shiny silver joint on a small circuit board, a coil of solder wire and a pair of tweezers nearby on a clean dark workbench, warm ambient light, shallow depth of field, no logos, no text
A 40–60 W iron is plenty for most electronics work. If your iron has adjustable temperature, set it to about 350–370°C for lead-free solder or 300–320°C for 60/40 leaded. Keep the tip clean and lightly tinned at all times — a black, oxidised tip will not transfer heat properly.
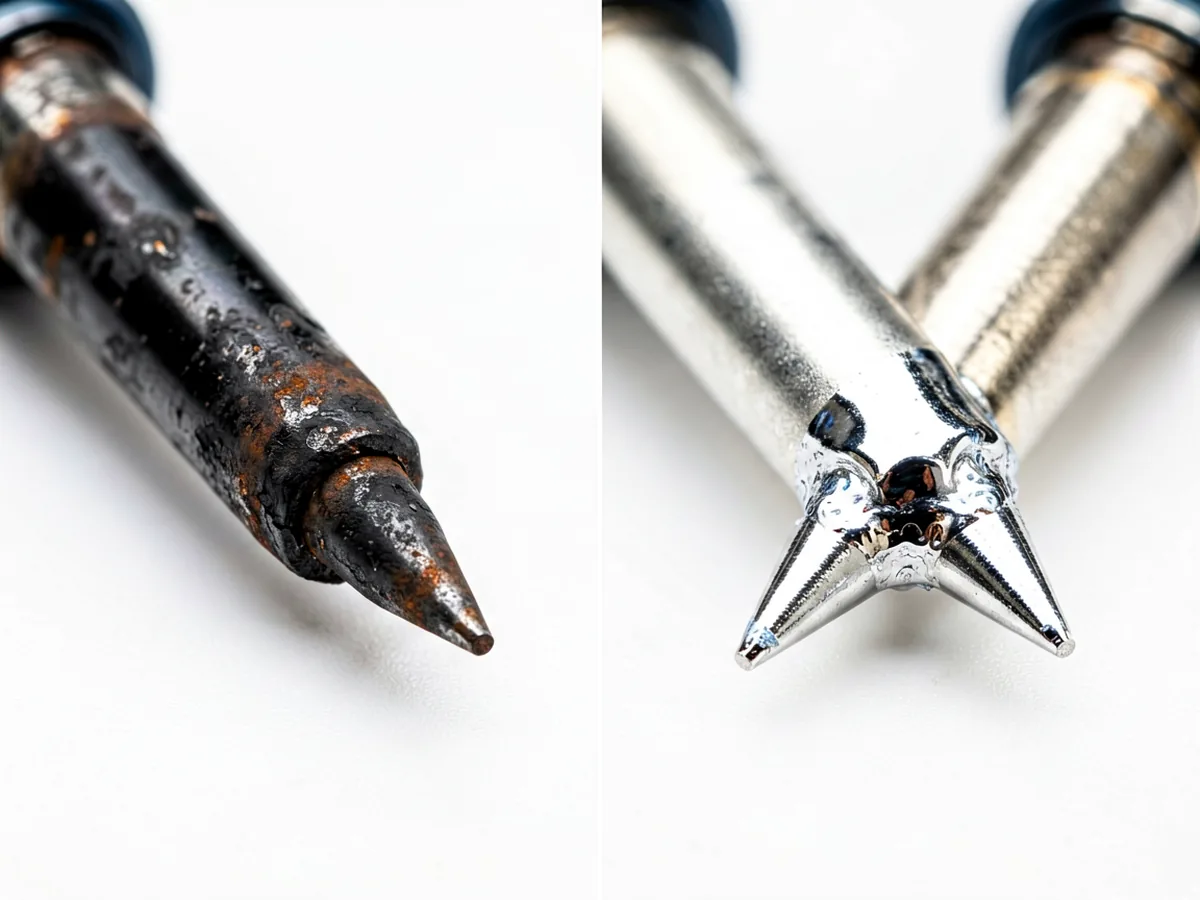
Soldering Iron Tip Shapes:
Alt: A row of soldering iron tips — conical, chisel and knife — shown close up on a white surface
Prompt: Side-by-side macro photography comparison of a dull black oxidised soldering iron tip on the left and a shiny silver freshly tinned tip on the right, clean white background, sharp focus on the tip surfaces, no logos, no text
The most useful beginner tip is a chisel or bevelled tip — it contacts more surface area than a fine point, making heat transfer faster. A conical tip works for delicate work. Always have a damp sponge or brass wool nearby to wipe the tip between joints.
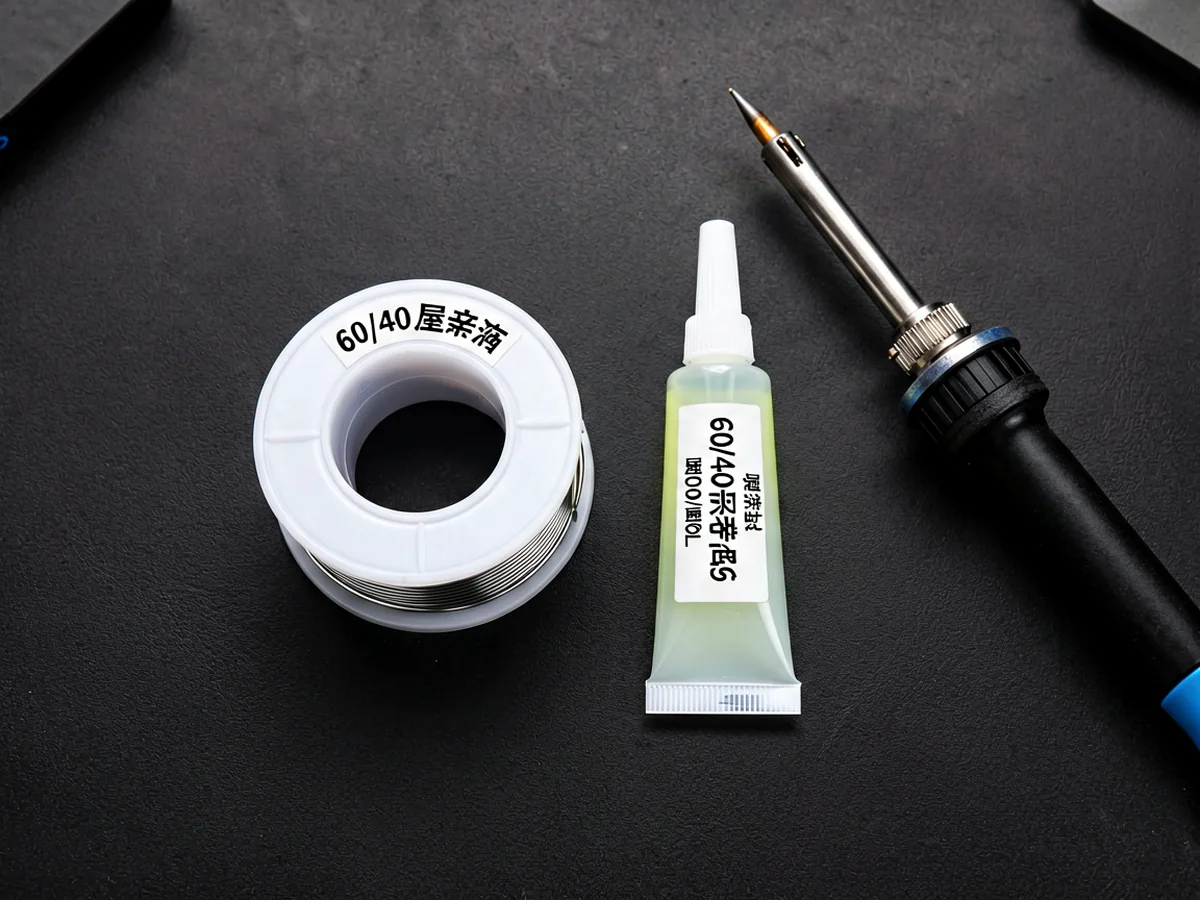
60/40 Rosin-Core Solder:
Alt: A reel of 60/40 electronics solder next to a small circuit board with a clean, shiny solder joint
Prompt: Photorealistic overhead shot of a small coil of 60/40 rosin-core solder wire and a tube of flux paste on a dark workspace surface next to a precision soldering iron, soft studio lighting, no logos, no text
For beginners, 60/40 rosin-core solder (60% tin, 40% lead) is the easiest to work with: it melts at a lower temperature and flows smoothly. If you must use lead-free solder, expect a slightly higher melting point and a duller finish when it cools.
Rosin core flux is built into the wire. For larger joints or heavily oxidised surfaces, apply a small amount of liquid or paste flux to the joint before heating.
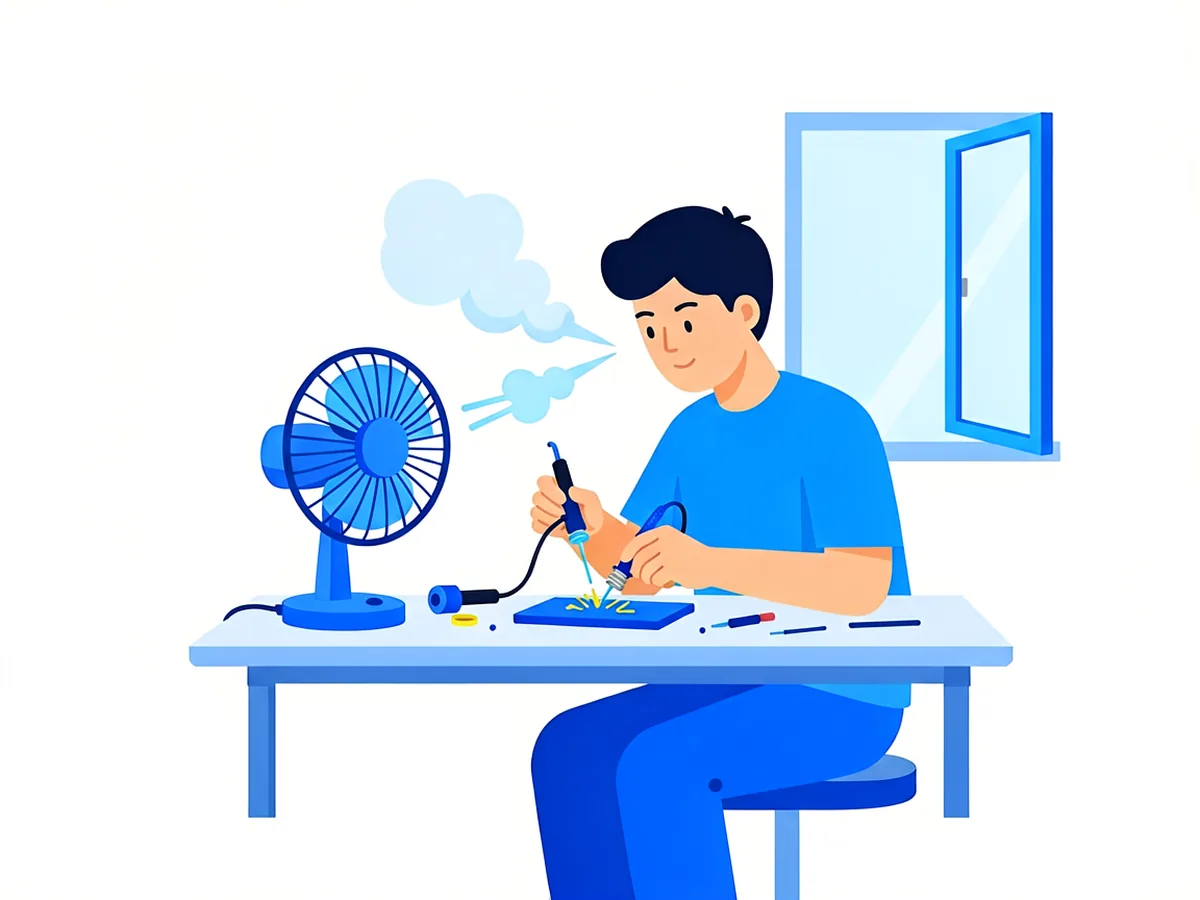
Starter Soldering Kit Layout:
Alt: A beginner soldering setup — iron on stand, solder reel, sponge and a small bottle of flux paste
Prompt: Simple flat vector infographic on white background showing a person soldering at a bench with a small desk fan blowing smoke away from their face and an open window, brand blue #0056FF accents, minimal style, no text, no labels
A practical starter kit includes:
Most beginners get the order wrong, which is why their first joints look bad. The sequence is simpler than it sounds:
Before touching any component, melt a tiny bead of solder onto the clean tip. This coats the copper in a fresh layer of solder and makes the tip a better heat conductor. If the tip looks black or grey, clean it on brass wool and re-tin.
Place the iron tip so it touches both the component lead and the copper pad on the board at the same time. Hold for 2–3 seconds. You are heating the metal, not the solder — the solder melts from the heat stored in the joint, not from the iron itself.
Touch the solder wire to the opposite side of the joint from the iron, not to the iron tip. The hot metal will draw the solder in by capillary action. Feed just enough to form a small, shiny cone around the lead.
Pull the solder wire away first, then lift the iron. This order prevents the iron from pulling a solder blob with it. Let the joint cool naturally — do not blow on it or move the component while it solidifies (about 3–5 seconds).
If the joint looks dull, grainy, or balled up after cooling, it was a cold joint. Reheat it briefly with the iron and let it flow again. A good joint should look like a small shiny volcano.
| Mistake | What it looks like | Why it happened | Fix |
|---|---|---|---|
| Soldering the iron, not the joint | Solder sticks to tip, not to pad | Iron not contacting both surfaces | Reposition tip to touch pad and lead simultaneously |
| Cold joint | Dull, grey, lumpy blob | Insufficient heat or moved while cooling | Reheat briefly, hold still until shiny |
| Too much solder | Solder bridges two pads | Feeding solder too long | Use desoldering wick to soak excess |
| Burning the board | Scorched PCB around pad | Iron held too long on one spot | Lift iron faster, use less heat |
| Skipping flux | Solder beads up, won’t wet | Oxidised surface repels solder | Apply flux paste or use rosin-core wire |
Soldering is safe when you respect three things: heat, fumes, and lead.
These rules are adapted from iFixit’s soldering safety guidance (iFixit — Soldering Learn) and general electronics workshop practice.
Some joints are too delicate or too critical for a first attempt:
For those, a local repair shop or an experienced hobbyist can do the job correctly — and often cheaper than replacing the whole board yourself.
The single best way to get better at soldering is to practice on scrap. Buy a handful of cheap breadboards or old circuit boards, bend some wire leads through the holes, and run through the four-beat sequence until every joint comes out shiny and smooth. Most beginners make acceptable joints after 20–30 practice passes.
Yes — rosin-core solder contains a small flux core that activates when heated. But for oxidised or dirty surfaces, extra flux paste or liquid makes the difference between a weak joint and a reliable one.
Slightly. It melts at a higher temperature and does not flow as smoothly. If you are comfortable with 60/40, switching to lead-free means raising your iron temperature by about 30–50°C and being a little more deliberate with heat application.
A good joint is shiny (for leaded solder) or slightly dull (for lead-free), smooth, and concave like a small hill. It should cover the pad and climb slightly up the lead. If it looks like a ball sitting on top of the pad, the joint was too cold.
Yes — strip the insulation, twist the strands together, tin each wire, then tin the joined section. Apply a little flux if needed, heat the junction, and feed solder until it flows around the twist. Cover with heat-shrink tubing afterward.
For 60/40 leaded solder: 300–320°C. For lead-free solder: 350–370°C. If your iron has no temperature control, assume a fixed 350°C output and adjust your technique accordingly — shorter contact times, more frequent tip cleaning.
Discrepancy Notice: Our online shop is still under preparation. Product prices, availability and shipping options are subject to change. This article is for informational purposes only — for product or compatibility questions, contact us at support@potatotech.co.za.
Related reading: our essential repair tools guide, choosing a soldering iron, and how to choose a repair tool kit.
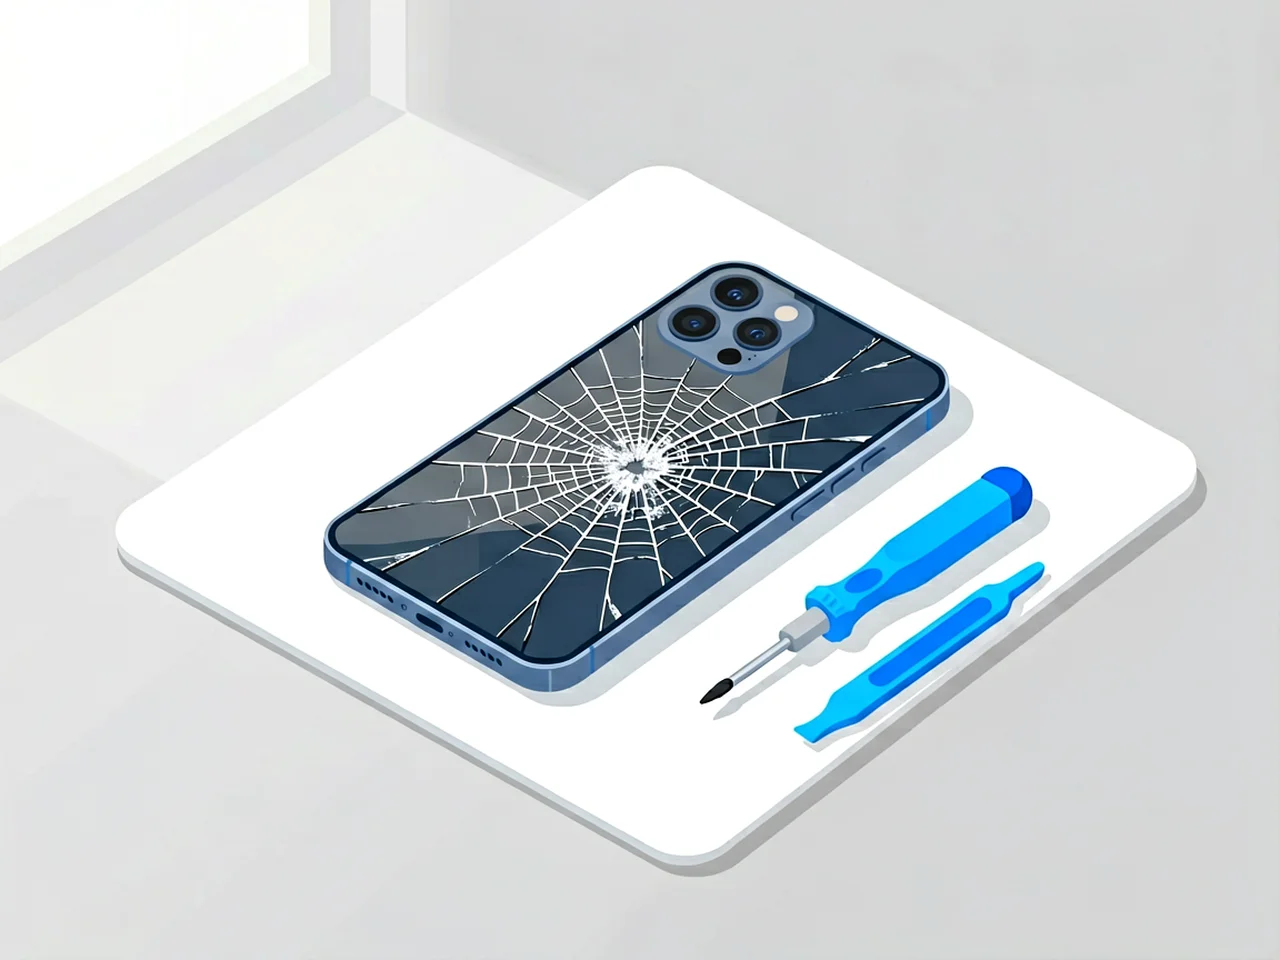
Cracked iPhone back glass? Learn DIY vs professional replacement costs in South Africa, how long it takes, and when to seek help.
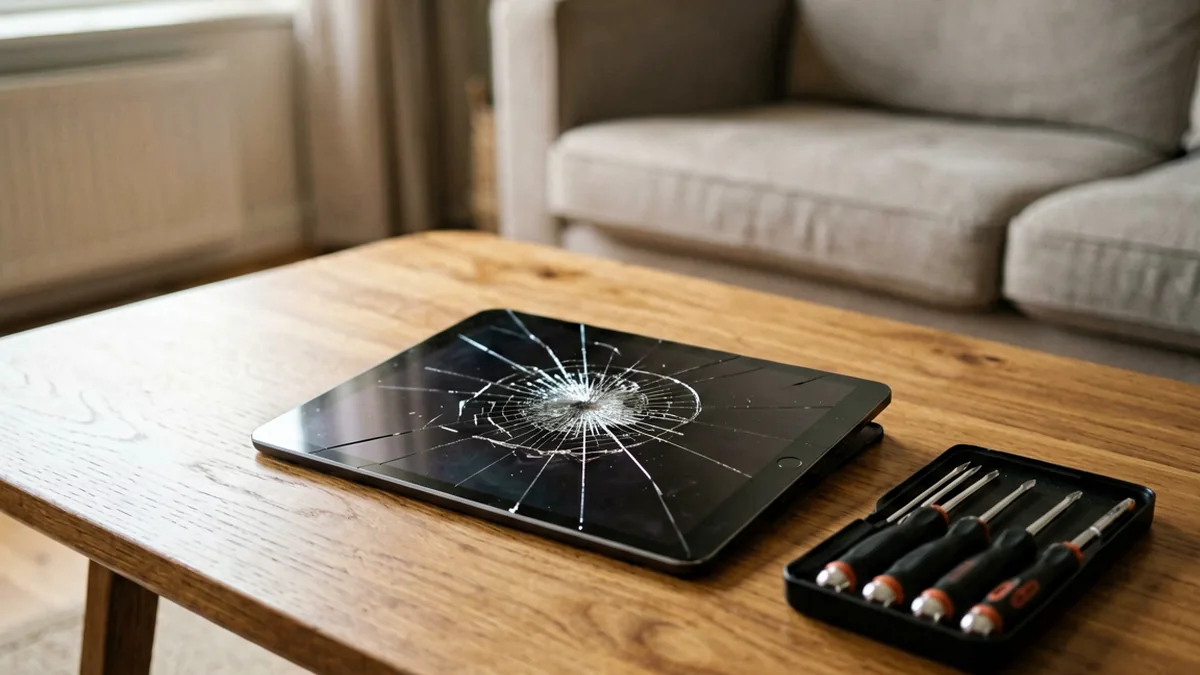
How much does an iPad screen replacement cost in South Africa? Compare DIY vs professional repair costs for all iPad models.
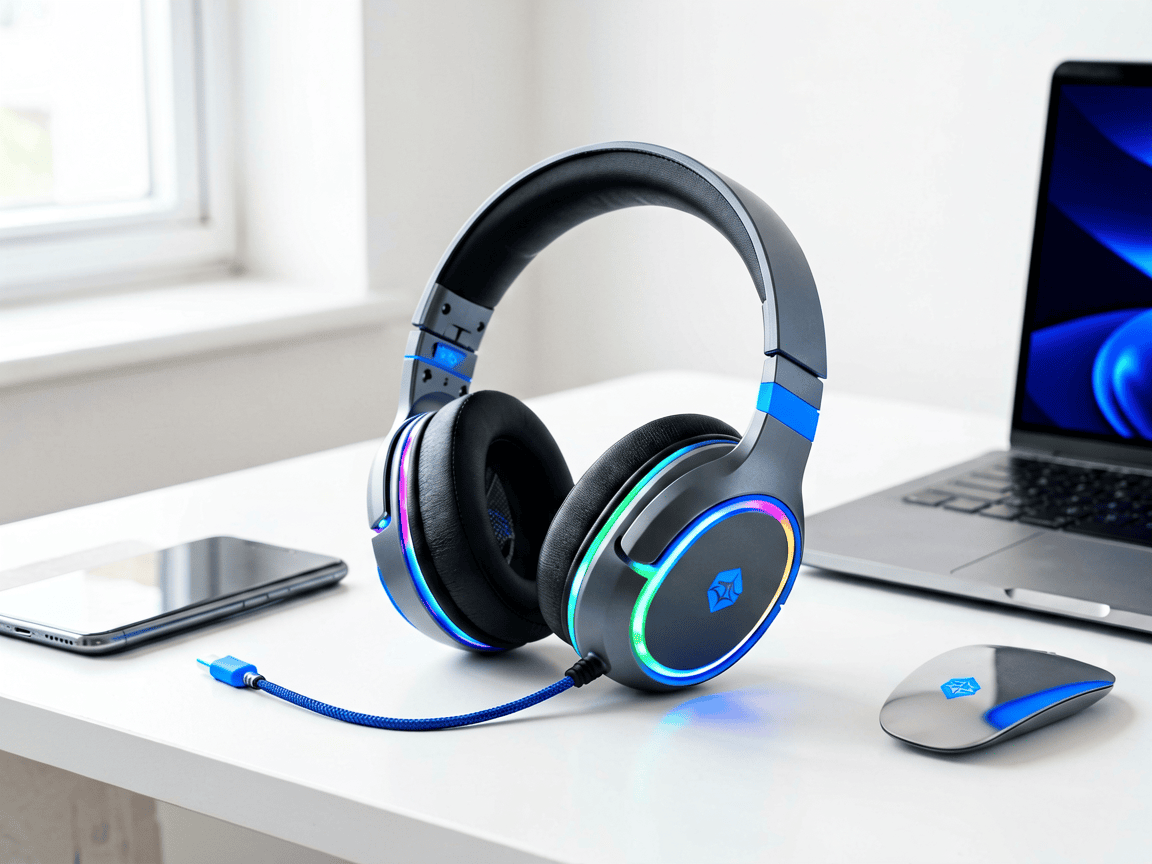
Choosing the right Bluetooth headphones in South Africa isn’t just about picking the first pair you see. Whether you’re commuting on the Gautrain, working from home, or gaming online, the right headphones make a real difference to your experience—and your wallet. This guide breaks down what actually matters when you’re shopping for wireless headphones in […]