
Can you repair your own phone screen? In most cases, yes — if you have the right replacement part, a proper toolkit, a model-specific guide, and a steady hand. Older phones are far easier than modern ones. But screens on iPhone X and newer and most OLED Androids are delicate, and a wrong move can damage the front sensors or the battery.
A cracked screen is one of the most common phone problems in South Africa — and with repair-shop queues and prices what they are, it’s natural to wonder whether you can just fix it on the kitchen table. The honest answer is: you often can, but “can I repair my own phone screen” deserves a more useful reply than a simple yes or no. It depends on your phone, your patience, and how much you’re willing to risk.
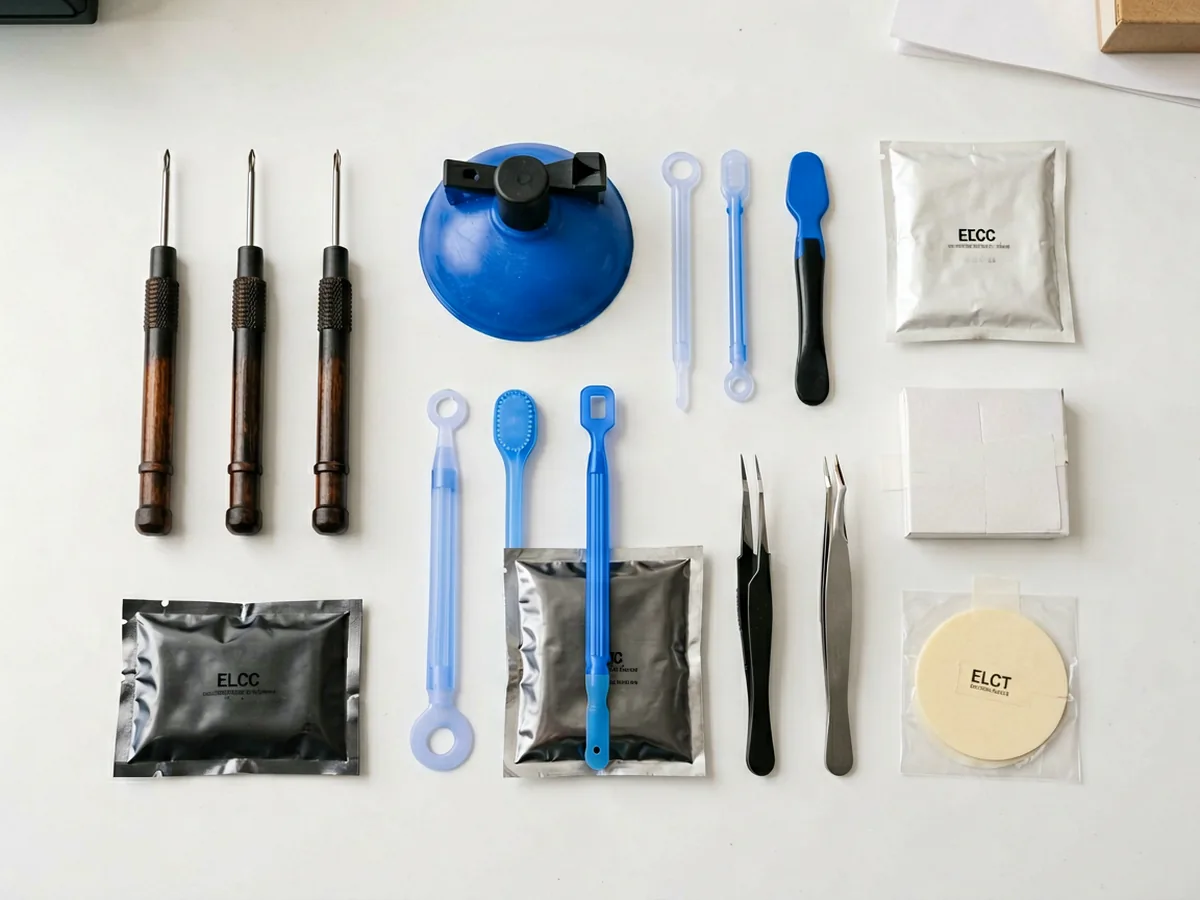
Don’t improvise this part. A botched repair usually comes from missing the right tool, not missing the skill.
This is a high-level picture — always follow a guide written for your exact model. The broad shape is:
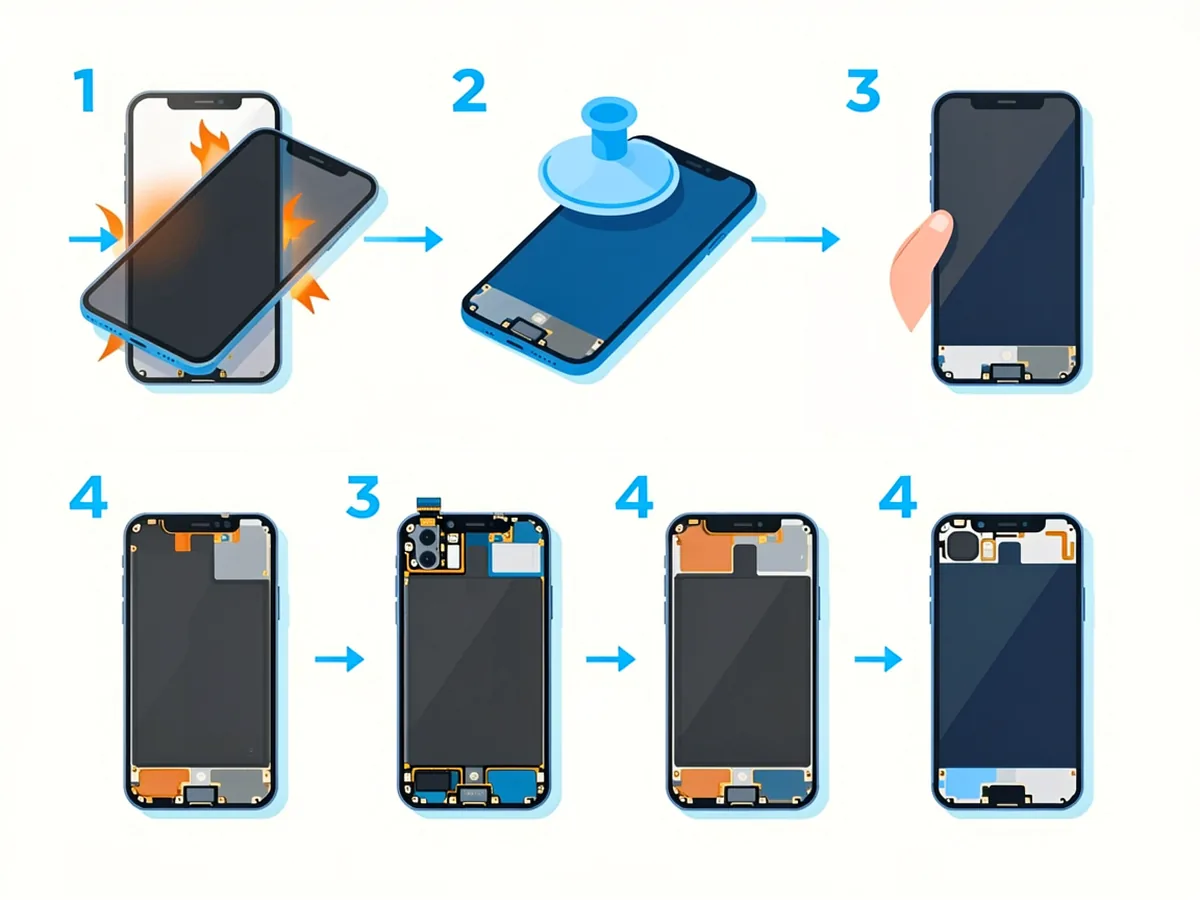
Pro tip: The first steps — heating and getting the suction cup to bite on a cracked screen — are usually the hardest. Taping over the cracks first makes the cup grip better and keeps shards contained.
This is the part most “it’s easy!” videos skip.
Third-party South African price ranges reported in 2026 (illustration only — these are shop and kit prices, not our prices):
| Route | Typical cost (ZAR) | Notes |
|---|---|---|
| DIY kit (screen + tools) | ~R1,500 – R2,500 (iPhone) | Android screens alone often R1,500–R3,500 |
| Independent repair shop | ~R2,500 – R5,000 (iPhone) | Android typically R2,000–R5,500 |
| Authorised Apple (iStore etc.) | R2,999 – R10,500+ | AppleCare+ excess: ~R500–R900 |
(iassist, pricesinsouthafrica, 2026). DIY can save meaningful money, especially on an older phone. But you’re trading that saving for your own time, real risk, and the loss of water resistance. A shop’s price bundles in labour and some warranty on the work.
Take it to a repairer rather than opening it yourself if:
Apple also runs a Self Service Repair programme that supplies genuine parts, manuals, and a post-repair calibration step — but it’s explicitly aimed at people with electronics-repair experience, not first-timers.
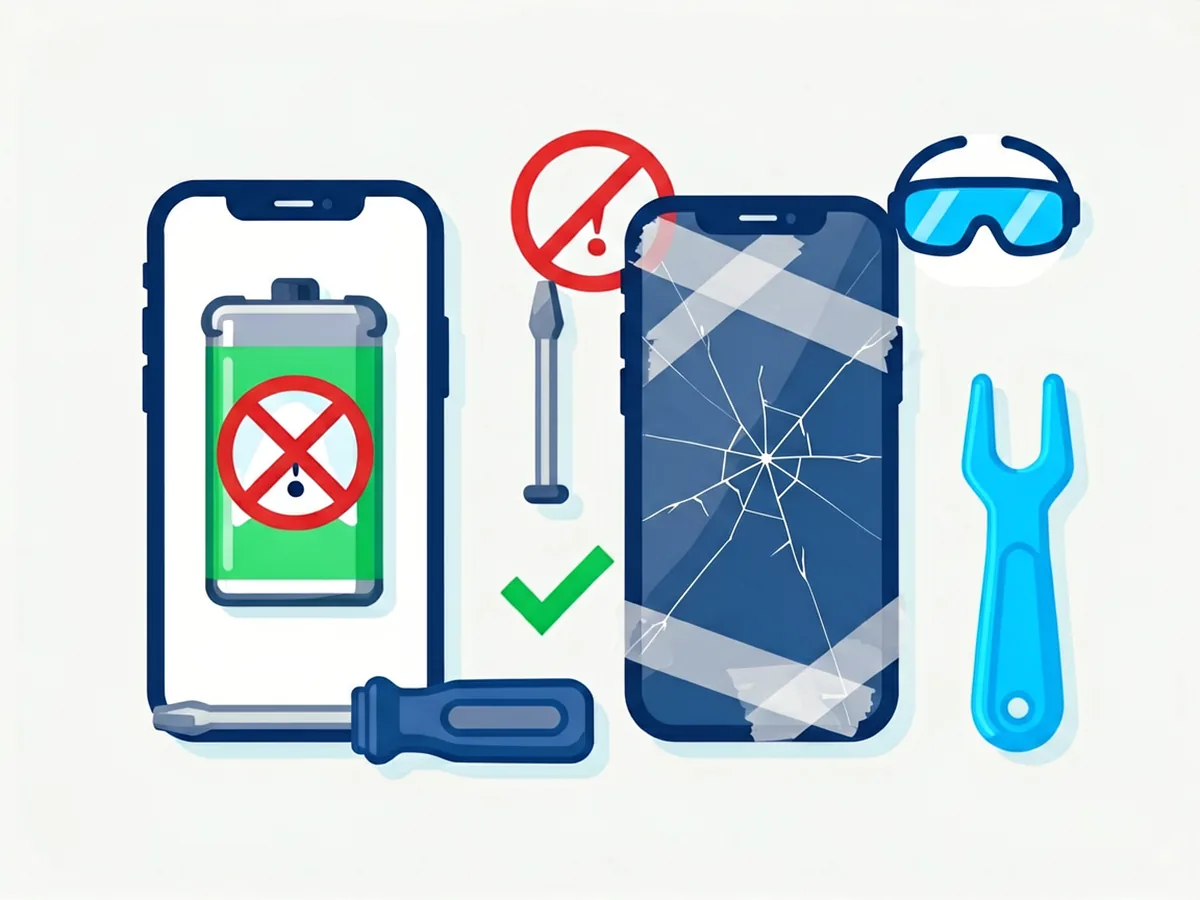
If you’re ready to tackle it, you need proper tools — browse our repair tools category for kits and opening tools. And if you’re weighing repair vs replace, our repair-or-replace decision guide walks through that call step by step.
It depends on the phone. Pre-2017 iPhones and many Androids with accessible screens are approachable for a careful beginner. Modern iPhones (X and newer) and OLED flagships are much harder and risk damaging sensors or the battery. Budget anywhere from 30 minutes to a few hours.
Not by itself. Face ID lives in the front sensor assembly, not the screen, so swapping the display doesn’t disable it — provided you move that sensor array across carefully. What actually breaks Face ID is damaging the sensor module during the transfer.
On a phone still under the manufacturer’s warranty, opening it yourself generally voids that cover. And yes — a home repair almost always loses the original IP/water-resistance rating, because the factory seal can’t be matched with home adhesives.
Reported 2026 third-party ranges put an iPhone DIY kit (screen + tools) around R1,500–R2,500, while Android replacement screens often run R1,500–R3,500. Authorised Apple repairs run far higher (R2,999–R10,500+), which is exactly why DIY appeals.
If it’s an older, simpler phone and you follow a trusted model-specific guide, many first-timers succeed. For a modern flagship, start on an easier device or let a pro handle it — the cost of a mistake easily outweighs the saving.
Discrepancy Notice: Our online shop is still under preparation. Product prices, availability and shipping options are subject to change. This article is for informational purposes only — please contact us at support@potatotech.co.za for the latest information.
Ready to decide? Read our repair-or-replace guide, our OEM vs aftermarket comparison, or browse our repair tools category.
Cracked iPhone back glass? Learn DIY vs professional replacement costs in South Africa, how long it takes, and when to seek help.
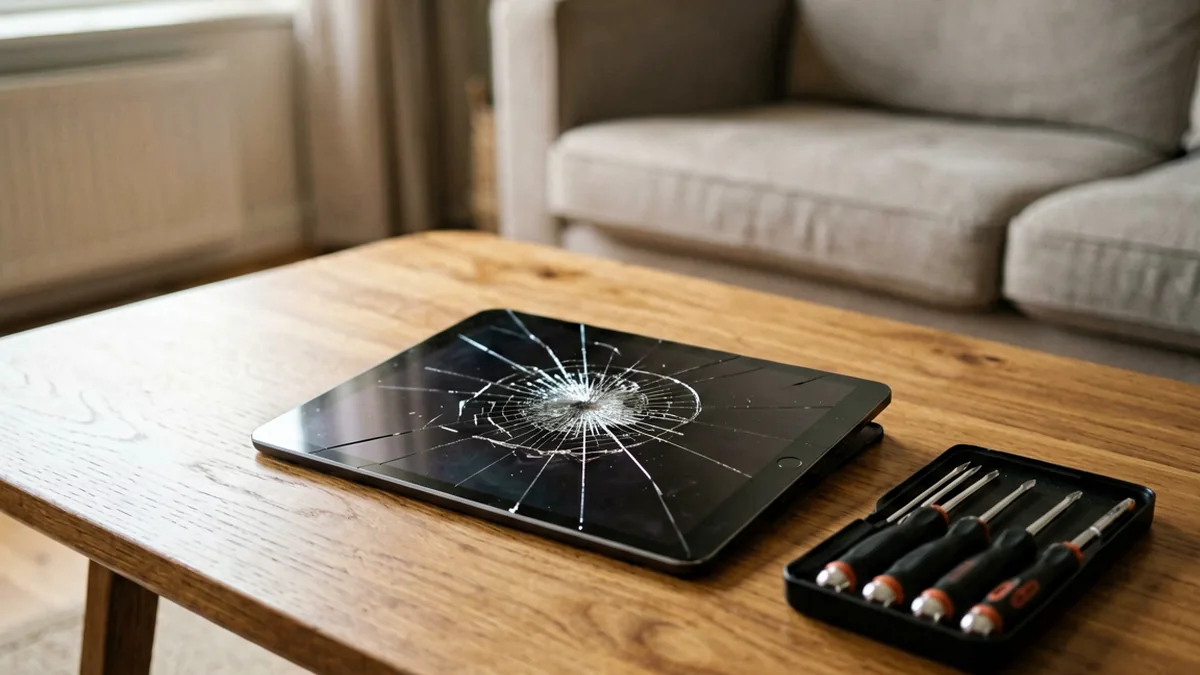
How much does an iPad screen replacement cost in South Africa? Compare DIY vs professional repair costs for all iPad models.
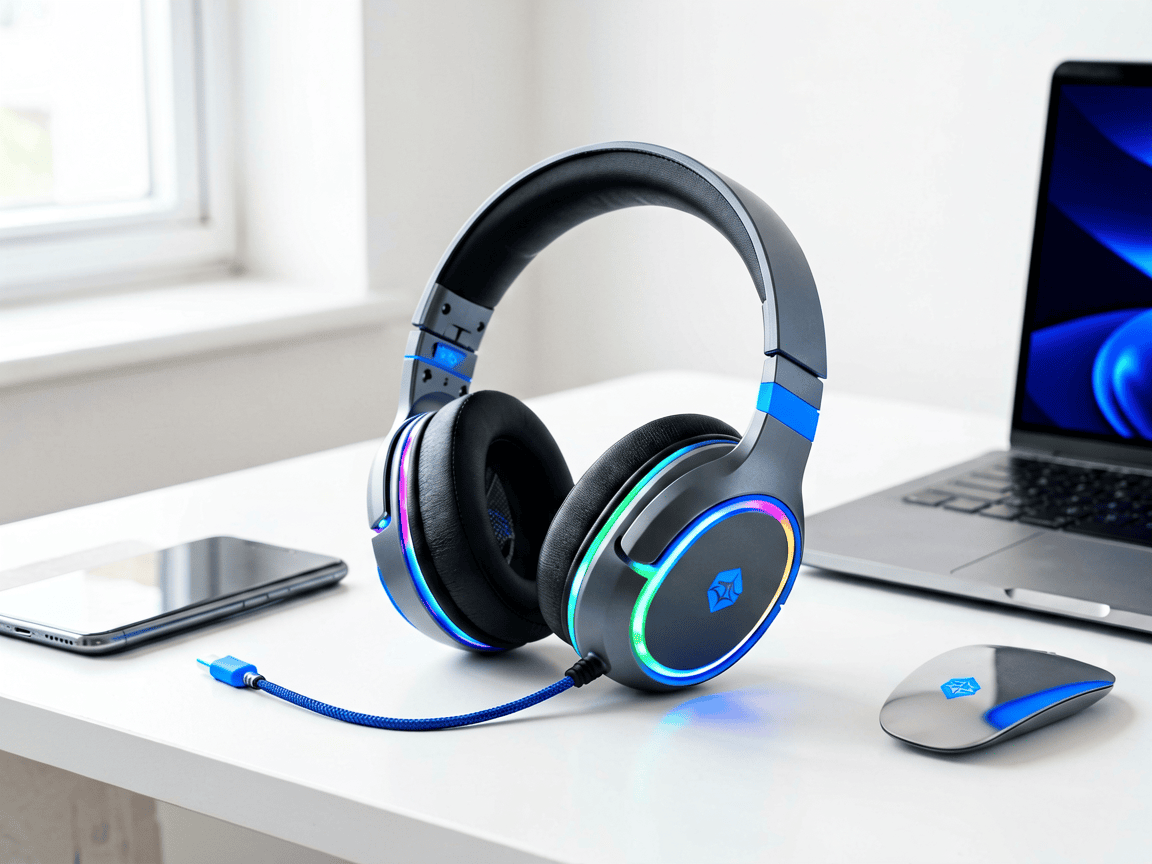
Choosing the right Bluetooth headphones in South Africa isn’t just about picking the first pair you see. Whether you’re commuting on the Gautrain, working from home, or gaming online, the right headphones make a real difference to your experience—and your wallet. This guide breaks down what actually matters when you’re shopping for wireless headphones in […]