
Most cracked phone panels don’t come from a shaky hand. They come from the wrong temperature. Heat the adhesive too little and the glass fights you until it snaps. Heat it too much, or in one spot, and you cook the panel underneath instead — which is how “repair” turns into “replace”.
This guide is about that narrow band in the middle: how hot, for how long, and with which tools. It’s written for people doing this in South Africa, on 220–240V equipment, where a cracked panel costs real money to put right.
Spend twenty minutes reading screen removal guides and you’ll find recommended temperatures spanning 60°C to 150°C. That’s not a rounding difference — it’s the difference between soft adhesive and a dead OLED panel.
Here’s what publicly available sources actually say:
| Source | Recommended temperature | What it’s measuring |
|---|---|---|
| Heating pad operating manual (TBK568A) | 60–80°C phones and tablets; 80–100°C laptops and iPad Pro; 100°C+ for board preheating | Pad surface temperature |
| iFixit teardown guide (Moto Z2 Play) | 85°C, for 2–3 minutes | Heat gun output at working distance |
| iFixit user results (Google Pixel) | 60°C did nothing; 100°C up close for 2 minutes worked; 80–90°C suggested as safer | Heat gun output, improvised technique |
| Tool vendor guide (FirstRate Tools) | LCD 90–110°C; OLED 80–100°C; flexible AMOLED 70–85°C; curved 70–80°C | Heat gun output, by panel type |
| Repair blog guide (Parts4Repair) | 120–150°C | Heat gun output |
| Teaching resource (DIY Fix Tool) | 85°C, for 3–5 minutes | Heating station surface |
Three of those sources are broadly consistent. One is significantly hotter than the rest, and one is vague about panel type. Rather than pick a favourite, it’s more useful to understand why they disagree — because the reason tells you what to actually set.
Modern phones hold the display to the mid-frame with a pressure-sensitive adhesive tape, not glue in the old sense. At room temperature that tape has enormous tensile strength — which is exactly why forcing a cold screen off cracks it. The glass flexes before the adhesive gives, and the panel underneath is brittle.
As the tape warms, it passes through a glass transition — the point where a hard, glassy polymer becomes soft and rubbery. Past that point it loses most of its grip and can be sliced with a thin pick instead of torn. You don’t need to approach the temperature where solder flows; you need to get the adhesive past its transition and keep it there while you work. That window is why 60–85°C appears repeatedly in field guides: comfortably above the transition, comfortably below the point where OLED emitters and polariser films suffer.
A heated pad must push heat through the glass, the panel stack and the mid-frame before it reaches the adhesive line at the edges. Manufacturers of heated pads specify 3–5 minutes after the pad reaches its set temperature. The mistake is reading “the phone feels warm” as “the adhesive is ready” — a phone can feel distinctly warm on the surface while the adhesive at the edge is still hard. That’s the moment most first attempts end in a crack.
Collating the sources above, and reconciling them against panel technology, gives something workable:
| Panel type | Working range | Notes |
|---|---|---|
| Flexible AMOLED (most modern flagships) | 70–85°C | Most heat-sensitive of the common types; green-line damage from localised overheating is usually permanent |
| Rigid OLED | 80–100°C | Wider tolerance than flexible AMOLED, but still avoid hot spots |
| LCD / IPS | 90–110°C | Most tolerant of the panel types; watch for backlight bleed if overheated |
| Curved edge displays | 70–80°C | Adhesive runs around a bend, so heat must be applied evenly around the curve |
| Tablets and laptops | 80–100°C | Larger glass area needs longer dwell, not higher temperature |
If you’re doing this for the first time, start at 75–80°C, keep the heat source moving, and give it the full dwell time before touching the screen. If the pick meets obvious resistance, apply more heat rather than more force — resistance means the adhesive is still hard, and force is what cracks glass.
Raise the temperature only if you’re working on a rigid OLED or LCD panel from an older device with stubborn adhesive, and only in small steps.
A heated pad or hot plate is the most controlled option and the one most likely to leave a first-timer with an intact screen. The heat is spread across the whole surface, the temperature is readable, and once it’s at temperature you can leave the phone on it while you work.
Look for a set temperature rather than a dial with no numbers, a display you can read, and enough working area that the phone sits flat.
A heat gun works for localised work — reheating one stubborn corner, or keeping an edge warm while you slice. It’s also the tool most likely to damage a panel, because it concentrates energy in a small area. The technique that matters: keep it moving, never park it over one spot, and hold it at a working distance instead of touching the airflow to the glass.
Temperature and airflow control together matter more than peak temperature. An adjustable airflow lets you heat a wider area at a lower setting.
A hairdryer can soften display adhesive, and it’s a genuinely common fallback. The problem is control: most hairdryers give you no temperature reading and no way to hold a consistent figure, so you can’t tell whether you’re delivering 70°C or 130°C. It also blows air hard enough to push heat into areas you didn’t intend.
If it’s all you have, hold it well back, keep it moving, and treat it as a reason to stop and wait for a proper solution rather than a reason to work faster.
The suction cup’s job is to lift a fraction of a millimetre so a pick can enter. Pull upward steadily; if nothing moves, you need more heat, not more strength. On a cracked screen, tape over the glass first — both to give the cup something to grip and to stop shards coming loose.
This is the single most important technique in the whole job, and it’s where the 1.5 mm figure comes from.
Published teardown guidance for a Pixel display is specific: inserting an opening tool deeper than 1.5 mm along the sides, or 9 mm along the top and bottom, can permanently damage the display. The tool is meant to slide horizontally through the adhesive layer, not to lever the screen up.
Holding a phone in one hand while heating and slicing with the other is how people apply uneven force. A fixture that holds the chassis flat and steady isn’t a luxury — it’s what lets you apply a consistent, light, controlled pull with the suction cup and keep the pick at a constant shallow depth.
Support also matters on a heating pad: a phone that rocks or sits on a slope gets uneven heat, and uneven heat means one corner is ready while the opposite edge is still cold.
Once the screen is free, it’s still connected by flex cables. Connector latches are tiny, and prying them with a pick or pulling on the cable itself is a common way to turn a screen repair into a board-level repair. Fine, non-magnetic tweezers let you lift the latch and slide the connector straight out.
Non-magnetic tweezers also help with residual adhesive and small parts. Magnetic tips are convenient for screws and a liability near sensitive components.
Rather than guessing from the temperature display, use these signals:
And the signals to stop immediately:
Green lines on AMOLED panels after heating are almost always permanent. They come from localised overheating, not from the amount of heat overall.
This is the part that changes the calculus. The difference between setting your heat source to 80°C and 120°C is a few minutes of extra work. The difference between a screen that survives and one that doesn’t is measured in thousands of rand.
| Device | Aftermarket panel | New OEM panel | Higher-tier reference |
|---|---|---|---|
| iPhone 11 | R1,200–R1,600 | R2,400–R3,250 | — |
| iPhone 13 series | R1,800–R3,500 | R3,800–R6,500 | — |
| iPhone 14 series | R1,800–R4,500 | R4,200–R7,500 | — |
| iPhone 15 series | R3,500–R5,500 | R6,800–R8,500 | — |
| iPhone 16 series | R3,800–R6,500 | R6,500–R10,500 | — |
| iPhone 14 Pro Max | — | — | ±R4,800 independent; ±R10,000 Apple iStore |
| iPhone 15 Pro Max | — | — | ±R5,800 independent; ±R10,000 Apple iStore |
| Galaxy A14 / A15 / A25 | R450–R750 (part only) | R1,499–R1,799 (official) | R1,100–R1,400 independent |
| Galaxy S21 / S22 / S23 | R1,600–R2,400 (part only) | R3,499–R4,049 (official) | R2,800–R3,400 independent |
| Galaxy S23 Ultra / S24 Ultra | R2,900–R3,800 (part only) | R4,849–R6,112 (official) | R4,200–R5,100 independent |
| Galaxy Z Fold5 / Fold6 (inner) | Not recommended | R13,604–R16,199 (official) | R11,500–R14,000 independent |
Those figures come from publicly listed workshop and parts pricing in South Africa collected on 10 September 2026 and are reference ranges, not quotes — a shop will confirm against your exact model and the grade of panel you choose. What they show is the shape of the risk. Being patient costs you time. Being impatient costs you a five-figure sum on a foldable.
There’s also a third option people forget: if your phone is covered by gadget insurance through a bank, network contract, or a specialist insurer, screen damage is often claimable with an excess rather than paid in full. It’s worth checking before you decide the repair is unaffordable — or before you attempt it yourself and remove the option.
Some jobs are worth doing yourself and some aren’t. Stop and take it to a workshop if:
How hot should a heat gun be to remove a phone screen?
For most phone panels, work in the 70–85°C range at about 3–5 cm, keeping the gun moving. Rigid OLED panels tolerate up to roughly 100°C and LCD panels up to about 110°C, but going higher only shortens the margin before damage. Remember the number on the gun is air temperature, not the temperature of the adhesive.
Can I remove a phone screen without heat?
Practically, no — not on a modern phone. Display adhesive is built to hold a waterproof seal and resists very high force at room temperature. Prying a cold screen usually ends with a cracked panel or a bent frame.
Can I use a hairdryer instead of a heat gun?
It can soften the adhesive, and plenty of people have done it. The problem is that a hairdryer gives you no reliable temperature figure and no airflow control, so you can’t tell whether you’re delivering a safe 80°C or a damaging 130°C. If you use one, hold it well back and keep it moving constantly.
How long should I heat the screen for?
On a heated pad, 3–5 minutes once it reaches the set temperature. With a heat gun, short repeated cycles of roughly 6–12 seconds per edge. The real test isn’t time — it’s whether the pick slides 3–4 mm without resistance.
How do I know the adhesive has softened enough?
Three signs together: the pick slides three to four millimetres with almost no resistance, the suction cup lifts more easily than before, and the edge of the frame feels slightly flexible. If even one is missing, apply more heat rather than more force.
What if I crack the screen during removal?
Then you’re buying a panel instead of reusing one, and the cost depends on your model and the grade you choose — a few hundred rand for an aftermarket panel on an older iPhone, several thousand for an original panel on a recent Pro Max or a foldable. That’s the whole argument for heating correctly: rushing saves minutes, failure costs orders of magnitude more.
This guide describes general technique for separating a phone display from its chassis. Heating devices and lithium batteries carry real risk, and a swollen or damaged battery should never be heated or punctured — stop and take the device to a qualified technician. Prices quoted are publicly listed reference ranges collected on 10 September 2026 and are not quotes; confirm the current price for your exact model with your chosen workshop. If you are unsure at any step, stop.
Questions about tools or a repair you’re planning? use our Contact page.
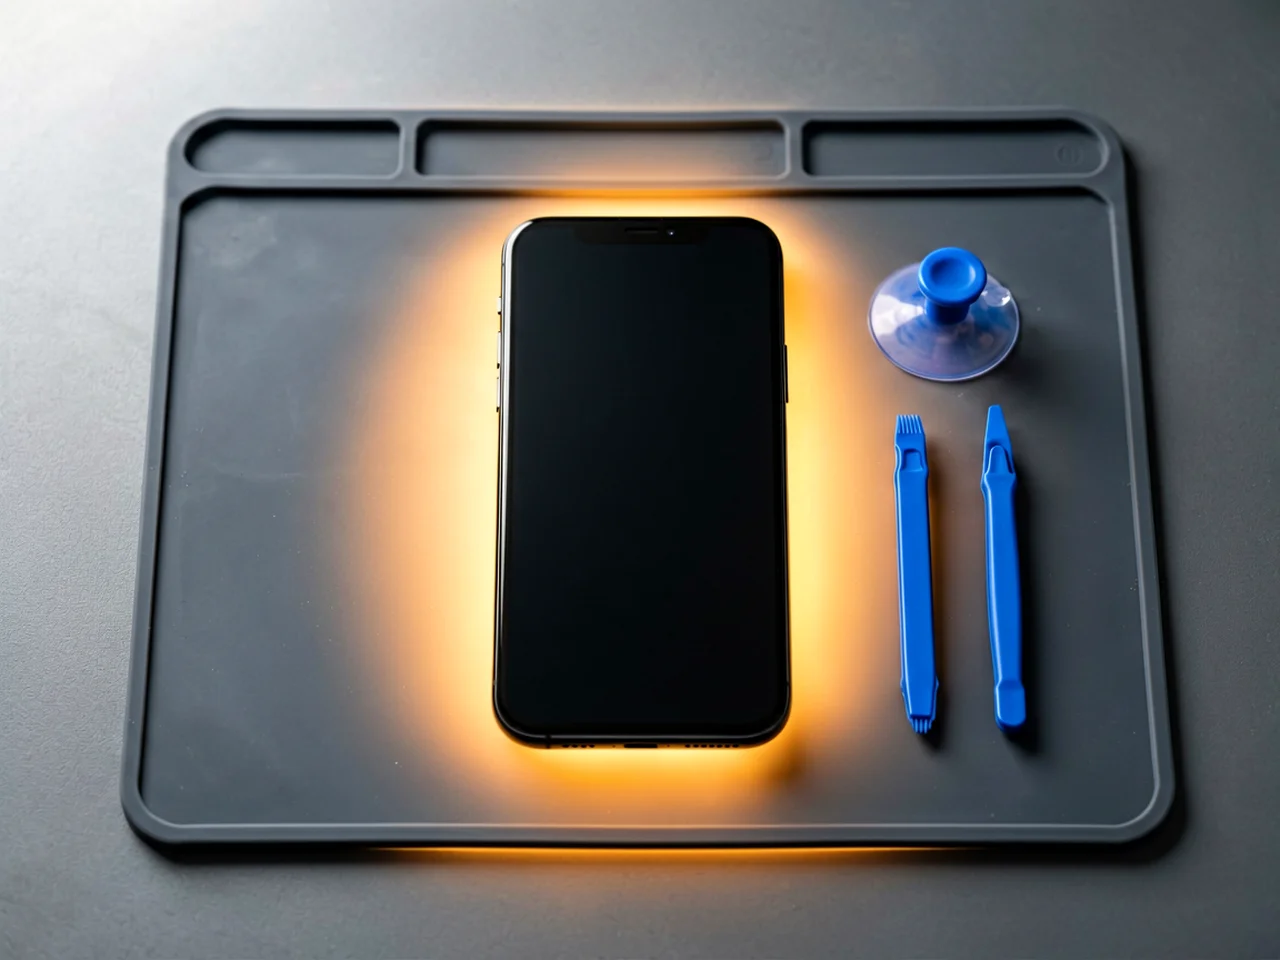
Most cracked phone panels don’t come from a shaky hand. They come from the wrong temperature. Heat the adhesive too little and the glass fights you until it snaps. Heat it too much, or in one spot, and you cook the panel underneath instead — which is how “repair” turns into “replace”. This guide is […]
You tap an app and nothing happens for ten seconds, then the whole screen freezes mid-animation. You wait, you tap again, the phone buzzes once and sits there. Sometimes a restart clears it for a day, sometimes it freezes again as soon as you open WhatsApp, and sometimes it started after an update or when […]

You open Maps or your taxi-hailing app, and the blue dot never settles, or it places you three streets away. You stand outside with a clear sky above you, and the phone still takes minutes to lock on, or it locks on and then drops your position into the middle of a field. Sometimes the […]