
What tools do I need to repair a phone? The honest short answer: many common phone repairs use a short list of basic tools — four precision screwdrivers (Phillips PH000, pentalobe P2, Torx T4/T5, and tri-point Y000), a suction cup, plastic opening picks, a spudger, and a heat source. A compact multi-bit kit like the 26-in-1 precision electronics repair toolkit bundles the screwdrivers, tweezers and pry tools into one box, so you start with most of the list in a single purchase. A soldering iron, microscope and multimeter can wait until you move past screen and battery swaps.
Before you buy anything, decide what you’ll actually fix. Screen and battery swaps usually need only the basics above. Board-level work is a different league entirely.
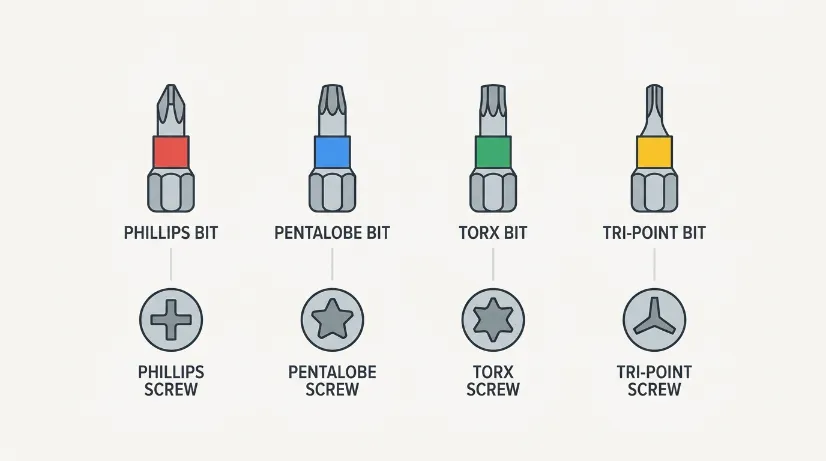
Here’s the complete beginner list and why each tool earns its place:
| Tool | Why you need it |
|---|---|
| Phillips PH000 / PH00 driver | Internal screws on almost every phone and laptop bracket |
| Pentalobe P2 driver | The two bottom case screws on every iPhone — you can’t start without them. |
| Torx T4 / T5 driver | Samsung, Google Pixel, Motorola and OnePlus internals and frames |
| Tri-point Y000 driver | Battery connector and bracket screws on iPhone 7 and newer |
| Suction cup | Creates the first gap to lift a glued screen or glass back |
| Plastic opening picks | The only tool that should travel around a glued perimeter |
| Plastic spudger | Flips connector latches and lifts cables without shorting a board |
That’s the toolkit. Everything else — soldering gear, a microscope, a multimeter — is for the next level, not day one.
Many phones use one or more of the driver types above. Three practical points:
If you are repairing an iPhone, check the model-specific repair manual before choosing pentalobe, Phillips or tri-point bits. iFixit and Apple repair manuals list the tools required for supported models.
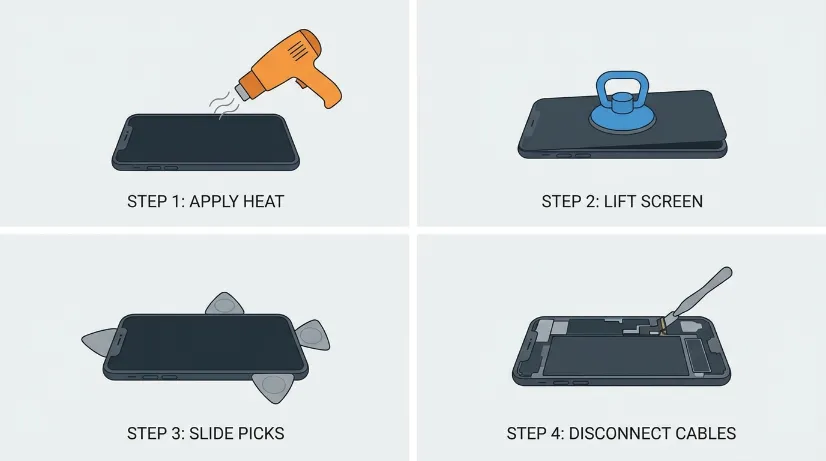
Opening a modern phone is a three-step process, and each step has one correct tool:
Rule of thumb: glass and cables get plastic. A metal pry tool is only for cured adhesive and steel shields — never near flex cables or on a powered board.
A compact precision kit — like the 26-in-1 Precision Electronics Repair Tool Kit — bundles the everyday basics into one box: magnetic screwdriver bits to manage tiny screws, alloy tweezers for small connectors, and pry tools for opening and positioning parts. It’s built for phone, tablet, laptop and PC work, and it’s the natural starting point if you’re fixing your own devices.
Be honest about what a kit like this does not include:
That’s fine: for the first screen or battery job, “precision drivers + tweezers + pry tools + your own heat source” is the correct shopping list, and a kit keeps it organised.
Half of a successful repair happens before you open the phone:
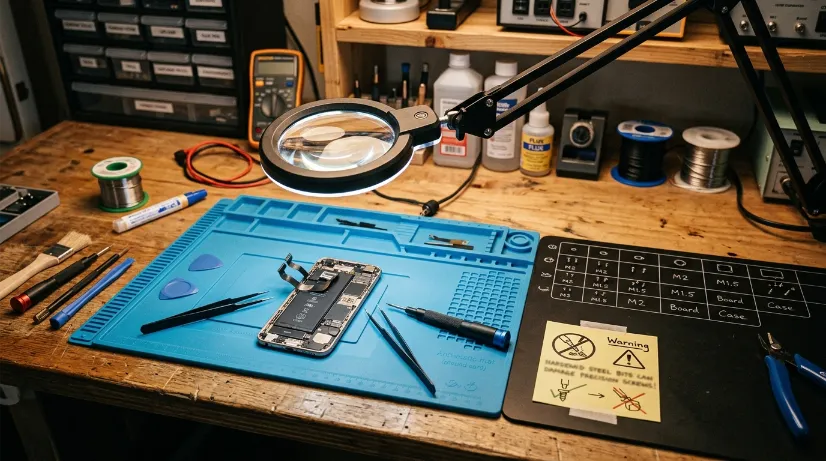
Most first repairs fail for the same few reasons, all avoidable:
Beginners routinely overspend on gear they won’t touch for months:
A focused precision kit plus a heat source beats a mega-kit every time.
What tools do I need to fix a phone screen?
Seven essentials: four precision screwdrivers (Phillips PH000, pentalobe P2, Torx T4/T5, and tri-point Y000), a suction cup, plastic opening picks, a spudger, and a heat source. A 26-in-1 precision kit covers the drivers, tweezers and pry tools.
Is a 26-in-1 screwdriver kit enough to start?
For opening phones, tablets and laptops and handling small parts, yes — it gives you magnetic bits, tweezers and pry tools in one box. You’ll still add your own heat source and adhesive for glued screens.
Can I use a hairdryer instead of a heat gun?
Yes, for occasional DIY. It softens adhesive well enough in a pinch; a heat gun is more consistent. Keep it on a low setting and move it in slow circles.
Do I need a soldering iron to repair a phone?
Only for board-level work. For screen, battery and charging-port swaps, no soldering is required – and you shouldn’t buy one until you’re ready for that level.
Will any screwdriver set work?
No. Household sets are too big (they cam out), and mega-kits use soft metal that rounds off. You specifically need PH000, pentalobe P2, Torx T4/T5 and tri-point Y000 in decent steel.
Related reading: How to Solder for Beginners · How to Use a Multimeter · Electronic Repair Tools Starter Kit
Information Notice: Product prices, availability and shipping options may change. This article is for general informational purposes. For current availability, specifications or delivery details, please use our Contact Us page.
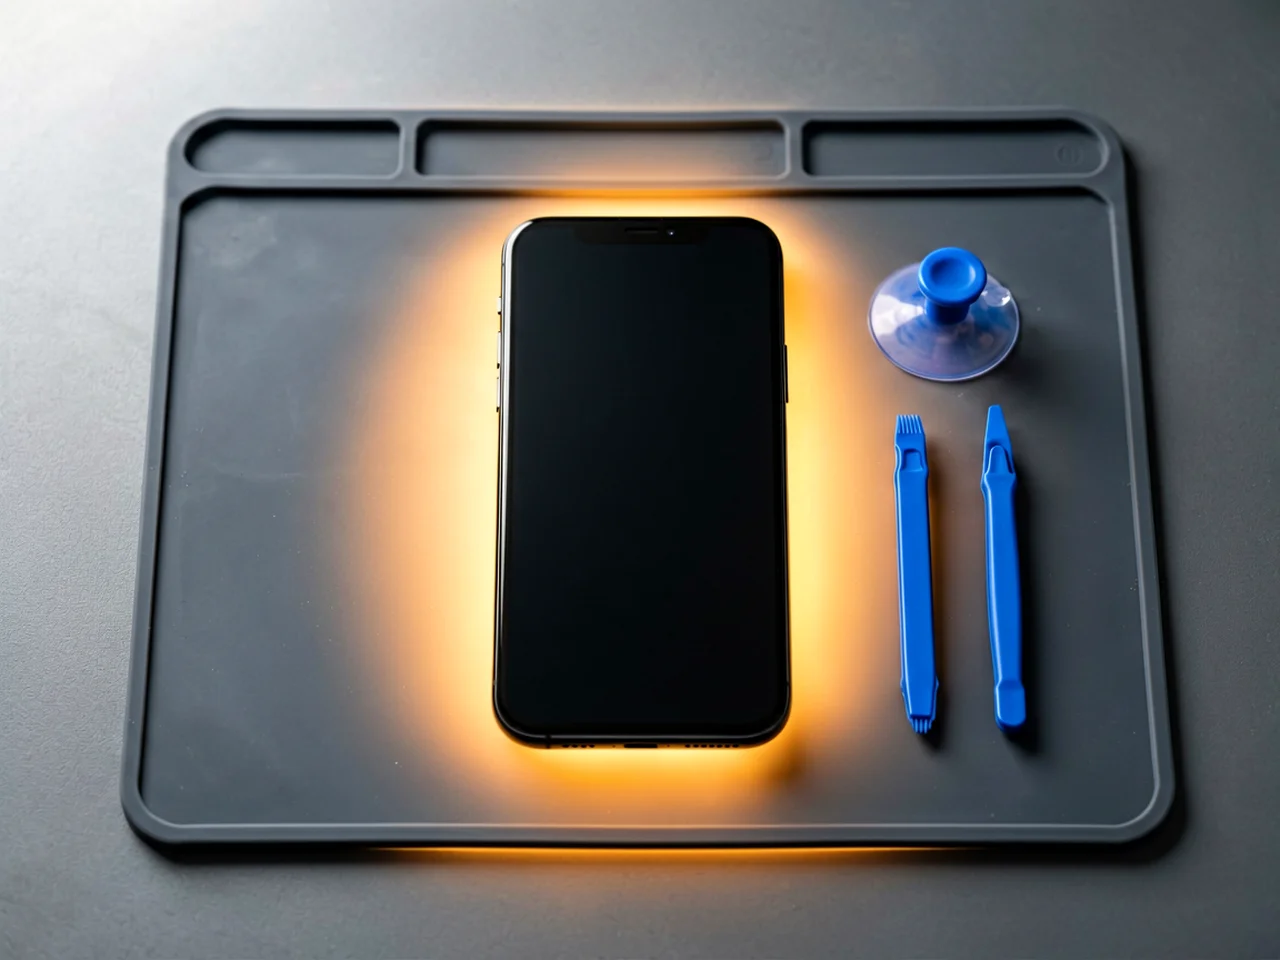
Most cracked phone panels don’t come from a shaky hand. They come from the wrong temperature. Heat the adhesive too little and the glass fights you until it snaps. Heat it too much, or in one spot, and you cook the panel underneath instead — which is how “repair” turns into “replace”. This guide is […]

You tap an app and nothing happens for ten seconds, then the whole screen freezes mid-animation. You wait, you tap again, the phone buzzes once and sits there. Sometimes a restart clears it for a day, sometimes it freezes again as soon as you open WhatsApp, and sometimes it started after an update or when […]

You open Maps or your taxi-hailing app, and the blue dot never settles, or it places you three streets away. You stand outside with a clear sky above you, and the phone still takes minutes to lock on, or it locks on and then drops your position into the middle of a field. Sometimes the […]
15 responses