
Welding metal by hand sounds intimidating until you have done it once. For a South African fixing phones, laptops, headphones and game controllers at home, a 220–240V electric soldering iron and a reel of decent 60/40 solder are the difference between “binned it” and “fixed it”. The trouble is that the shelf is full of the wrong gear — 110V irons that will not plug in here, mystery solder that will not flow, and stations priced for a workshop you do not have.
This guide tells you exactly how to choose a soldering iron and solder for electronics work in South Africa, what the specs mean, and the beginner mistakes that waste money. No prior experience required.
A loose joint is the most common fault you can actually fix yourself. Headphone leads snap. Charger pins crack. Game controller traces go cold. A battery tab lifts off. None of these needs a new device — they need a clean reconnection, and that is soldering.
Load shedding makes this more relevant, not less. When adapters and chargers take surge and brownout hits, the joints inside them are exactly what fails. Knowing how to open one, check a connection and rejoin it means you are not queuing at a repair shop that may itself be dark.
Soldering is the one repair skill that turns “I broke it” into “I fixed it” for a huge share of everyday electronics faults.
If you are new to the iron entirely, start with our beginner’s soldering guide for temperature, tinning and technique before you buy.
Not all irons are equal, and the right one depends on how fine your work is and how often you will use it.
A fixed-temperature 220–240V electric soldering iron with a fine-pointed tip is the classic starter. It heats to a set temperature, draws a modest current, and plugs straight into a standard South African outlet. For phones, laptops, cables and small boards, it is all most people need.
A station pairs the iron with a base that controls temperature. You dial in the heat; it holds it. That matters for finer work and for lead-free solder, which needs more heat. Stations cost more and take bench space — upgrade to one only once a basic iron starts to feel limiting.
Handy for field work, but watch the tip temperature and the duty cycle. They are a supplement, not a replacement, for a proper mains iron when you are learning.
For consumer electronics, 25–40 watts is the sweet spot. Lower and the iron cannot keep up with a heat-sinking board; higher and you risk lifting pads and burning components while you learn.
A 220–240V iron in the 30–40W band is the safest first buy on South African mains. Avoid 110V-only irons unless you also run a step-down transformer — they will not run safely on our plugs.
The tip is where the heat meets the joint, so it decides your control.
Beginners should start with a pointed tip and add a chisel later. Keep tips tinned (a thin, shiny coat of solder) — a black, oxidised tip will not transfer heat and is hard to recover from.
Solder is half the result. The alloy and the core decide whether a joint flows or fights you.
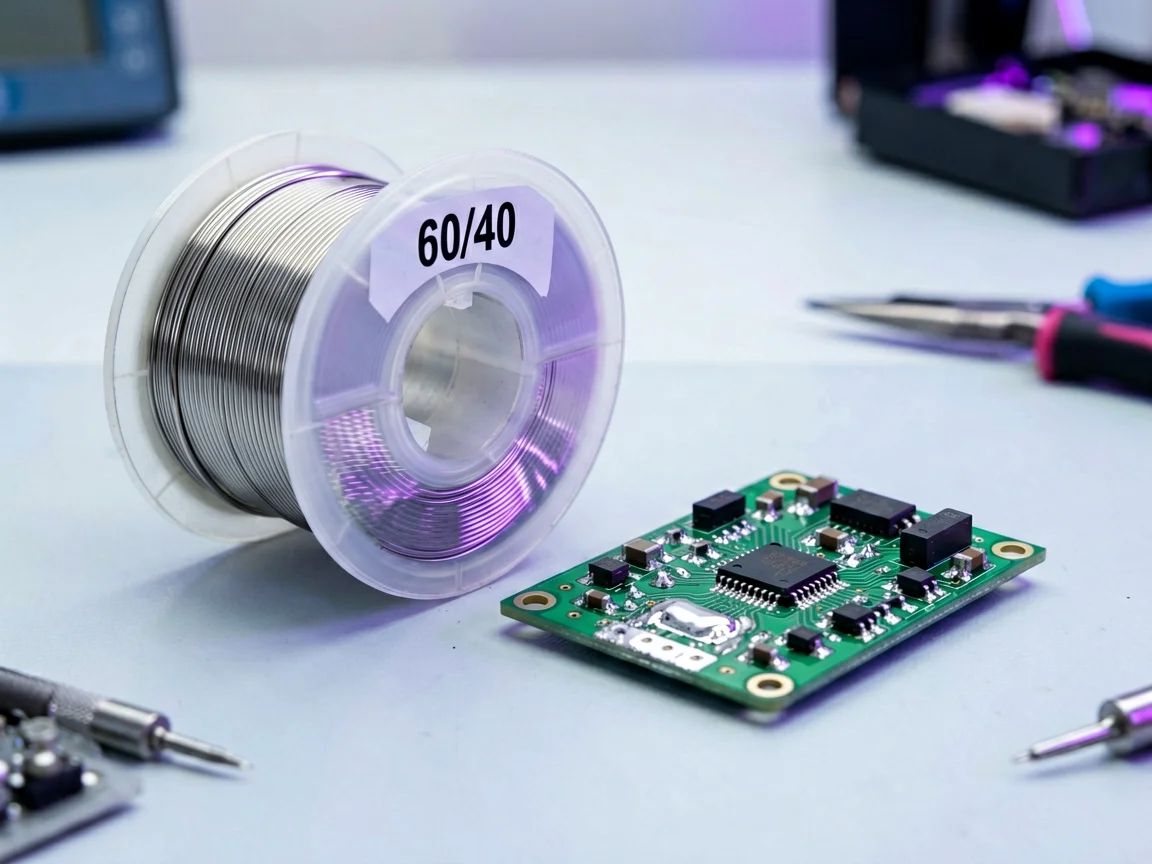
A 60/40 tin-lead solder flows at a lower temperature and is forgiving — exactly what a learner wants. It wets quickly, gives shiny, reliable joints, and is easy to rework. The downside is the lead content: work in a ventilated space and wash your hands afterwards.
The Supa Brite 60/40 flux-core and rosin-core reels are formulated for clean joints on electronics, and both are rated for our local supply chain.
Greener and regulation-friendly, but it needs higher heat and a steadier hand. For a first iron, 60/40 is the gentler teacher; move to lead-free once your technique is solid.
Both carry flux inside the wire, so it cleans the joint as you melt – you skip a separate flux step. ‘Flux-core’ is the general term; ‘rosin-core’ uses natural rosin flux, the traditional choice for electronics. Keep your joints clean.
| If you are… | Buy | Wattage | Solder |
|---|---|---|---|
| Absolute beginner, phones/cables | Pencil iron + 60/40 | 30–40W | 60/40 flux-core |
| Doing finer PCB work | Pencil iron, pointed tip | 30–40W | 60/40 rosin-core |
| Soldering often / lead-free | Temperature station | 40–60W | Lead-free, good flux |
| Field or occasional | USB iron (supplement) | n/a | Whatever your main reel is |
For the full range, browse the soldering supplies category.
Spend on the iron and the solder. The stand, sponge and brush are pennies – buy them; do not agonise over them.
You cannot fix what you cannot see. A healthy joint has three tells.
A cold joint is the classic beginner failure — not enough heat, so the solder never fused with the pad. It looks grey, grainy and lumpy. Reflow it with a hot, tinned tip and a touch more solder, and it should turn shiny. Learn to spot the difference on scrap before you trust it with anything you care about.
Repair means correcting errors, and you will make them. Two tools pull old solder out cleanly.
Both belong in a starter kit next to the iron and solder. Skip them and a single mistake becomes permanent. They also let you harvest parts and fix the cold joints described above.
In South African homes, these are the jobs that come back most often.
None needs a workshop — just the right iron, the right solder, and a little patience.
Local mains bites. A few non-negotiables.
Respect the voltage and the heat, and the hobby stays fun instead of expensive.
If you want the sensible order: begin with a 30–40W 220–240V pencil iron and a reel of 60/40 flux-core solder. Learn to tin the tip, make a joint, and wick a mistake on scrap. Then move to a chisel tip for heavier work, and only later consider a temperature station.
Our beginner’s soldering guide walks the technique step by step, and the electronics repair tools overview shows where soldering sits in the wider kit.
A 30–40W 220–240V pencil iron covers phones, laptops, cables, and small boards. It is hot enough to flow solder yet gentle enough to learn on. Avoid 60W+ until you need it.
Only with a step-down transformer. Buy a 220–240V iron, and it plugs straight into a standard South African outlet.
Yes, for most beginners. It flows at a lower temperature and is more forgiving, which makes clean joints easier to achieve while you build technique.
Both carry flux inside the wire. Rosin-core uses rosin-based flux, a traditional choice for electronics; ‘flux-core’ is the broader term. Either can help clean the joint while soldering, although extra flux may still be useful on difficult or oxidised surfaces.
No. A simple 220–240V iron is enough to learn on. A station adds temperature control for finer or lead-free work, so upgrade only when the basic iron feels limiting.
It has oxidised. Wipe it on a damp sponge, re-tin it with fresh solder, and keep it tinned after every session. Replace a badly oxidised tip if it will no longer accept solder.
Unplug the device and work only on powered-down boards. Ventilate the room, and keep the hot tip away from skin, children and pets. Mains-side faults belong to a qualified electrician; beginner soldering work should be limited to low-voltage device repairs.
How do I know if a joint is cold?
It looks grey, grainy or lumpy, and the solder sits on top rather than flowing into the pad. Reflow it with a hot, tinned tip and a little fresh solder until it turns shiny and concave.
Can I solder without a fume extractor?
Yes, with basic ventilation. A window or a small desk fan moving air past your work is enough for occasional soldering. A proper extractor is worth it once you solder often.
Should solder be lead-free for home repairs?
Lead-free is greener but needs more heat and a steadier hand. For a first iron, 60/40 is the gentler teacher; switch to lead-free once your technique is solid and you ventilate well.
What diameter solder wire should I buy?
0.6–0.8 mm is the sweet spot for electronics – fine enough for pads and easy to control. Avoid thick 1.0mm+ wire, which dumps too much solder on small joints and bridges them.
Why does my solder ball up instead of flowing?
Usually a cold or dirty surface. Make sure the pad and the tip are hot and tinned and that flux is present (flux-core or rosin-core solder provides it). A clean, hot joint pulls the solder in; a cold one lets it bead up.
Information Notice: Product specifications, prices, stock levels and delivery options mentioned or linked above may change. For current availability, specifications or delivery details, please use our Contact Us page. Nothing in this article constitutes a purchase offer or commitment to supply.
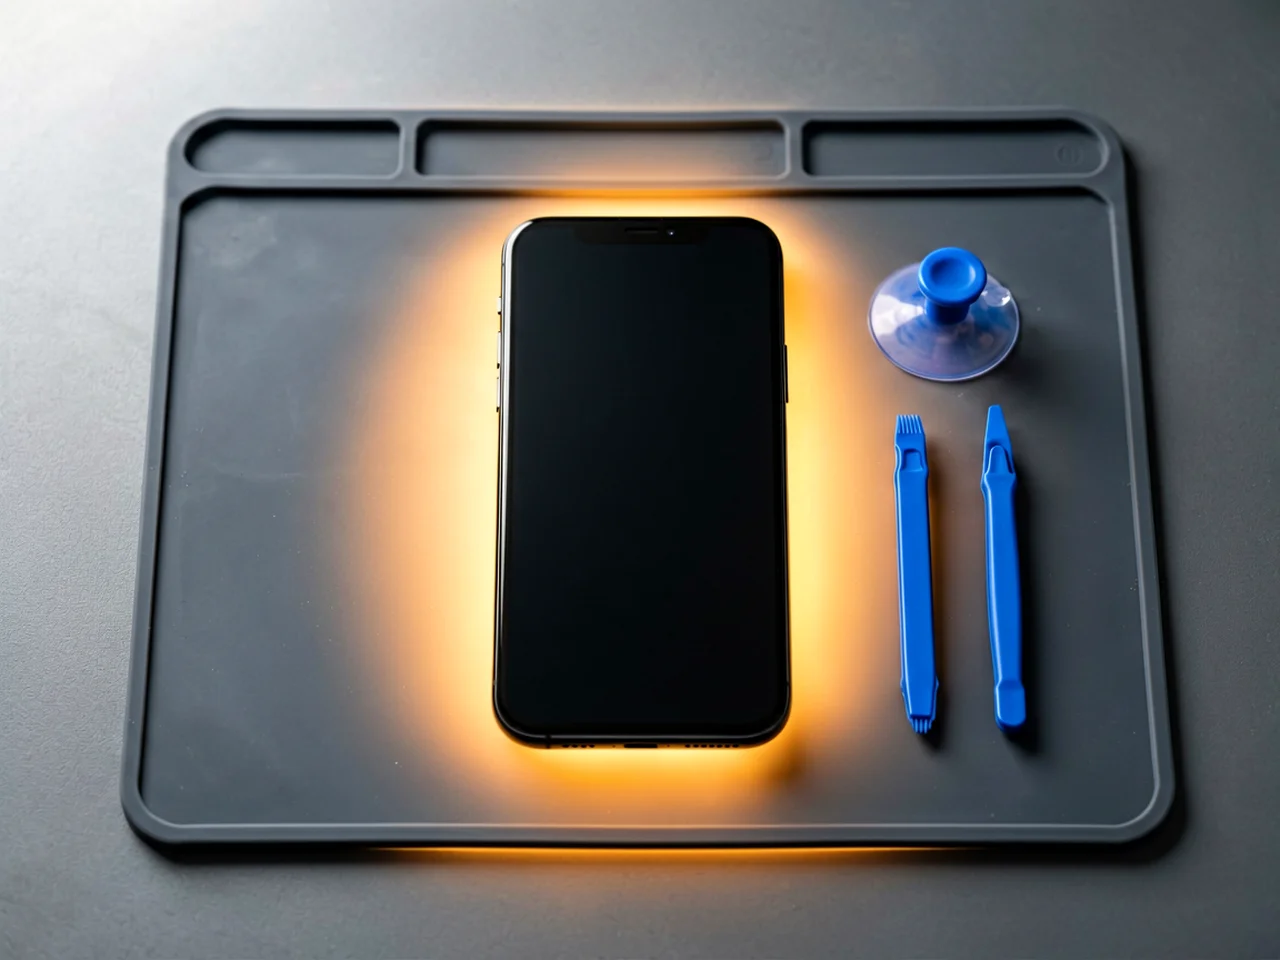
Most cracked phone panels don’t come from a shaky hand. They come from the wrong temperature. Heat the adhesive too little and the glass fights you until it snaps. Heat it too much, or in one spot, and you cook the panel underneath instead — which is how “repair” turns into “replace”. This guide is […]
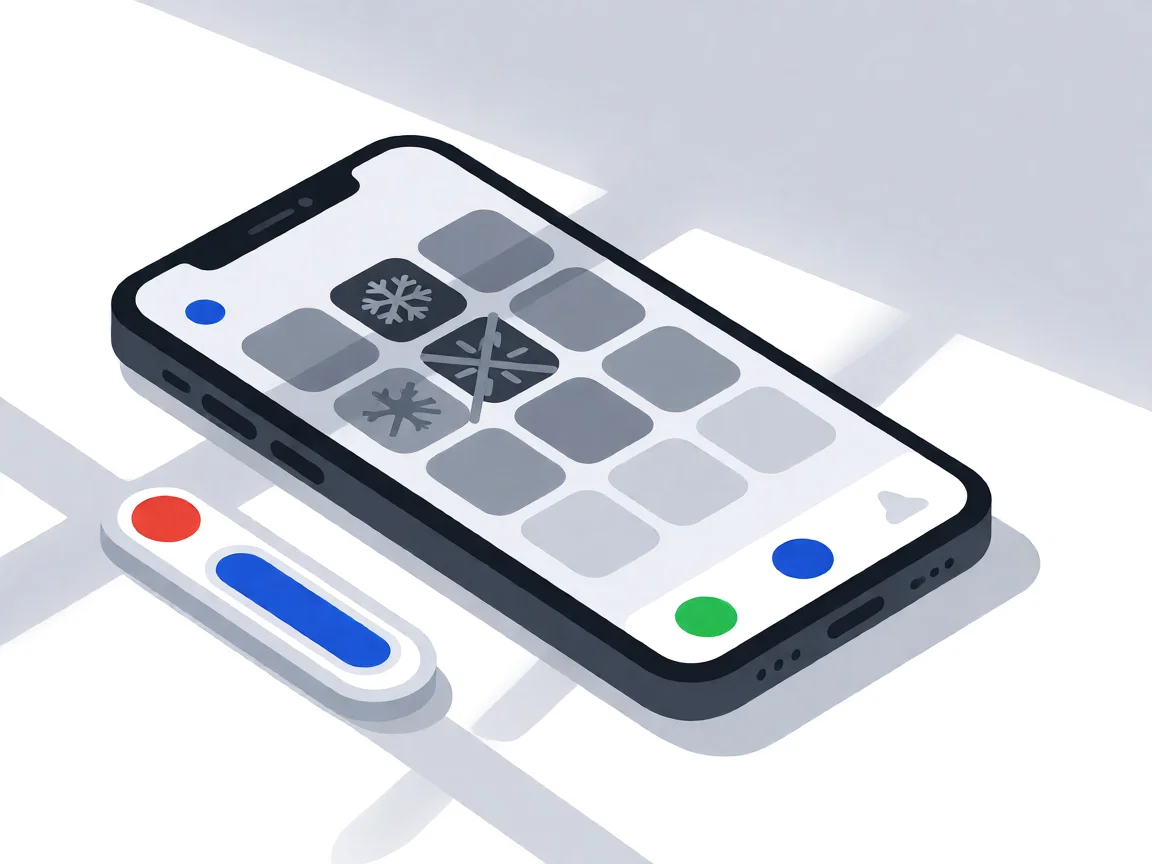
You tap an app and nothing happens for ten seconds, then the whole screen freezes mid-animation. You wait, you tap again, the phone buzzes once and sits there. Sometimes a restart clears it for a day, sometimes it freezes again as soon as you open WhatsApp, and sometimes it started after an update or when […]

You open Maps or your taxi-hailing app, and the blue dot never settles, or it places you three streets away. You stand outside with a clear sky above you, and the phone still takes minutes to lock on, or it locks on and then drops your position into the middle of a field. Sometimes the […]
4 responses