
trace, orMost phone repairs do not need micro soldering. A screen swap, a battery change, a charging-port clean — none of them touches a soldering iron. Micro soldering tools only earn their place when you start fixing faults on the logic board itself: a dead charge IC, a lifted pad, a cracked trace, a dock connector with broken pins.
In this guide:
This guide explains what micro soldering actually involves, the tools that make it possible, and the honest cost of getting into board-level repair in South Africa — so you can decide whether you need them now, later, or never.
Micro soldering is soldering on components measured in millimetres or fractions of a millimetre. Instead of through-hole parts you can see with the naked eye, you are working with surface-mount (SMD) parts: resistors the size of a grain of sand, capacitors smaller than a pinhead, and ICs with dozens of legs spaced 0.4 mm apart.
charging portThe name comes from the scale, not the skill. It is the difference between joining a headphone wire (normal soldering) and reflowing a charging-port connector on a phone logic board (micro soldering).
Micro soldering is not a harder version of soldering. It is a different discipline with different tools, different eyes, and different stakes.
You already know how to solder from our beginner’s soldering guide — micro soldering builds on those basics but adds magnification, fine tips, flux discipline and heat control.
The honest answer: rarely, unless you repair phones for a living or enjoy board-level work as a hobby. Here is the practical threshold.
If you only do screen and battery work, skip this article’s shopping list. Spend the budget on a better toolkit instead — our guide to the essential tools every repairer actually needs covers what pays for itself.
micro-solderingBefore you buy any micro soldering tool, confirm the fault actually lives on the board. These are the classic symptoms that point to board-level work:
board); andCompare that to the faults that are almost never board-level: a slow phone (storage and RAM, not soldering); a loose port that still charges (port wear, not board), a phone that charges only with a specific cable (cable, not board). Chasing a board-level fix on those is how beginners burn money.
A multimeter is the first diagnostic tool for all of this — it tells you whether the battery, the port, or the board is the problem before you open anything.
suppliers, andPrices below are rough South African street ranges (Takealot, local suppliers, imports) — they move with the rand, so treat them as orientation, not quotes.
| Tier | Tools | Typical cost (ZAR) | Who it is for |
|---|---|---|---|
| Entry | Soldering station, fine tips, flux, wick, magnifier | R600 – R1,500 | Occasional board work |
| Mid | + hot air station, microscope, practice boards | R2,500 – R5,000 | Semi-serious hobbyists |
| Pro | + ultrasonic cleaner, digital microscope, stencils, reballing kit | R8,000+ | Repair businesses |
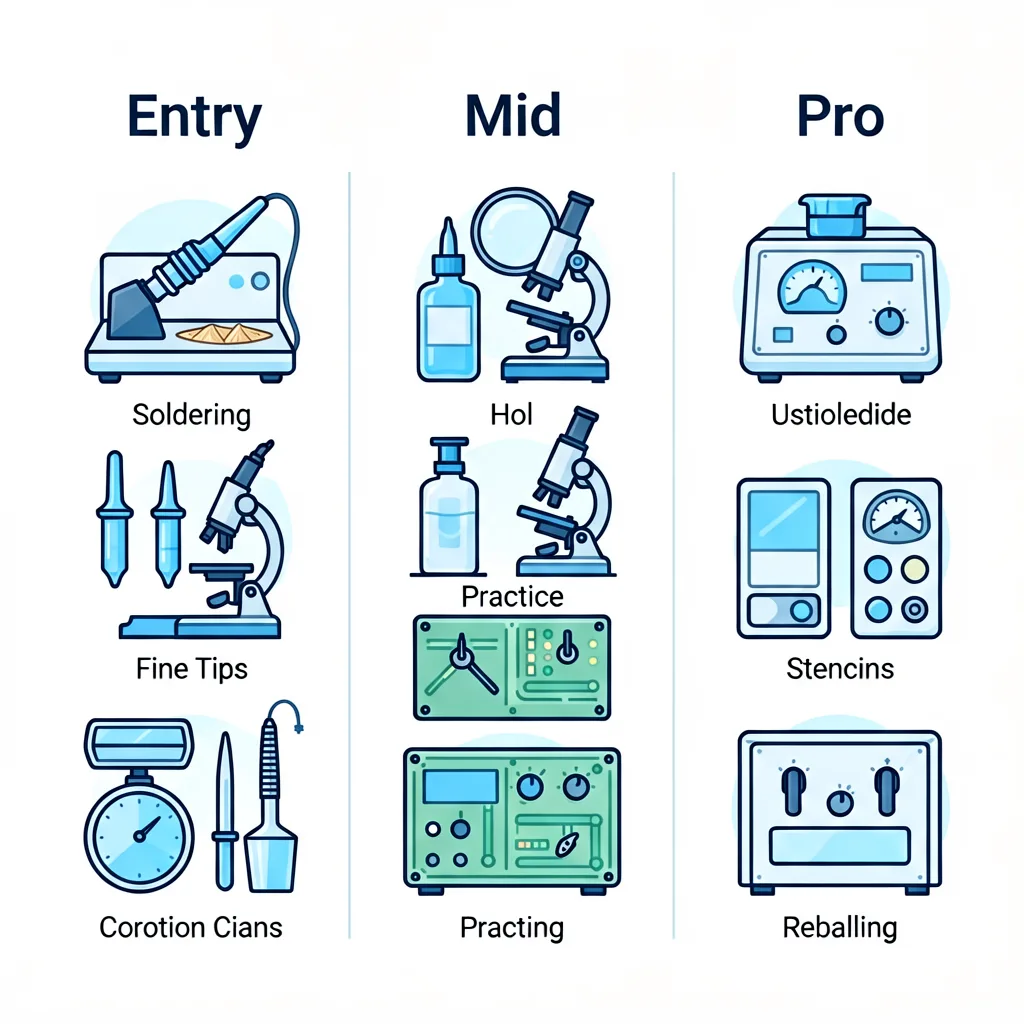
If you decide to proceed, here is the minimum viable set and why each tool exists.
A fixed-temperature pencil iron cannot do micro work. You need a station with a stable tip temperature you can dial in — typically 300–350°C for leaded solder on small joints. Look for a station with a genuine ground (not every cheap one has it) and a sleep mode. If you are still choosing between basic irons, start with our soldering iron buying guide — it covers the 220–240V options that actually plug into South African outlets.
for aMicro-work lives and dies on tip geometry. A standard conical tip is too fat for 0.4 mm pitch. You want:
a microscaleSolder will not wet a joint properly without flux, and on micro scale the margin is tiny. A no-clean flux pen or gel is the single biggest upgrade you can make to your results. Spend the money here before anywhere else.
Mistakes are guaranteed. Wick removes bridges and excess solder; a desoldering pump clears through-holes. Both cost a few hundred rand and save you from destroying boards with brute force.
a goodYou cannot microsolder what you cannot see. A headband magnifier (2–4×) is the minimum. A stereo microscope (10–40×) with good working distance is the real answer — this is the tool that separates guesswork from control. Mid-range digital microscopes with HDMI output start around R1,500.
Buy the microscope before the fancy iron. Magnification multiplies everything you already know how to do; a hotter iron just destroys boards faster.
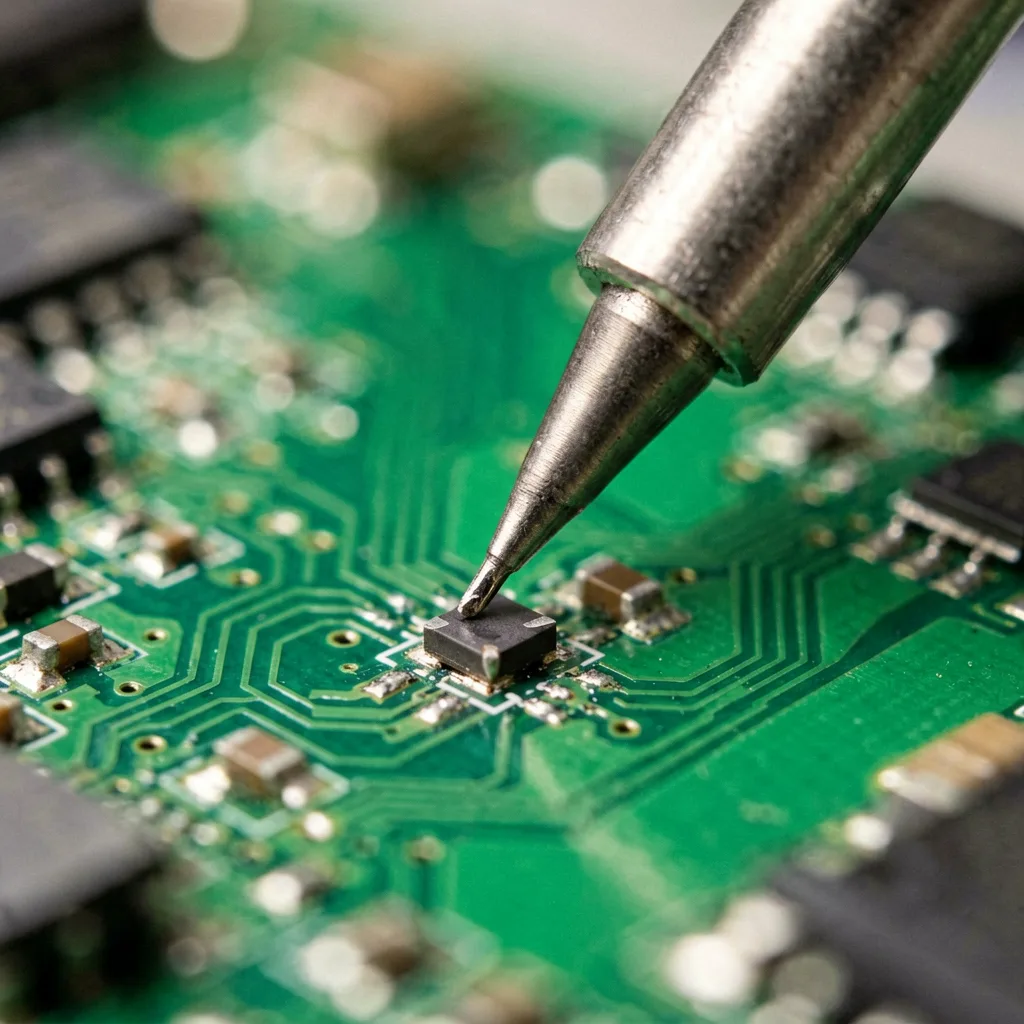
Hot air rework stations blow temperature-controlled air over components to melt solder without touching them. You need one for:
For pure connector and pad work, hot air is optional. For IC-level repair, it is mandatory. Entry stations with nozzle kits run R800 – R2,000 locally.
Micro soldering is about heat control, not heat volume. Three habits separate clean work from lifted pads:
These matter more than the brand of iron. Technique is what the entry and pro tiers in the table above share — the pro tier just does it faster and more repeatably.
Once the tools are on the bench, the workflow for most board-level repairs looks the same:
This is also why practice boards matter — the first five times you run this workflow, something goes wrong. Better it happens on a dead board.
Local sourcing changes the buying decision. In South Africa you are balancing import lead times, rand volatility and support.
Check the repair tools category for what local suppliers stock, then decide what justifies the import wait.
practice – andThe difference between destroying a R2,000 phone board and fixing it is practice — and practice costs money. Budget for:
If you are in South Africa, dead phones are everywhere — ask a local repair shop for their e-waste pile before buying anything.
The faults below account for most failed first attempts. Knowing them in advance saves boards and money.
trace – advancedThe pad comes off the board with the component – usually from too much heat or too little flux. Prevention: use the lowest workable temperature, keep the tip moving, and never yank a component that will not release. If a pad does lift, a thin wire (0.1–0.2 mm) can rebuild the connection to the next trace — advanced work, but knowing it exists tells you the repair is not always over.
Solder connects two adjacent legs that should be isolated. It happens to everyone on 0.4 mm pitch ICs. Fix: apply fresh flux over the bridge and drag the iron tip between the legs — surface tension pulls the excess away. This is exactly why flux and wick are on the core kit list.
connected,The joint looks connected but the solder never bonded with the pad. Classic cause: not enough heat or a dirty tip. The joint looks grey and grainy instead of shiny. Reflow with flux and a tinned tip; if it still will not wet, the tip is oxidised — clean and re-tin it.
The most expensive mistake happens before the iron is even hot. Jumping straight to board-level repair on a fault that is actually a worn port, a dead battery, or a bad cable turns a small fix into a costly lesson. Always test the cheap explanations first with a multimeter.
Micro-soldering raises the stakes on the basics we covered in the beginner soldering guide:
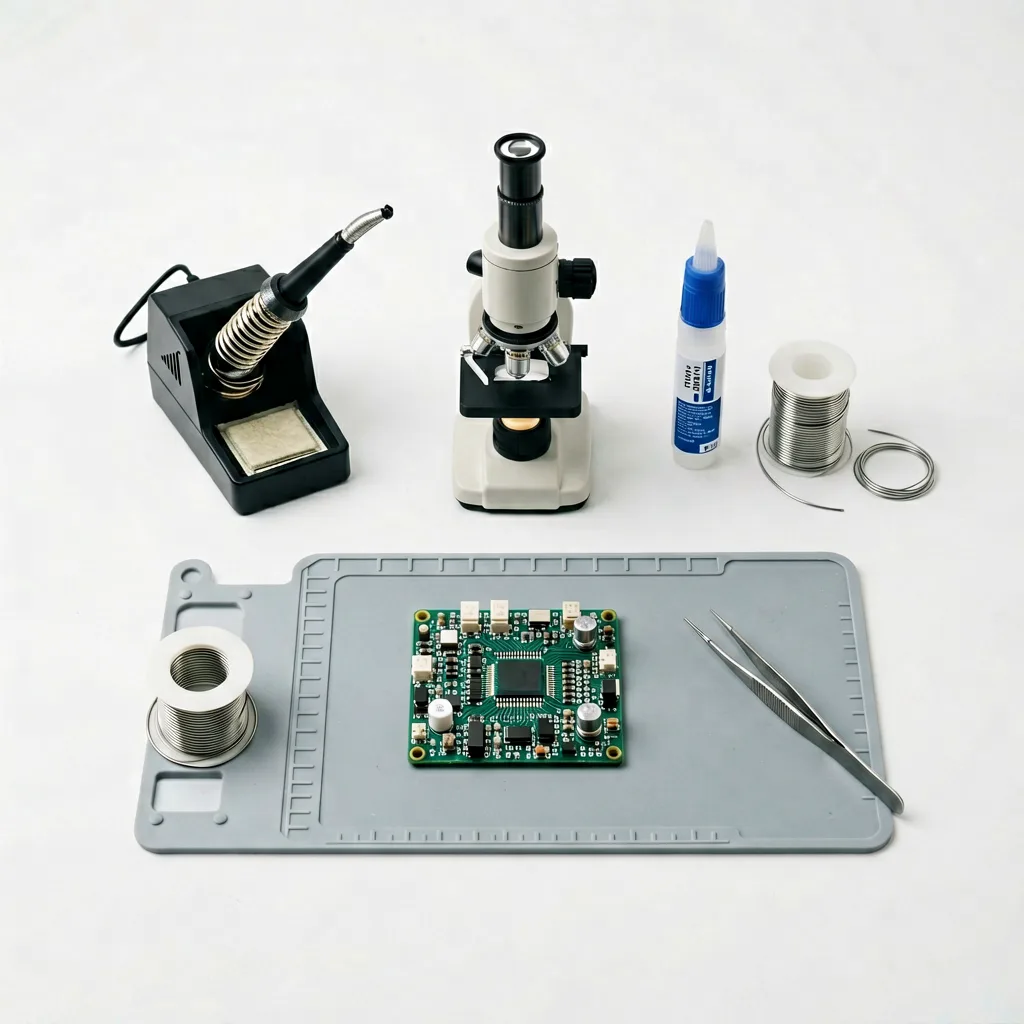
Board-level repair has a learning curve measured in months. If any of these apply, the honest move is a professional repair shop:
Professional board repair in South Africa typically costs R400 – R1,200 per fault depending on the component and the shop. Compare that to your toolkit budget plus risk, and the maths usually says “shop” for a one-off job.
Whatever you decide, keep the first repair small. Start with a phone you own, a fault you have diagnosed, and a practice board for the soldering itself. Micro soldering rewards patience and punishes shortcuts — the tools are a means, not a shortcut.
Soldering joins wires and through-hole parts. Micro soldering works on surface-mount components measured in millimetres, using magnification, fine tips and precise heat control.
Yes, realistically. A headband magnifier is the bare minimum; a stereo or digital microscope (10–40×) is what makes the work controllable.
An entry station plus fine tips, flux and wick runs cost R600 – R1,500. Adding hot air and a microscope takes a serious setup to R2,500 – R5,000.
No — the port is soldered to the logic board. Cleaning the port with a needle and a new cable fixes most charging faults without opening the board.
Only for IC-level work like chip replacement or reballing. Connector and pad repairs can be done with a fine-tipped iron alone.
Skipping flux. Without it, solder will not wet micro-pads reliably, and every joint looks connected but fails later.
Plan on 20–40 hours of practice on dead boards before trusting yourself on a live phone logic board.
This guide is educational. Board-level repair carries real risk of damaging devices, and lithium battery handling, heat and flux fumes have safety implications. Always work in a ventilated area, follow manufacturer guidelines where they exist, and when in doubt, hand the device to a qualified repair technician. Tool prices quoted are indicative third-party market ranges, not our prices, and may change without notice.
Most cracked phone panels don’t come from a shaky hand. They come from the wrong temperature. Heat the adhesive too little and the glass fights you until it snaps. Heat it too much, or in one spot, and you cook the panel underneath instead — which is how “repair” turns into “replace”. This guide is […]
You tap an app and nothing happens for ten seconds, then the whole screen freezes mid-animation. You wait, you tap again, the phone buzzes once and sits there. Sometimes a restart clears it for a day, sometimes it freezes again as soon as you open WhatsApp, and sometimes it started after an update or when […]

You open Maps or your taxi-hailing app, and the blue dot never settles, or it places you three streets away. You stand outside with a clear sky above you, and the phone still takes minutes to lock on, or it locks on and then drops your position into the middle of a field. Sometimes the […]
One Response