
POTATOTECH is currently in pre-launch. Product information and repair guides are available to browse. Online ordering and payment are not yet available.

Game Console Repair: DIY vs Pro in South Africa (2026)

Your console will not turn on after a power cut. Or it turns on, but there is no picture on the TV. In South Africa, both stories usually end the same way: a decision between opening the console yourself and handing it to a repair shop. That decision is mostly about where the fault sits – on a part you can reach with a screwdriver or on the main board where one slip can end the console.

This guide gives you a practical framework for game console repair in South Africa: how load shedding damages consoles, which repairs are genuinely safe to do at home, which ones to leave to a professional, and what each route typically costs. It is a decision guide, not a teardown tutorial — for board-level work, the right answer is almost always a workshop.

Key Takeaways

  • Load shedding is the top console killer in SA. Power surges when electricity returns can damage the power supply and, less often, the main board.
  • The single best protection is a surge protector (and unplugging during extended outages) — far cheaper than any repair.
  • Safe DIY: storage upgrades (PS4 officially supports HDD replacement), external cleaning, cable and peripheral swaps.
  • Borderline DIY: internal cleaning and fan or thermal paste service — doable with patience and the right tools, but you open the case and may affect the warranty.
  • Leave to professionals: anything on the main board — HDMI port, power supply components, graphics chip rework — this is micro-soldering territory.
  • Board-level repairs typically run R700–R3,000, a refurbished console around R6,500, and a new console R12,000+, so repair usually wins financially if the quote is sane.

How Load Shedding Damages Consoles

It is rarely the darkness that hurts your console — it is the return of power. When the grid comes back, voltage can briefly spike or fluctuate before it stabilises. That surge travels straight into whatever is plugged in, and a console’s power supply is on the front line. Repeated surges stress the power circuitry over time; one large spike can kill it outright. (Eskom’s own guidance treats surge-sensitive electronics as a normal load shedding casualty — see the Eskom website for schedules and safety notices.)
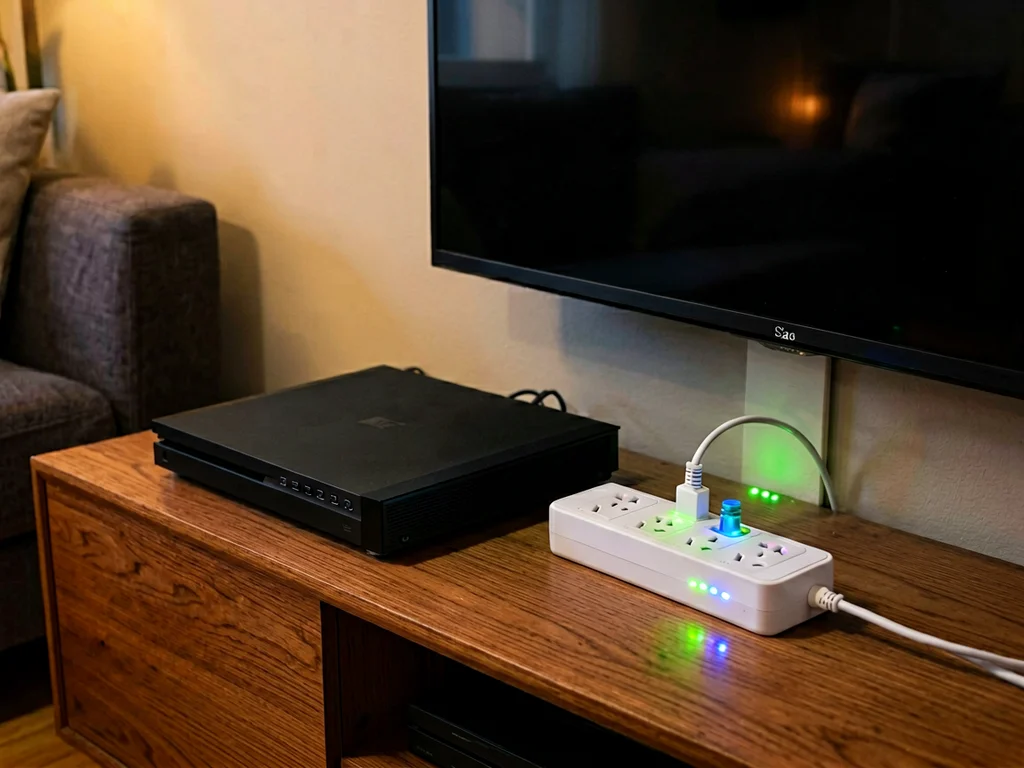
A game console plugged into a surge protector with power indicator lights during a load shedding recovery check

Post-outage damage check (5 minutes)

After electricity returns, run this quick sequence before you panic:

  • Wall socket first. Confirm the outlet works — plug in a lamp or phone charger.
  • Check the surge protector. Many absorb a big hit and sacrifice themselves; if its protection light is out, replace it and treat the console as at risk.
  • Smell test. A burnt or ozone smell from the console’s rear means internal damage — stop and unplug it.
  • Signs of life. Listen for the fan and watch for status LEDs. Power LEDs that blink in patterns point to specific hardware faults (each console’s manual decodes them).
  • Picture check. Powers on but no image? Note what you see — that symptom pattern matters later in this guide.

Prevention beats repair: a basic surge protector costs less than a takeaway meal and absorbs the spikes that kill power supplies. For long outages, unplug the console entirely — nothing plugged in can be surged.

What You Can Safely Repair Yourself

The line between DIY and professional is not about courage — it is about whether the faulty part is a pluggable module or soldered to the board. Here is the three-tier breakdown for the South African context.

Green zone — safe DIY, no case opening

  • Storage upgrades. Sony officially supports user hard disc replacement on PS4 (see PlayStation Support — hardware guides); the PS5 allows internal SSD expansion; and the Xbox supports external drives and its storage expansion card (see Xbox storage options). Screwdriver-level work with official instructions.
  • Cables and peripherals. HDMI cable, power cable, controllers — swap-test before blaming the console.
  • External cleaning. Vents and ports with compressed air; dust is a genuine overheating cause.
  • Software recovery. Safe mode, database rebuild, and firmware reinstallation are free, and they fix a surprising share of “dead” consoles.

Yellow zone — borderline DIY; case comes off

  • Internal dust cleaning and fan service. Well documented per model; needs a precision screwdriver set and patience. Good first project if you accept the risks below.
  • Thermal paste replacement. Fixes overheating shutdowns in older consoles. Effective, but you must remove the cooler — and reassembling with too much or too little paste causes new problems.
  • Warning: opening the case can void the remaining warranty, and ribbon connectors inside tear easily. If the console is newer or the fault is intermittent, a workshop diagnosis first is the safer bet. A precision kit such as a 26-in-1 repair toolkit covers the screwdriver bits consoles actually use.

Red zone — leave it to a professional

  • HDMI port replacement. The port is soldered to the main board with through-hole and surface-mount joints; replacement is a hot-air rework job (more below).
  • Power supply repair. Console PSUs hold capacitors that can retain charge, and fault-finding is board-level. The PSU on many models is replaced, not repaired — a workshop can source and fit the right unit.
  • GPU/APU rework and no-display failures. These involve reflow or reballing work under a microscope — this is exactly what micro-soldering workshops exist for, not a desk project.
  • Disc drive mechanisms. Replaceable, but alignment and model matching matter; a wrong-part installation creates a second fault.

Rule of thumb: if the fix needs a soldering iron, hot air, or a microscope, it is not a DIY job. Hobbyist board repair ruins more consoles than it saves.
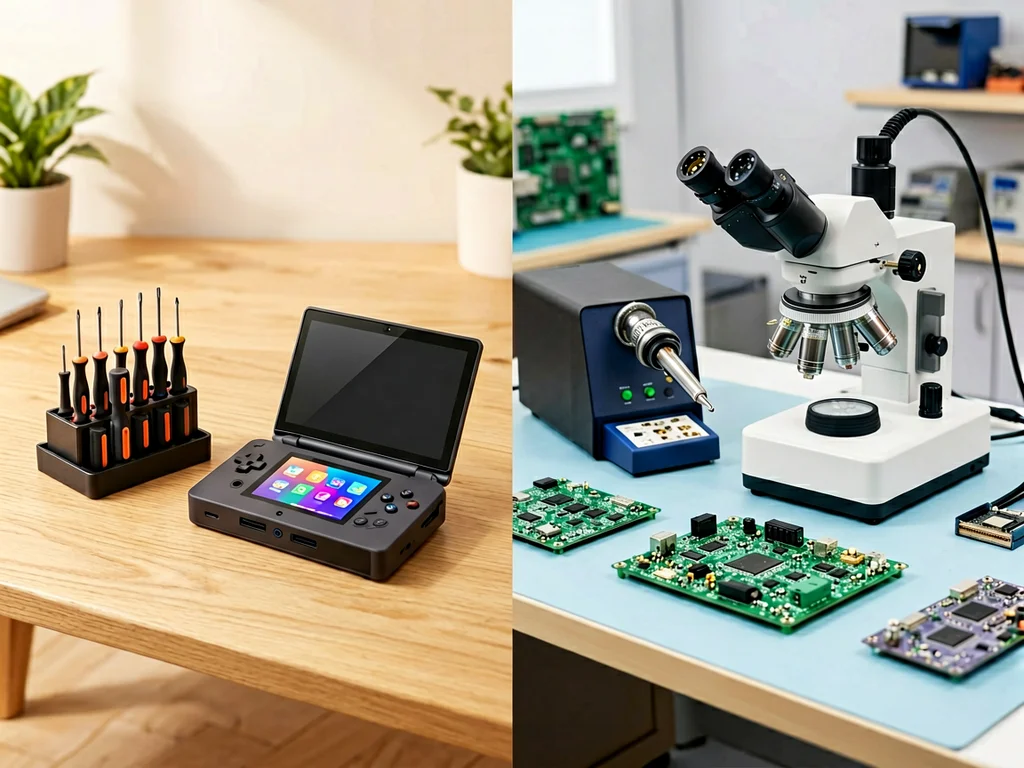
What Console Repair Costs in South Africa

Side-by-side comparison of a DIY home repair desk and a professional repair lab workbench

Indicative 2026 market ranges are observed across South African repair shops and retailers — quotes vary by shop, so always request a written quote before committing:

RouteTypical cost (ZAR)What you get
DIY (green zone)R0 – R500Tools you may already own + parts like a hard drive
DIY (yellow zone)R300 – R900Precision toolkit, thermal paste, compressed air, your time
Professional board repairR700 – R3,000Diagnosis + repair with warranty, varies by fault and model
Refurbished consoleAround R6,500Replacement unit with limited warranty
New consoleR12,000+Current-generation retail price in SA

The economics favour repair in most cases: a board-level fix at the lower end of the range costs a fraction of replacement. Where replacement wins is when the repair quote approaches half the price of a refurbished unit, or when the console has multiple failing systems. Get the fault diagnosed first, then compare written quotes — not guesses.

The Classic Case: HDMI Port Damage

The most common board-level fault seen by repair shops is a damaged HDMI port — reported as a routine failure by South African console repairers. It usually follows physical stress: the console moved while plugged in, the cable snagged, or someone pushed the plug in upside down (yes, it happens more than you would think).
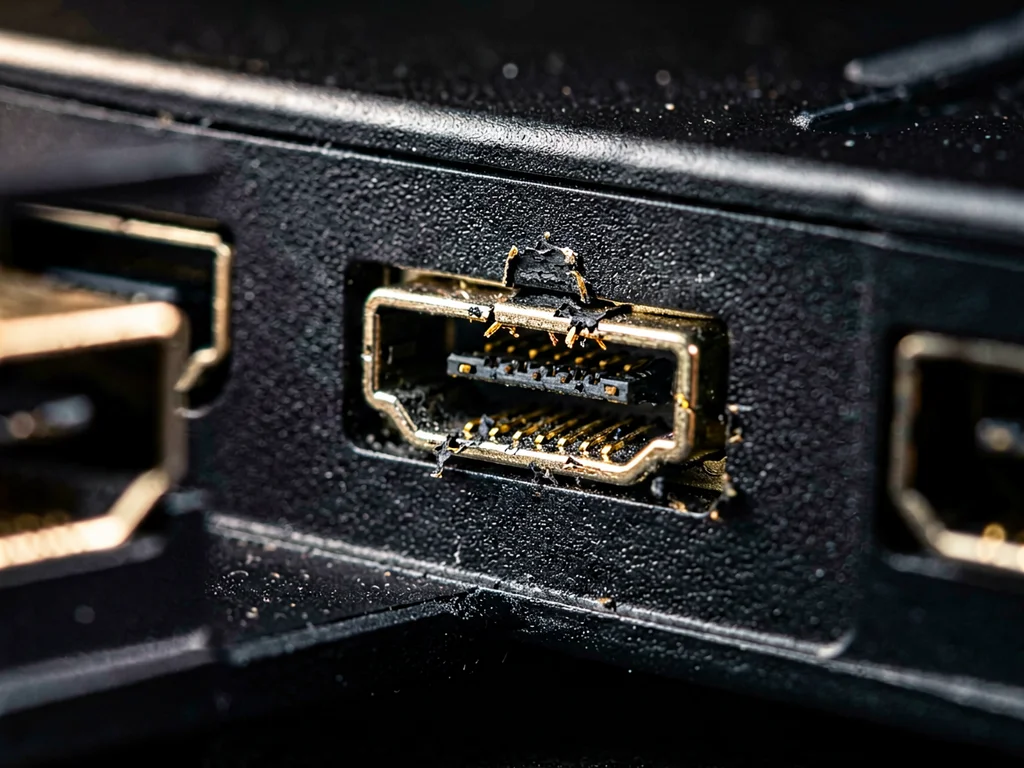
Burnt and melted HDMI port on a game console showing heat damage with charred plastic housing and exposed pins

Symptoms of HDMI port damage

  • No signal on the TV, while the console clearly powers on (fans and LEDs).
  • Picture drops out when the cable or console is touched — the classic loose-connection signature.
  • A visibly bent, sunken or wobbling port when you look into the rear panel with a torch.
  • Lines or flickering before the picture fails completely.

First rule out the cheap causes: try another HDMI cable, another TV input, and another TV if possible. If the port itself is physically damaged, the fix is a port replacement — the old port is desoldered with hot air and a new one fitted, then each pad on the board is checked under magnification. That is precisely the kind of work done in a micro-soldering workshop, and attempting it without rework equipment usually lifts the pads that make the repair possible.

When to Hand It to a Professional

  • The console will not power on at all, and a known-good outlet and cable rule out the simple causes.
  • There was a surge event, and the console now smells burnt or trips your earth-leakage switch.
  • The HDMI port is physically damaged — board work, not DIY.
  • Overheating persists after cleaning and fresh thermal paste.
  • You opened it, looked at the board, and felt no confidence — stop there; reassembly mistakes add faults.

When choosing a repair shop, ask three questions: do they give a written quote before work starts, do they offer a warranty on the repair, and do they work on your specific model? South Africa has no mandatory right-to-repair law, so third-party workshops are the cost-effective path — choosing a careful one is your consumer protection.

Frequently Asked Questions

Is it worth repairing a game console, or should I buy a new one?

Usually repair board-level fixes typically run R700–R3,000 against around R6,500 for a refurbished unit and R12,000+ for a new console. Repair wins unless the written quote approaches half the price of a refurbished replacement or the console has multiple unrelated faults.

Can load shedding actually damage my console?

Yes — the risk is the surge when power returns, not the outage itself. Surges stress or kills power supplies. Use a surge protector, and unplug the console during long outages for complete protection.

What console repairs can I safely do myself?

Storage upgrades (officially supported on PS4, PS5 and Xbox), external cleaning, cable swaps and software recovery are safe. Internal cleaning and thermal paste service are borderline DIY. Anything involving the main board — HDMI port, power supply, chip rework — belongs in a workshop.

How much does console repair cost in South Africa?

Indicative 2026 ranges: board-level repairs are R700–R3,000 depending on fault and model. Quotes vary by shop — always get a written quote with a diagnosis before authorising work.

Why is HDMI port repair a professional job?

The port is soldered directly to the main board. Replacement needs hot-air rework to remove the old port without lifting the pads, then inspection under magnification. Without that equipment, a DIY attempt usually turns a R700 repair into an unrepairable board.


Discrepancy Notice: Our online shop is still under preparation. Product prices, availability and shipping options are subject to change. This article is for informational purposes only — for product or compatibility questions, contact us at support@potatotech.co.za.

Going further: browse our repair tools category, read our micro-soldering tools guide for what board-level repair involves, or start with choosing a repair tool kit and our 26-in-1 precision toolkit overview.
Sources

About This Guide

POTATOTECH publishes research-based guidance on electronics repair, replacement parts, tools and device compatibility for South African users. Our content may reference manufacturer documentation, product specifications, technical repair resources and South African market information where relevant. Where POTATOTECH has not independently tested a product or repair method, researched information is not presented as first-hand testing. About POTATOTECH: /about-us/

Important

POTATOTECH provides information about replacement parts, repair tools and device compatibility. POTATOTECH is not affiliated with or endorsed by device manufacturers unless explicitly stated. Product names, trademarks and brands belong to their respective owners. Compatibility information is provided as guidance. Always confirm the exact device model, model number and relevant part specifications before selecting or purchasing a replacement part. Repair information is provided for general informational purposes. Follow manufacturer guidance and appropriate safety precautions when carrying out repairs.

2 responses

Leave a Reply

Your email address will not be published. Required fields are marked *

Related Articles

iPhone Back Glass Replacement: A Complete South African Guide (2026)

iPhone Back Glass Replacement: A Complete South African Guide (2026)

Cracked iPhone back glass? Learn DIY vs professional replacement costs in South Africa, how long it takes, and when to seek help.
iPad Screen Replacement Cost in South Africa (2026): Complete Guide

iPad Screen Replacement Cost in South Africa (2026): Complete Guide

How much does an iPad screen replacement cost in South Africa? Compare DIY vs professional repair costs for all iPad models.
How to Choose Bluetooth Headphones in South Africa (2026)

How to Choose Bluetooth Headphones in South Africa (2026)

Choosing the right Bluetooth headphones in South Africa isn’t just about picking the first pair you see. Whether you’re commuting on the Gautrain, working from home, or gaming online, the right headphones make a real difference to your experience—and your wallet. This guide breaks down what actually matters when you’re shopping for wireless headphones in […]