
For a beginner in South Africa, a practical phone repair kit should start with precision screwdrivers, plastic pry tools, anti-static tweezers, a suction cup, a magnetic screw mat and a safe low-heat source. A multimeter and soldering tools are useful later, but are not essential for first screen and battery repairs. Choose a kit by bit coverage, build quality, local availability and safety—not by piece count or an unsupported “best” claim.
This guide walks you through what actually belongs in a starter kit, what you can safely skip, how to choose between budget tiers, and how to set up a workspace that won’t end in stripped screws or lost components.
In this guide:
It is tempting to grab a household screwdriver and a butter knife. Don’t. Modern smartphones use proprietary screw heads—pentalobe on iPhones, Torx on many Android boards, and tiny Phillips on brackets—that strip instantly under the wrong bit. A quality phone repair tool kit built for the job gives you the correct bits, the right leverage, and the small parts organisation that prevents an R20 screw from vanishing into your carpet forever.
The second reason a proper phone repair tool kit matters is safety. Phones carry lithium batteries that puncture dangerously when pierced by a metal pry tool. The plastic spudgers and opening picks in a proper kit are designed to separate glued panels without stabbing the cell. Improvising with metal cutlery removes that margin of error.
In the South African context the case is even stronger. With the rand’s movement pushing imported device prices up and a lively local second-hand phone market, keeping an older device alive with a R300 battery or a R600 screen is often the rational choice. A one-time kit purchase turns repeated shop visits into a Saturday-morning habit you control. The only prerequisite is the right tools and the patience to use them slowly.
A genuine starter kit is not a 50-piece mystery box. It is a focused set of tools that covers the three things every beginner repair touches: screws, glue, and small parts. Here is the breakdown.
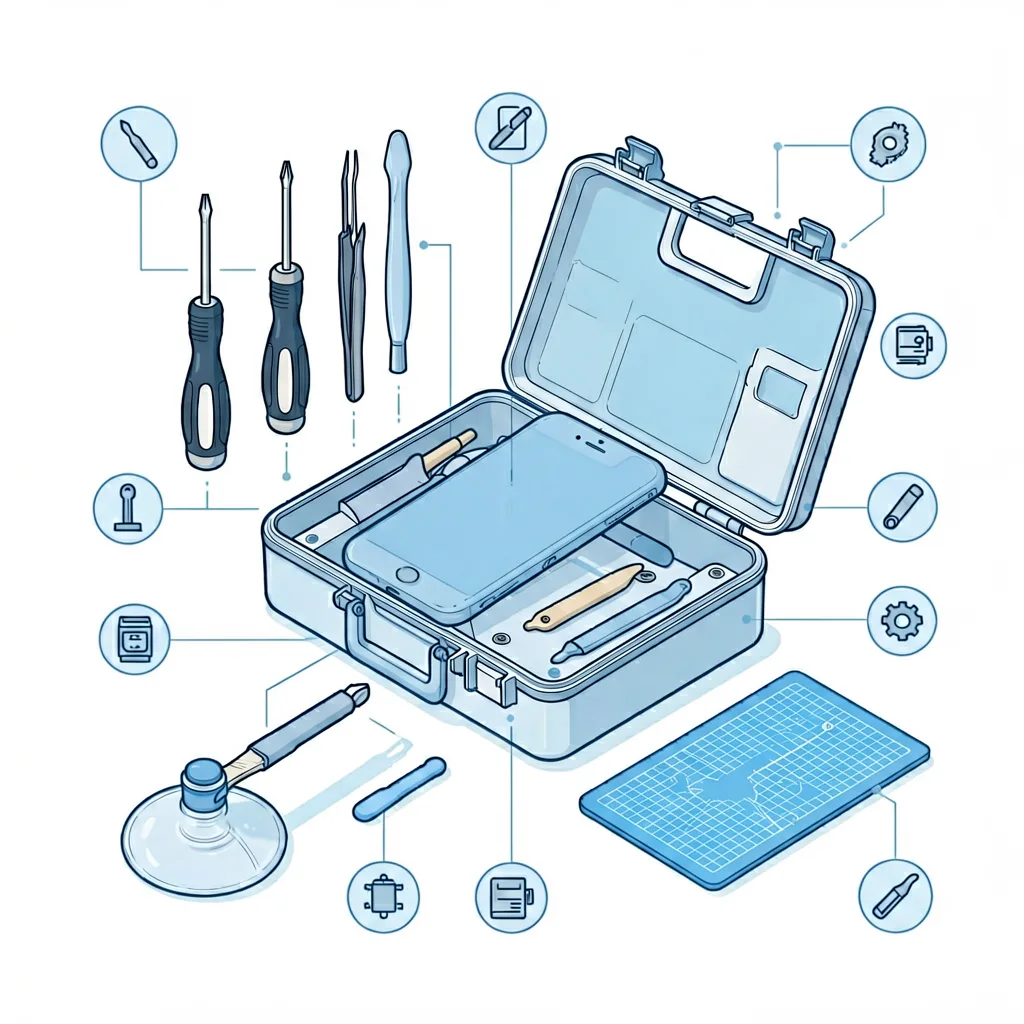
This is the heart of the kit. Look for a set with interchangeable bits covering the following:
– Pentalobe (P2/P5)—the five-point star screws on the outside of iPhones. – Phillips (#000, #00)—the tiny cross-head screws on brackets and shields. – Torx (T3, T4, T5)—common on Samsung, Huawei, and board-level screws. – Tri-point (Y000)—used on some iPhone internal brackets.
A magnetic driver handle makes a huge difference. The bit stays put, and the magnetised tip lifts screws out of deep holes without tweezers.
Glue holds most modern phones together. You separate it with heat and patience, not force. Your kit should include:
– A plastic spudger—a flat, non-conductive lever for disconnecting cables and lifting panels. – Metal pry picks (2–3)—thin wedges that hold a screen gap open while you work around the edge. – A suction cup—small (30–60 mm) with a firm pull tab, used to lift the screen away from the adhesive once it is warm. – An opening pick/guitar pick—slides along the seam to cut adhesive without damaging the frame.
Anti-static angled tweezers let you place and remove connectors, springs, and gaskets you could never pinch with fingers. Pair them with a magnetic silicone screw mat—a labelled tray where you park each screw in the order you removed it. This single item is the difference between a 20-minute reassembly and a two-hour guessing game.
You do not need a professional heat plate to start. A hairdryer on low-medium or a cheap infrared heat pad softens adhesive enough for screens and batteries. What you must avoid is overheating—too much heat delaminates the OLED or warps the frame. A heat-resistant tape to mask vulnerable areas is a smart addition.
A non-slip desk mat, good task lighting (a simple LED lamp), and a container for loose parts round out the kit. None of these are glamorous, but together they stop the two most common beginner disasters: lost screws and scratched panels.
Not everything sold as “essential” really is. The table below separates what you will use in nearly every repair from what you can add later as your skills grow.
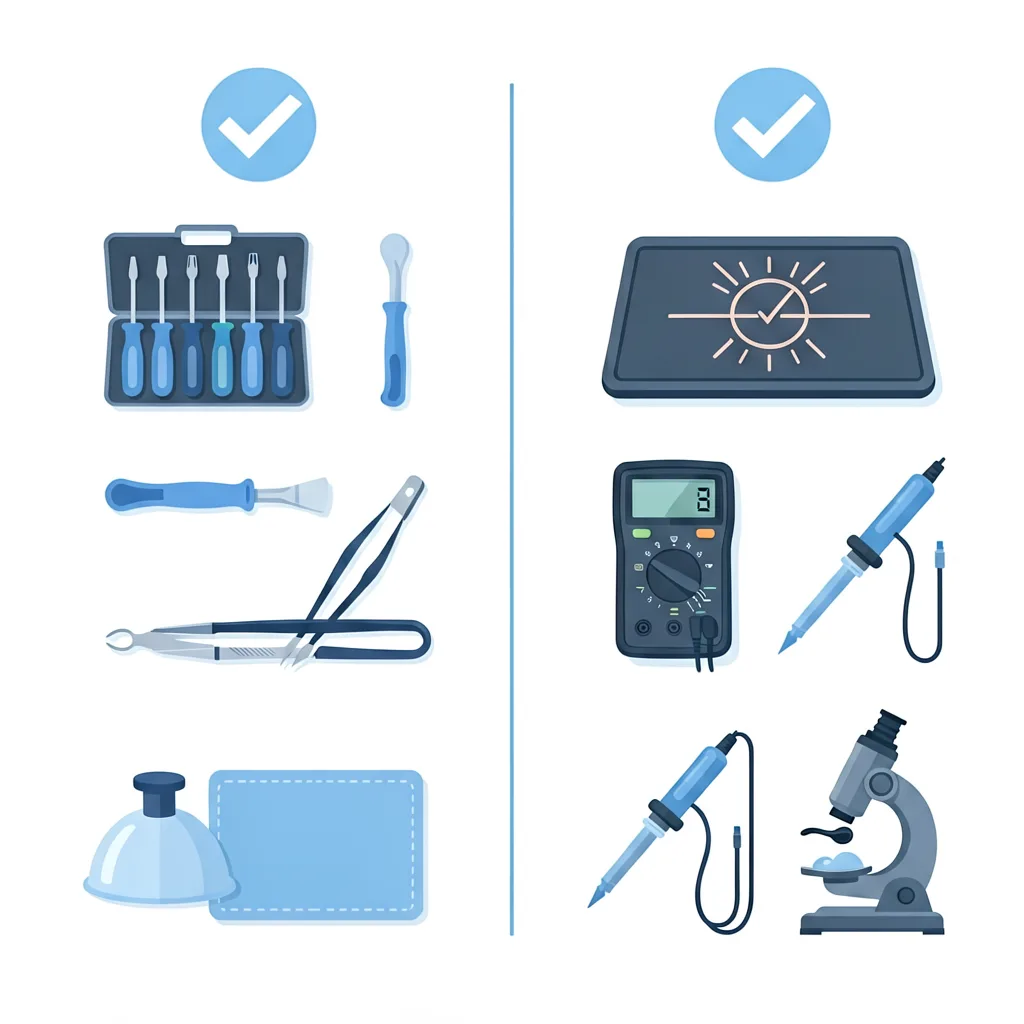
| Tool | Category | Use it on | Beginner priority |
|---|---|---|---|
| Precision screwdriver set | Essential | Every teardown | Must have |
| Spudger and pry picks | Essential | Opening glued phones | Must have |
| Suction cup | Essential | Screen and battery lifts | Must have |
| Magnetic screw mat | Essential | All reassembly | Must have |
| Tweezers (anti-static) | Essential | Connectors, small parts | Must have |
| Heat source (hairdryer/pad) | Essential | Adhesive softening | Must have |
| Multimeter | Nice to have | Diagnosing no-power faults | Add later. |
| Soldering iron / hot air | Nice to have | Charging ports, board repair | Add later. |
| Microscope / loupe | Nice to have | Inspecting solder joints | Add later. |
| Screen separator machine | Nice to have | High-volume screen work | Not needed |
If a kit bundles a multimeter and a soldering iron at a low price, that is fine—but do not let those extras distract you from the essentials. The first six rows are what make or break your first repair.
Two hazards cause most beginner damage, and neither is obvious until it is too late. Build these habits before your first opening.
Every modern phone battery is a lithium cell that can vent, swell, or catch fire if punctured or overheated. The rules are simple but non-negotiable:
– Cut adhesive, then lift. Score the perimeter adhesive with a pick before applying suction so the battery comes free without leverage against the cell.
Phones are far less static-sensitive than old PCs, but a dry Highveld winter still builds enough charge to zap a board. An anti-static wrist strap or simply touching a grounded metal object before handling the logic board removes the risk. Equally, fingerprints on connectors cause intermittent faults—handle boards by their edges and keep a microfibre cloth nearby.
Small springs and screws launch when freed under tension. Safety glasses sound theatrical until a pentalobe hits you in the eye. Fingertip tape or a careful grip prevents slips that crack a fragile flex cable. None of this is optional for a tidy, repeatable repair.
With dozens of kits on Takealot, AliExpress, and local spare-parts shops, the choice comes down to four checks.
Confirm the set explicitly lists pentalobe, Phillips #000/#00, and Torx T3–T5. A kit that only shows “universal bits” without naming them usually misses the pentalobe you need for an iPhone. If you repair mostly Samsung or Huawei, prioritise Torx and Phillips.
A 120-piece kit with bendy bits is worse than a 20-piece kit with hardened steel. Feel matters: the driver should turn smoothly, the bits should seat tightly, and the handle should sit comfortably for the ten minutes a screen removal can take. Read local reviews from South African buyers—shipping and returns are easier when the seller is domestic.
Buying from a South African seller means faster delivery and someone to query if a bit arrives stripped. Importing cheaply from overseas saves a few rand but adds two to four weeks and no recourse. For a beginner, the shorter learning loop of local stock is worth the small premium.
– Under R300—basic bit set, spudger, suction cup, mat. Enough for battery and screen swaps on common models. – R300–R800—adds more bits, a better handle, tweezers, a heat pad, and a sturdy case. The sweet spot for most beginners. – R800+—often includes a multimeter, soldering gear, and a separator. Only worth it if you are committed to board-level work.
For most first-timers, the middle tier is the right answer. It covers the essentials with room to grow without paying for tools you won’t touch for a year.
A good kit in a bad workspace still produces bad results. Before you open a phone:
1. Work on a flat, well-lit table—not a couch or bed, where screws disappear. 2. Lay the magnetic mat to your right and the phone to your left, in that order every time. 3. Use a phone stand or two books to keep the device stable while you disconnect cables. 4. Keep a plastic container handy for the battery and any part you remove early. 5. Power the phone off completely and, where possible, disconnect the battery first thing.
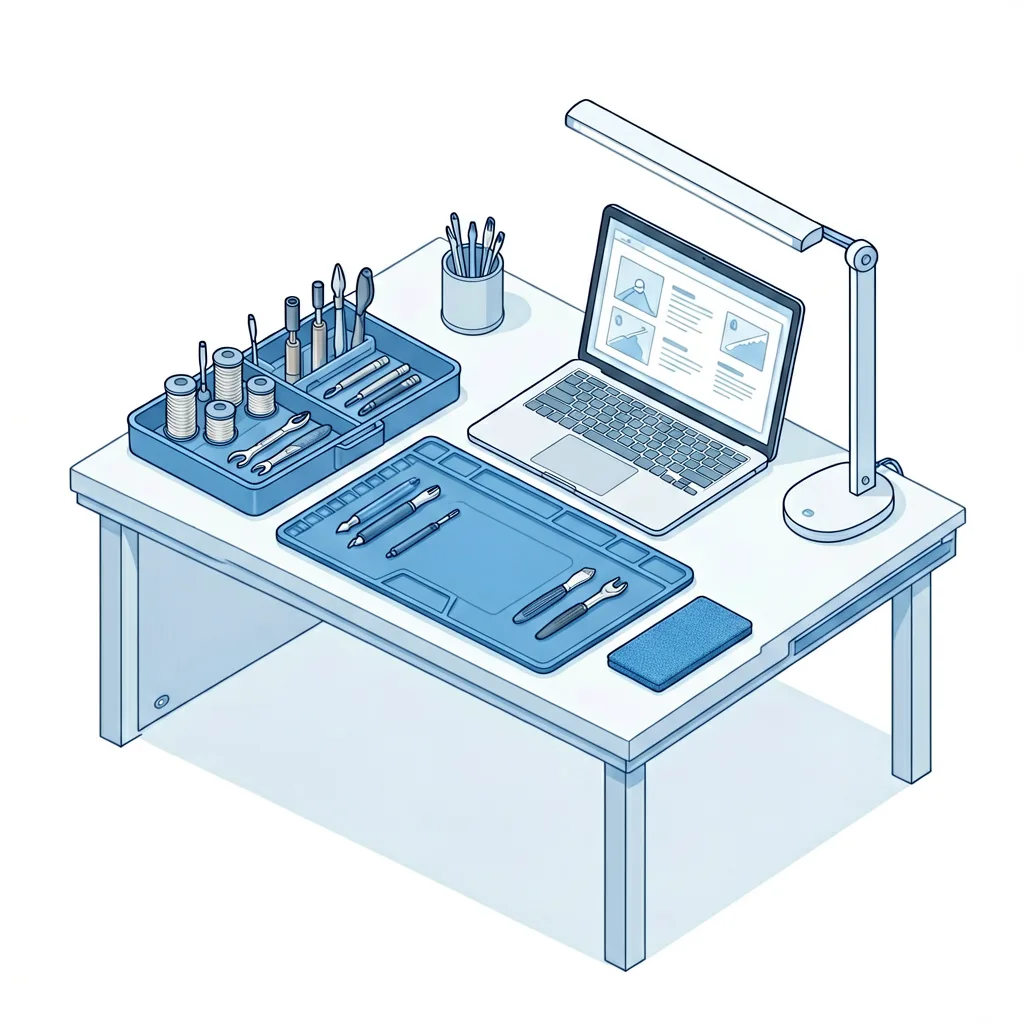
Good lighting is non-negotiable. An R100 LED desk lamp reveals the difference between a clip that is seated and one that looks seated. If you plan to do more than one repair, a cheap headband magnifier removes the squint.
Knowing what not to do saves more phones than any single tool:
A beginner kit opens the door, but it does not make you a technician. Step back and hand the job to a qualified repairer when you see any of these:
warranty—opening—A swollen or punctured battery—no home workaround is worth the fire risk. – Board-level corrosion or water damage—this needs ultrasonic cleaning and micro-soldering, not a spudger. – Face ID or biometric components—disturbing these can permanently disable security features even on a successful screen swap. – Anything under active warranty—opening the device can void cover; weigh the saving against the loss of protection.
handle—and knowing your limit is part of using a phone repair tool kit responsibly. The goal is confident, safe repairs on the things you can handle—and a clear line on the things you shouldn’t.
A phone repair tool kit is only as good as the hands using it. Two skills turn a box of tools into actual repairs, and both have free, beginner-friendly guides you can keep open beside your mat:
– A multimeter tells you whether a “dead” phone has a dead battery or a broken trace—our multimeter beginner guide shows the three checks every beginner should know. – And before you buy anything, our overview of what tools you actually need to repair a phone maps tools to specific repairs so you don’t over-buy.
When you are ready to pair tools with parts, browse our phone repair tools category for the categories covered on this site.
Once you know the repair job, compare our phone repair tools and check the 26-in-1 Precision Electronics Repair Tool Kit if you need a compact starter set. Send your exact device model or repair job if you want help checking compatibility before ordering.
The minimum viable kit is a precision screwdriver set (pentalobe, Phillips #000/#00, Torx T3–T5), a plastic spudger, two pry picks, a small suction cup, anti-static tweezers, a magnetic screw mat, and a heat source such as a hairdryer. That covers the vast majority of battery and screen replacements on common South African models.
You can attempt simple fixes, but household tools risk stripped screws and punctured batteries. A purpose-built phone repair tool kit costs less than a single professional repair and removes the two biggest beginner failure modes: wrong bits and metal-on-battery contact.
Starter kits range from roughly R200 to R800 for the tier most beginners need, with higher tiers adding multimeters and soldering gear you may not use for a while. These are third-party market ranges, not our prices. For the latest availability and local stock, check the relevant product page or use our Contact page.
Not at first. Soldering only matters for charging ports and board-level faults, which most beginners reach after mastering screen and battery swaps. Add a soldering iron and hot-air station later, once you have the basics down.
iPhones use pentalobe (P2/P5) on the exterior and Phillips #000/#00 inside, plus tri-point Y000 on some brackets. Samsung and many Android phones use Torx (T3–T5) and Phillips. A good beginner kit covers all of these.
Free beginner guides walk through soldering safety and multimeter checks, and a tools-overview guide maps each tool to the repair it serves. Pair those with slow, deliberate practice on a spare or broken device before working on something you rely on daily.
Browse the repair tools category for current options, and pair your kit with our guides to using a multimeter, soldering for beginners and the tools needed to repair a phone.
For product availability or support, use our Contact page. Always practise on a non-essential device before opening a phone you rely on.
A useful cell phone repair tool kit in South Africa starts with precision bits, plastic pry tools, anti-static tweezers, suction, a magnetic mat and safe low heat. Choose by repair type and local availability; a large piece count does not prove quality.
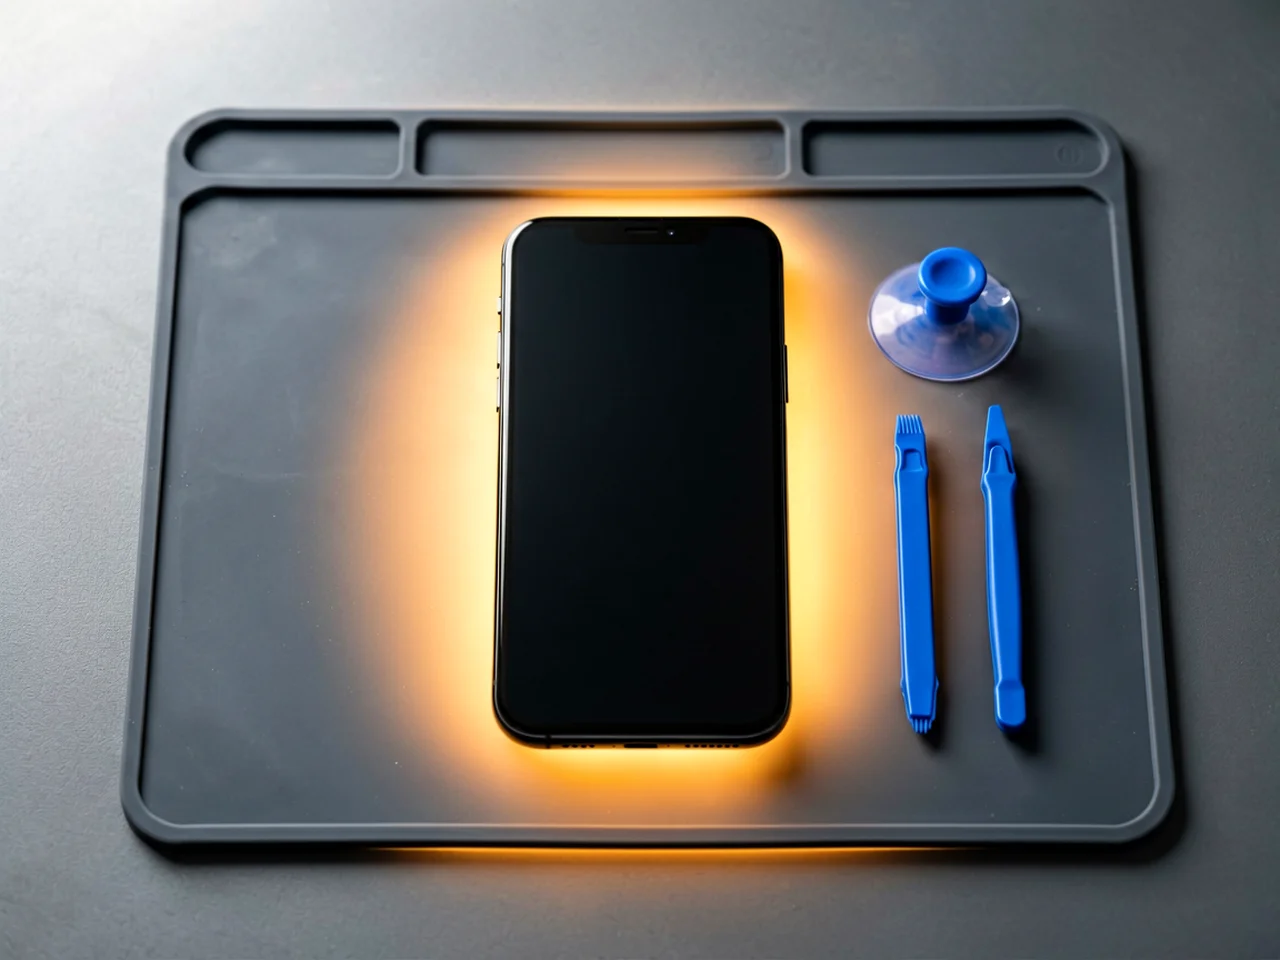
Most cracked phone panels don’t come from a shaky hand. They come from the wrong temperature. Heat the adhesive too little and the glass fights you until it snaps. Heat it too much, or in one spot, and you cook the panel underneath instead — which is how “repair” turns into “replace”. This guide is […]

You tap an app and nothing happens for ten seconds, then the whole screen freezes mid-animation. You wait, you tap again, the phone buzzes once and sits there. Sometimes a restart clears it for a day, sometimes it freezes again as soon as you open WhatsApp, and sometimes it started after an update or when […]

You open Maps or your taxi-hailing app, and the blue dot never settles, or it places you three streets away. You stand outside with a clear sky above you, and the phone still takes minutes to lock on, or it locks on and then drops your position into the middle of a field. Sometimes the […]
6 responses