
Controller drift – when your character moves, aims, or scrolls on its own – is one of the most common controller faults, and in most cases you can fix it at home in under 30 minutes. The fix is usually one of four things, in this order: clean the analogue stick, recalibrate in settings, adjust the dead zone, or replace the stick module.
This guide covers all four for Xbox and PlayStation controllers, with the tools you need and the costs you can expect in South Africa. No soldering is required unless you choose the last option.
Inside each analogue stick is a small component called a potentiometer — a circular carbon track with contact brushes that measures how far you push the stick. The controller compares that position to a centre point. Drift happens when that measurement drifts away from the centre even when the stick is untouched.
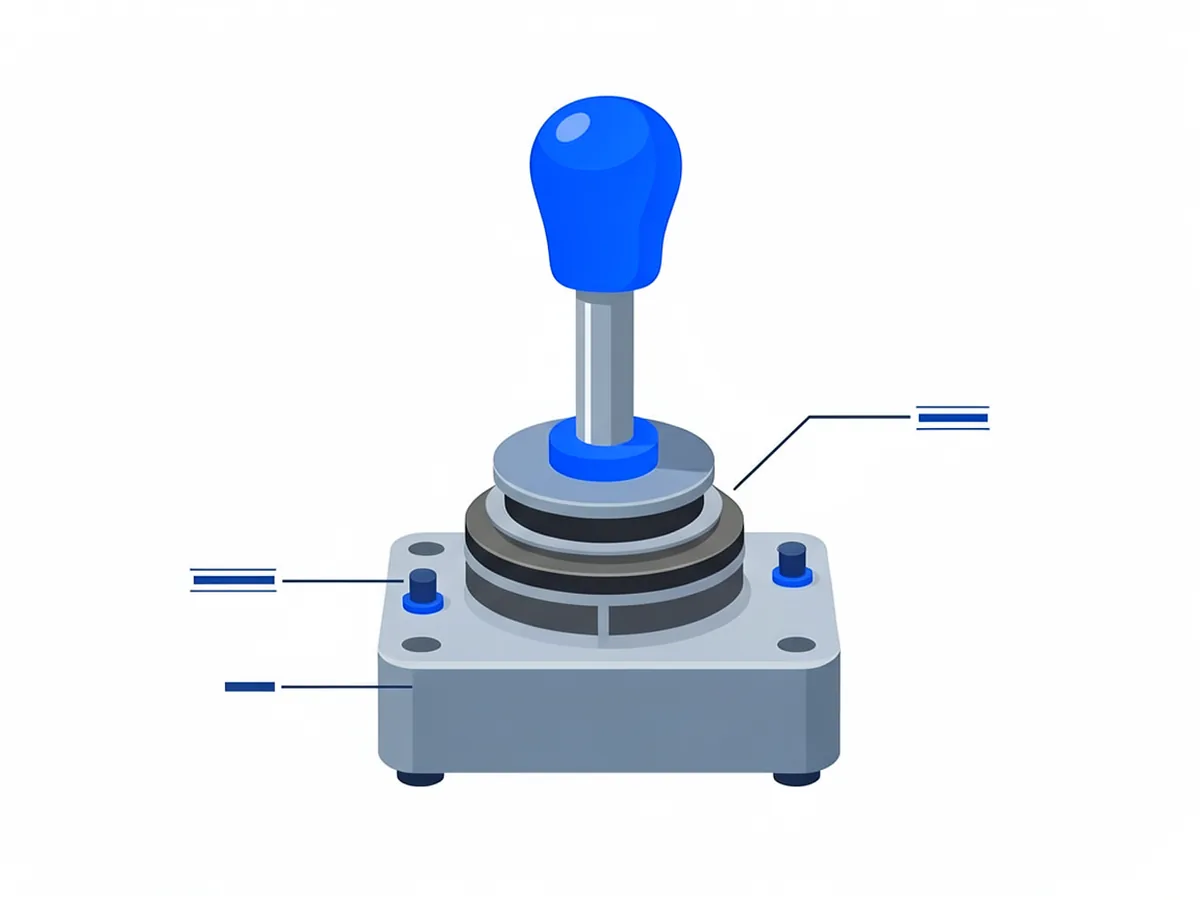
Three things cause it (Wikipedia — Potentiometer):
Diagnose before you fix: if the drift follows the stick between games and survives a controller reset, it is almost certainly hardware. If it only happens in one game, check that game’s deadzone setting first.
Debris is the most common cause of fresh drift. Cleaning resolves it in a large share of cases. You need 90% or higher isopropyl alcohol (available at Dis-Chem, Clicks, Builders or electronics shops in SA) and a cotton swab.
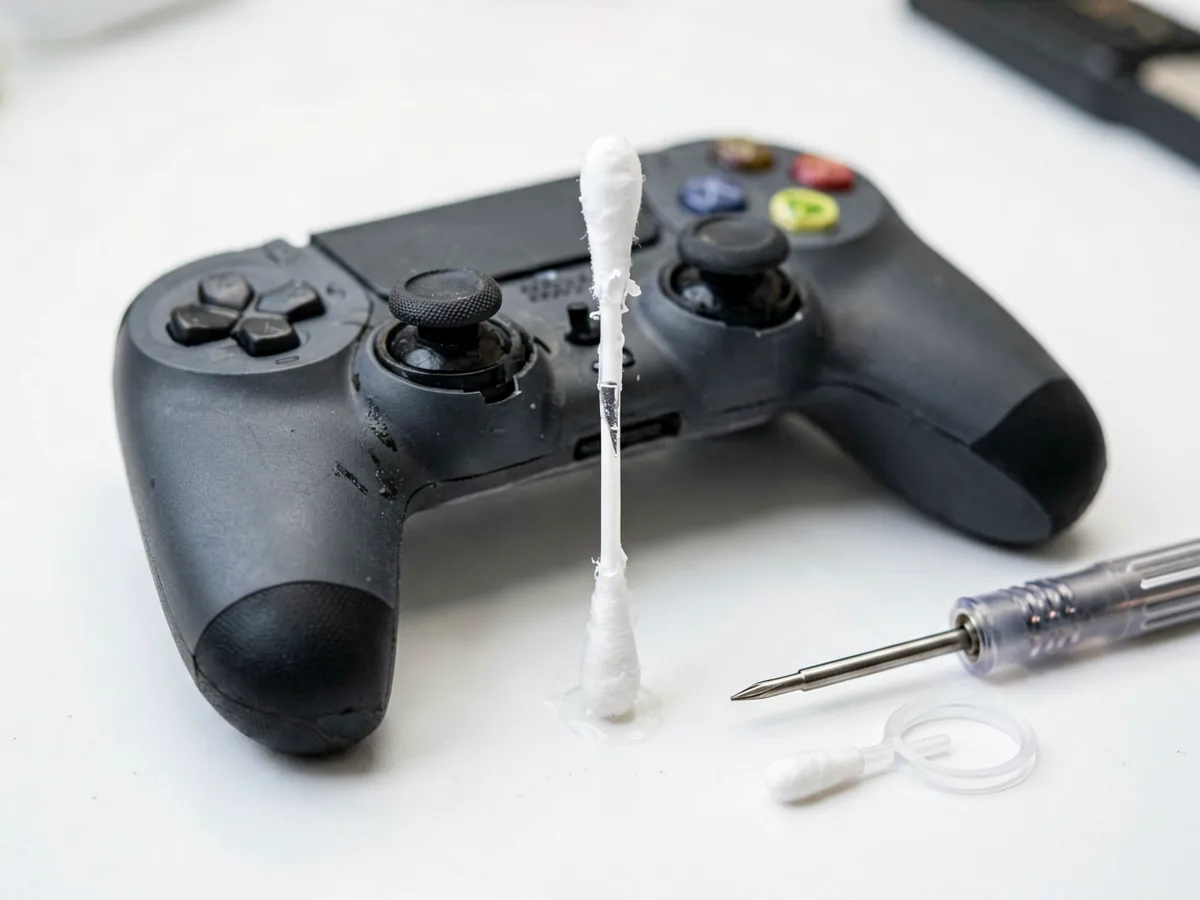
Also try a short blast of compressed air under the stick cap first – it’s the quickest and sometimes enough on its own.
Never use WD-40 or general-purpose spray lubricants on a controller. They leave an oily residue that attracts dust and can ruin the potentiometer track. Stick to isopropyl alcohol.
Software issues can produce drift symptoms. Recalibration resets the controller’s centre point:
| Platform | Where to recalibrate | Firmware update |
|---|---|---|
| Xbox | Xbox Accessories app (Xbox button → Settings → Devices & connections → Accessories) | Same app — Controller firmware → Update now |
| PlayStation | Settings → Accessories → Controllers → Adjust Controller Settings | Settings → Accessories → Controllers → Wireless Controller Device Software |
Official guidance is on the Xbox controller troubleshooting page and the PlayStation support hub.
The dead zone is the area near the centre where the controller ignores input. Increasing it slightly masks mild drift immediately. Most games expose it under Controls → Advanced → Analogue Stick Deadzone or similar. Start at 10–15% and raise it in small steps until the drift disappears — just don’t go so high that aiming feels sluggish.
If cleaning and calibration don’t help, the potentiometer is physically worn, and the only durable fix is replacing the analogue stick module on the circuit board. This needs soldering:
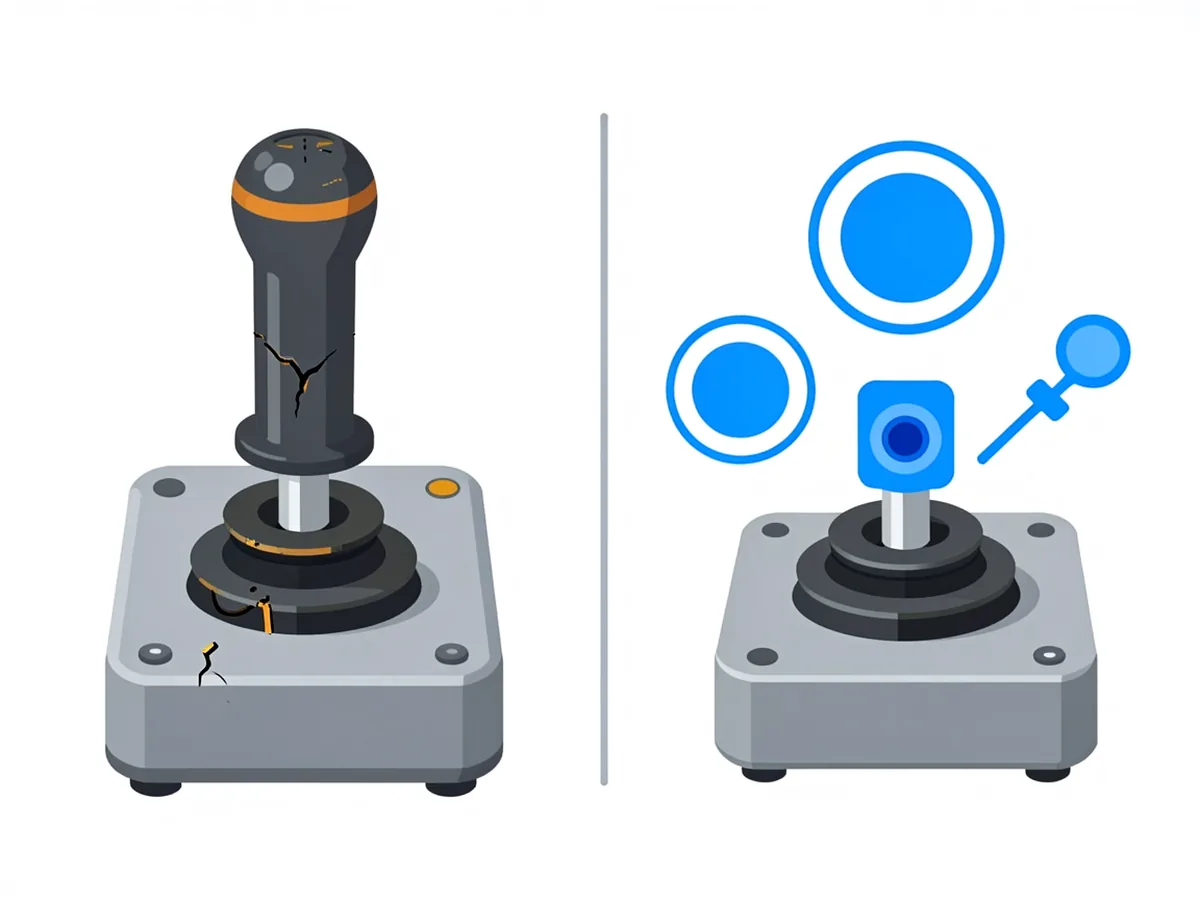
The process: open the shell, disconnect the battery and ribbon cables, desolder the module’s pins, install the new module, reassemble, and recalibrate. If you have never soldered before, this is not the project to learn on — the pins are tightly packed, and a slip can damage the board.
One worthwhile upgrade at this stage: hall-effect stick modules. Instead of a rubbing carbon track, they use a contactless magnetic sensor, so it does not wear out and cannot develop drift from wear. They cost more but are the permanent fix.
| Route | Cost (ZAR) | Notes |
|---|---|---|
| Clean + recalibrate (DIY) | R50 – R150 | Isopropyl alcohol + cotton swabs |
| Compressed air | R80 – R150 | One can lasts a long time |
| Stick module replacement (DIY) | R100 – R350 | Module + soldering gear if you don’t own it |
| Local repair shop | R250 – R600 | Ask if they fit standard or hall-effect modules |
| New controller | R900 – R1,900 | Xbox Series / DualSense in SA retail |
Prices are indicative of 2026 retail ranges in South Africa and vary with the exchange rate and retailer. Compare before committing — if the controller is old and has other issues, a new one can be the better deal.
Yes — in many cases. Compressed air under the stick cap, isopropyl alcohol cleaning around the base, software recalibration and firmware updates solve a large share of drift cases without opening anything.
If cleaning and calibration fail, a module replacement at R100–R350 is usually cheaper than a new controller (R900+). But if the controller is old or has other faults, weigh the repair cost against a new one. For a premium controller (Elite, DualSense Edge), repair usually wins.
No — if you use 90% or higher isopropyl alcohol, the controller is powered off, and you let it dry completely. The alcohol evaporates without leaving residue. Never use lower-concentration rubbing alcohol or general-purpose sprays like WD-40.
A hall-effect stick uses a magnet and a contactless sensor instead of a rubbing carbon track. With no physical contact, there is nothing to wear out, so the stick cannot develop wear-based drift. It is the permanent fix used in premium and upgraded controllers.
Yes: a precision screwdriver set (small Phillips and Torx; Xbox uses security Torx, often T8), a plastic opening tool, tweezers, and a soldering iron with a desoldering pump or wick. A precision electronics repair kit covers the screwdrivers and opening tools; soldering gear is separate.
Discrepancy Notice: Our online shop is still under preparation. Product prices, availability and shipping options are subject to change. This article is for informational purposes only — for product or compatibility questions, contact us at support@potatotech.co.za.
Need the right tools? Start with our guides to essential repair tools, soldering basics, or choosing a repair tool kit.
Cracked iPhone back glass? Learn DIY vs professional replacement costs in South Africa, how long it takes, and when to seek help.
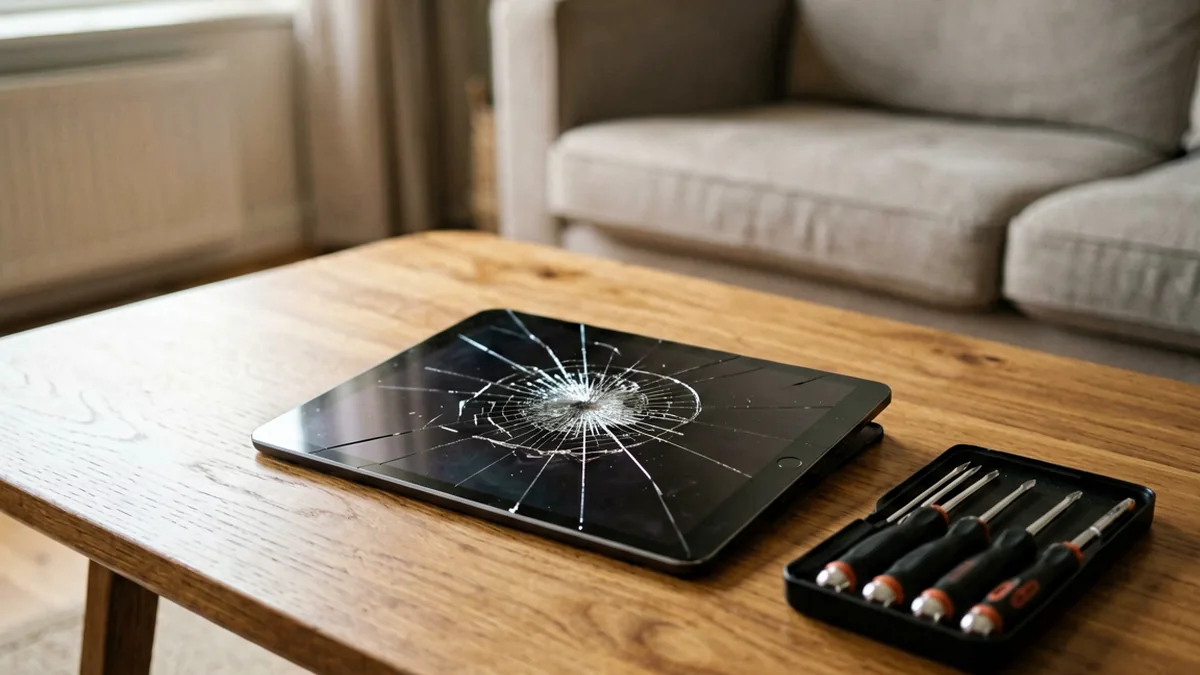
How much does an iPad screen replacement cost in South Africa? Compare DIY vs professional repair costs for all iPad models.
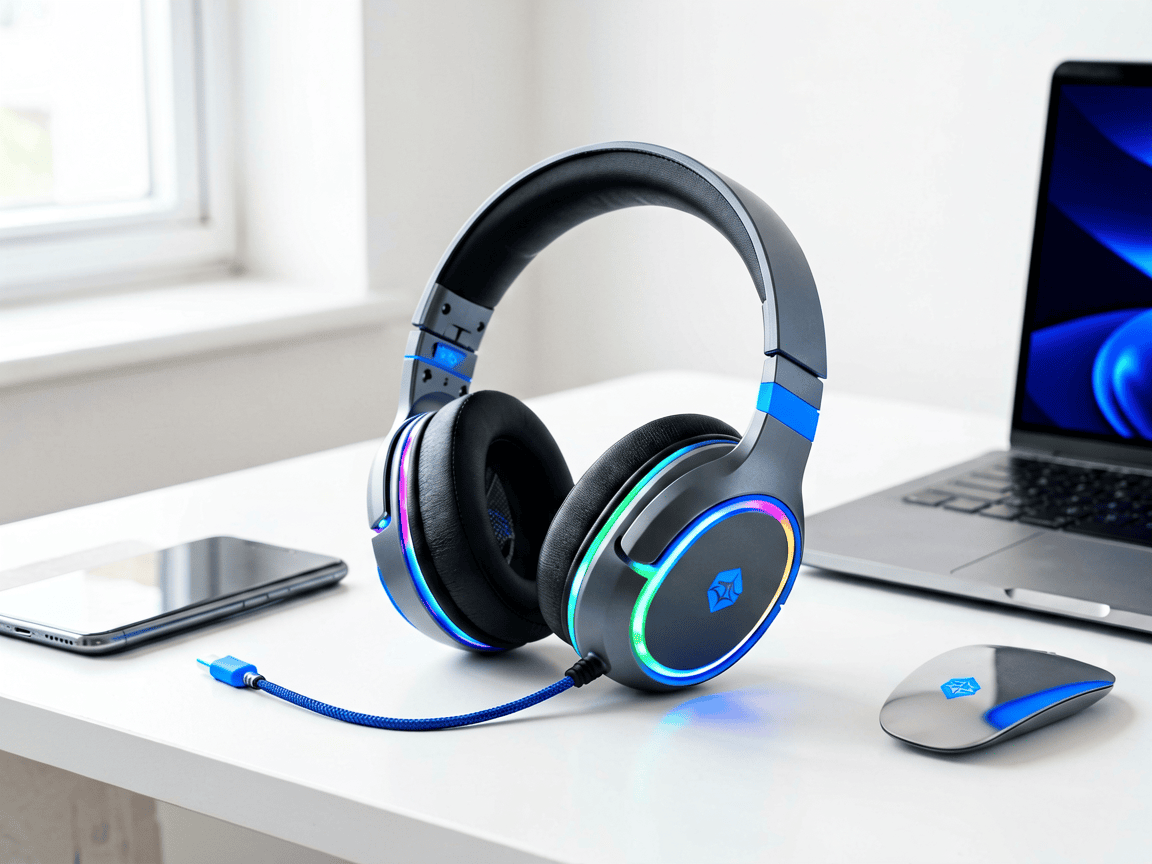
Choosing the right Bluetooth headphones in South Africa isn’t just about picking the first pair you see. Whether you’re commuting on the Gautrain, working from home, or gaming online, the right headphones make a real difference to your experience—and your wallet. This guide breaks down what actually matters when you’re shopping for wireless headphones in […]