
Most Xbox and PlayStation controller faults come down to five parts: the analog sticks, face buttons, triggers, battery and charging port. Knowing which part is failing tells you whether the fix is a five-minute cleaning or a module replacement — and whether it’s worth repairing at all.
This guide maps each part to its symptoms, explains what replacement involves, and lists the tools you need. Prices are indicative South African ranges for 2026.
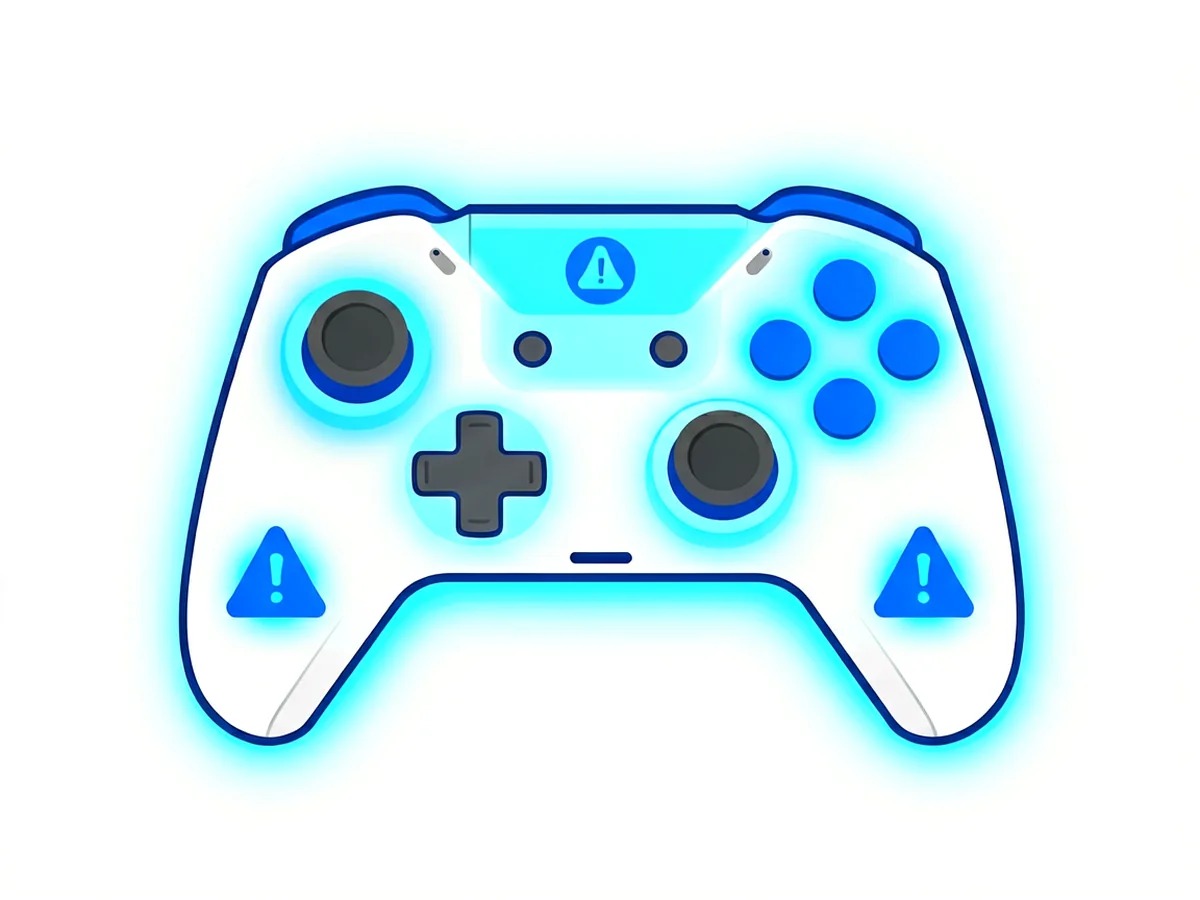
| Part | Typical symptom | Failure cause | Fix difficulty |
|---|---|---|---|
| Analog sticks | Drift, dead zones, jittery aim | Potentiometer wear, debris | Hard (soldering) |
| Face buttons | Sticky, unresponsive, double inputs | Membrane wear, dirt | Easy–medium |
| Triggers / bumpers | No register, weak spring return | Spring fatigue, switch wear | Medium |
| Battery | Short runtime, won’t hold charge | Lithium cell ageing | Medium (shell opening) |
| Charging port | Only charges at an angle, no charge | Solder joint stress, lint | Hard (micro-soldering) |
Every analog stick contains a small potentiometer — a carbon track with contact brushes that reports stick position. Years of play grind the track, and the controller starts reading movement that isn’t there: classic drift (Wikipedia — Potentiometer).
Before replacing anything, work through the non-invasive fixes first — compressed air, isopropyl alcohol cleaning, recalibration and firmware updates solve a large share of cases — our dedicated controller drift repair guide walks through every step.
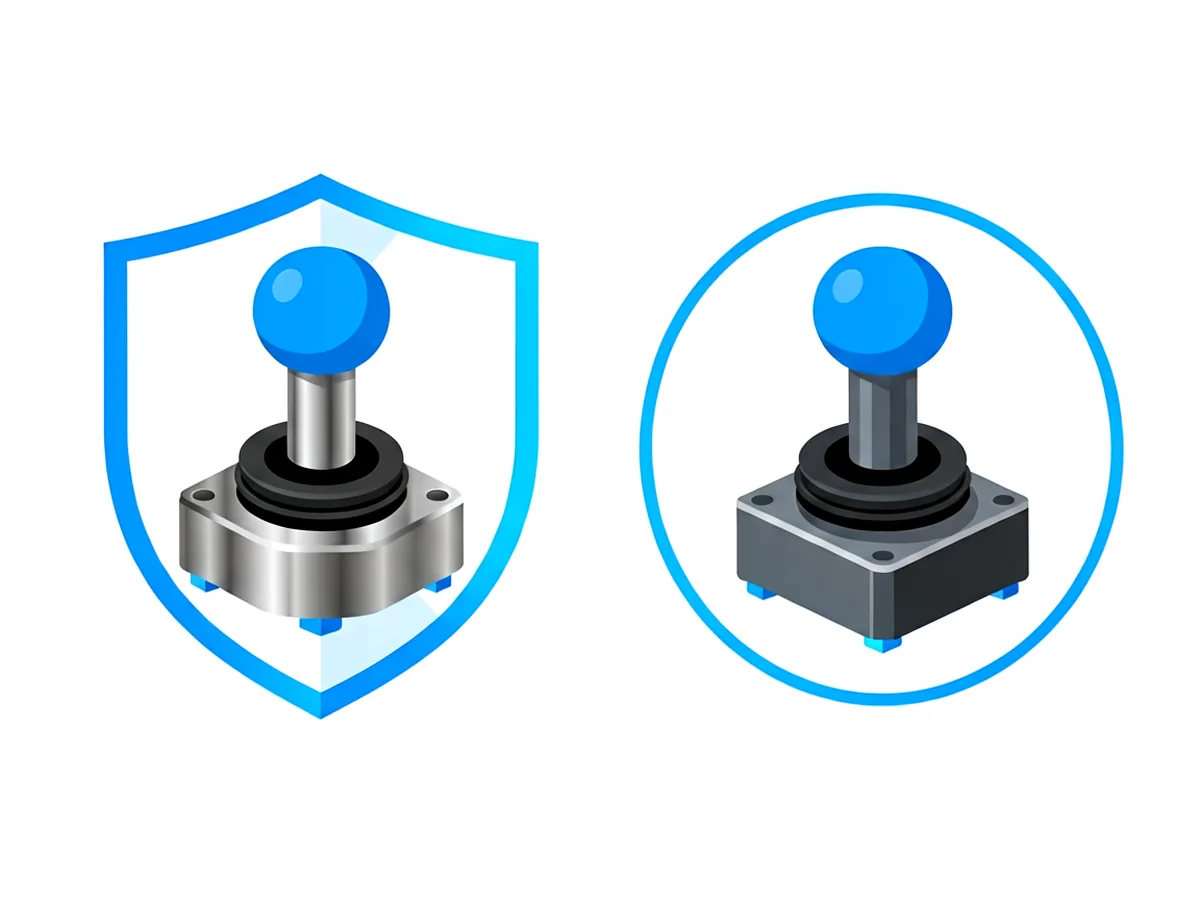
Replacement modules are sold under names like ALPS RKJXV or generic equivalents. Verify the exact module for your model before buying — the wrong pins won’t seat.
Under each button sits a rubber or silicone membrane with a conductive pad. Symptoms of wear: sticky feel, missed presses, or double inputs. Fix: open the shell, clean the membranes with isopropyl alcohol, or swap in a replacement membrane set — no soldering needed.
Trigger failures usually mean a tired return spring or a worn micro-switch. Springs are cheap and easy to swap; switches need basic soldering.
Xbox controllers use either an AA battery pack or a built-in rechargeable pack depending on the model; AA-pack models make battery replacement trivial. The DualShock 4’s internal lithium battery degrades after a few years — replacement means opening the shell and disconnecting the battery connector, which is doable without soldering but requires care with the ribbon cables.
Safety note: don’t puncture or bend a swollen lithium pack — replace it and recycle the old one.
A port that only charges at an angle usually has a stressed solder joint or compacted lint. Try cleaning with a wooden or plastic pick first. If the joint is broken, this is micro-soldering territory — best left to a repair shop unless you have experience with fine-pitch work.
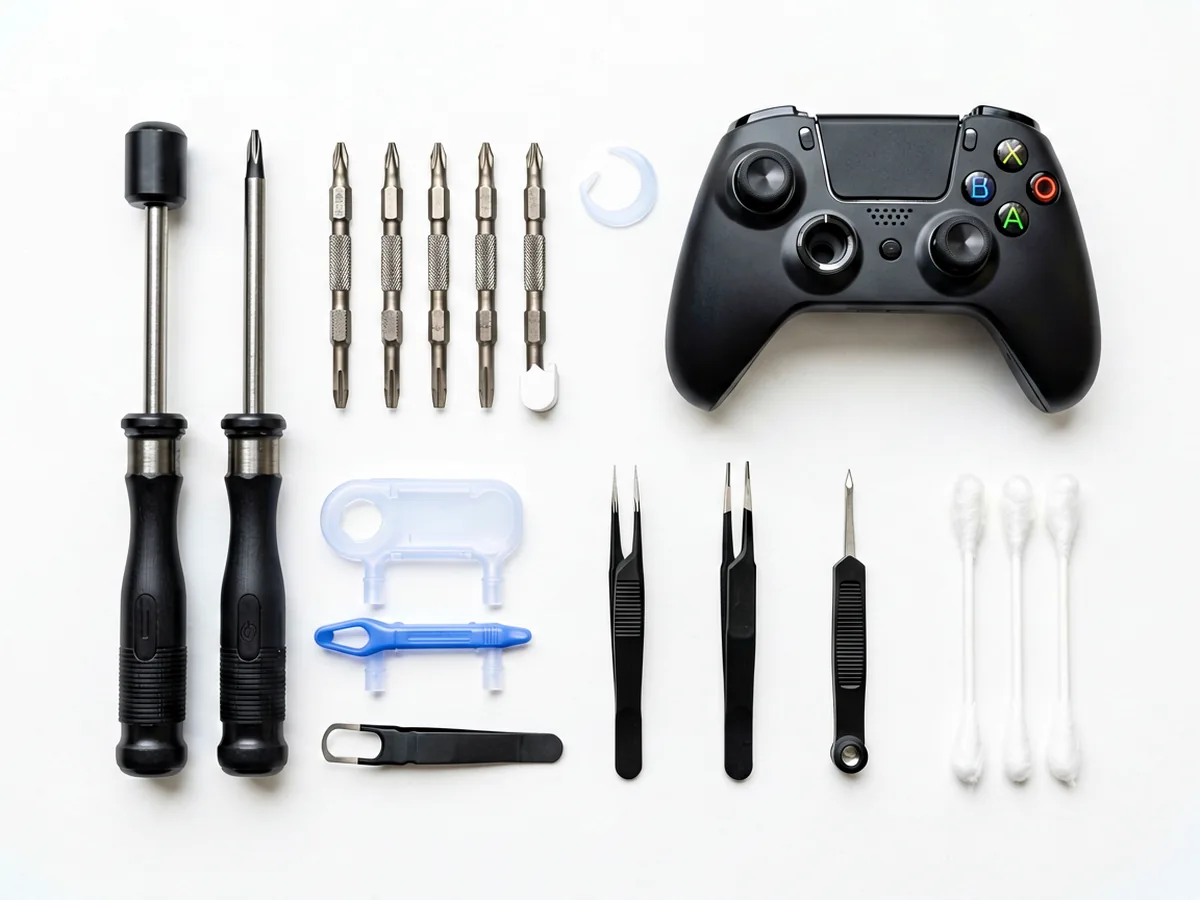
A precision electronics repair kit covers the screwdrivers, opening tools and tweezers in one box — the same kit used for phone repairs handles controller work fine. Soldering gear is separate.
Searches for xbox one parts often mean the console itself, not the controller. Console-level repairs are a different league:
| Console part | Common fault | Replacement difficulty |
|---|---|---|
| External power brick (original Xbox One) | No power, blinking light | Easy — swap adapter |
| Internal PSU (One S / One X) | No power | Hard — full teardown |
| Optical drive | Disc read errors, stuck discs | Medium — clip-based teardown |
| Hard drive | Storage errors | Medium |
| Motherboard | Dead console | Professional only |
For console internals, follow model-specific teardowns such as iFixit’s Xbox One optical drive guide or the motherboard replacement guide. Power-supply faults have their own diagnosis path — see this power supply replacement walkthrough before buying parts. If you only need controller troubleshooting steps, Microsoft’s official controller drift troubleshooting page covers the software side first.
| Job | DIY cost (ZAR) | Shop cost (ZAR) | Verdict |
|---|---|---|---|
| Clean + recalibrate | R50 – R150 | — | Always DIY first |
| Button membrane swap | R50 – R150 | R250 – R400 | DIY if comfortable opening shells |
| Stick module replacement | R100 – R350 | R300 – R600 | DIY only with soldering experience |
| Charging port repair | R80 – R200 | R350 – R700 | Micro-soldering — shop recommended |
| New controller | R900+ | — | When repair costs approach half of new |
Ranges are indicative 2026 South African retail prices and vary with exchange rate and supplier. Get a quote before committing to any repair that needs soldering.
Partially. The controllers share a similar design, but internal modules differ between revisions. Always match the replacement part to your exact controller model number before ordering.
The standard stick module is soldered to the board, so no. Some third-party drop-in boards exist but are model-specific. Cleaning and recalibration remain the solder-free fixes; module replacement requires soldering skill.
Cleaning removes debris, which is only one cause of drift. If the potentiometer track is physically worn, drift returns once dust rebuilds. At that point the durable fix is replacing the stick module — ideally with a hall-effect upgrade that cannot wear out.
A DualShock 4 internal battery typically holds a usable charge for 3–5 years of regular use before runtime drops noticeably. Xbox AA-pack models last as long as the AAs do; built-in rechargeable packs behave similarly to the DualShock 4 cell.
Cleaning-level fixes always make sense. Module replacement at R100–R350 beats a new controller at R900+. But if several parts are failing at once, or the port needs micro-soldering, weigh the total against a replacement — especially for entry-level controllers.
Discrepancy Notice: Our online shop is still under preparation. Product prices, availability and shipping options are subject to change. This article is for informational purposes only — for product or compatibility questions, contact us at support@potatotech.co.za.
Related reading: our essential repair tools guide, beginner soldering safety rules, and how to choose a repair tool kit.
Cracked iPhone back glass? Learn DIY vs professional replacement costs in South Africa, how long it takes, and when to seek help.
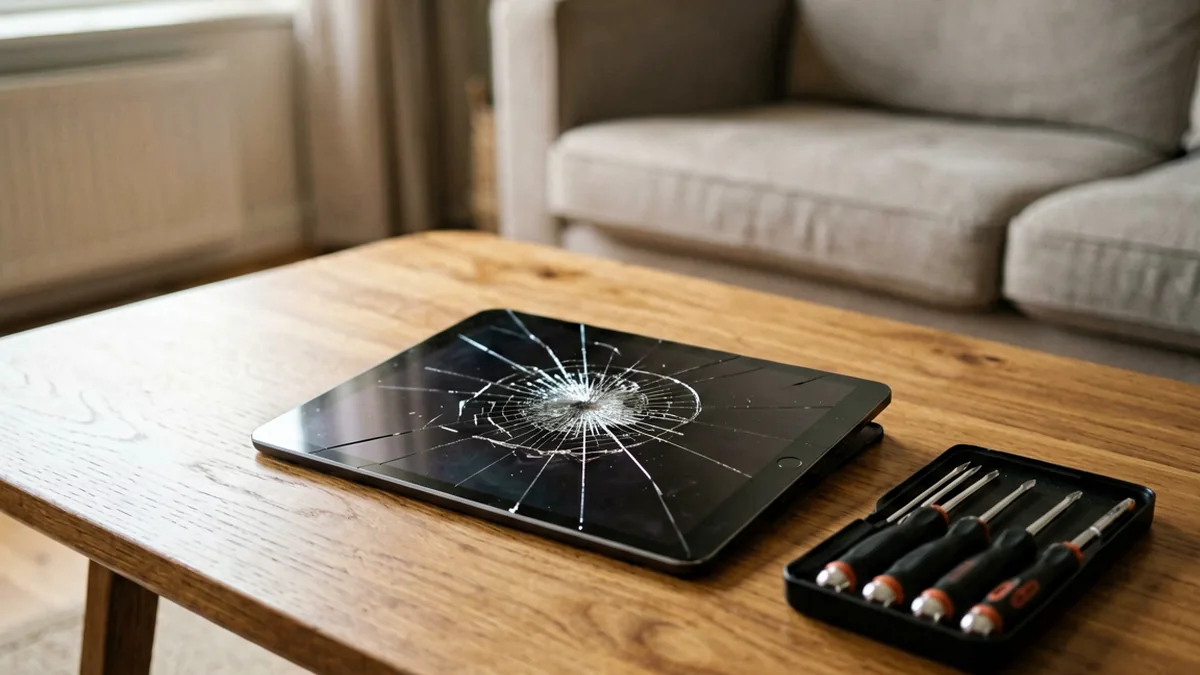
How much does an iPad screen replacement cost in South Africa? Compare DIY vs professional repair costs for all iPad models.
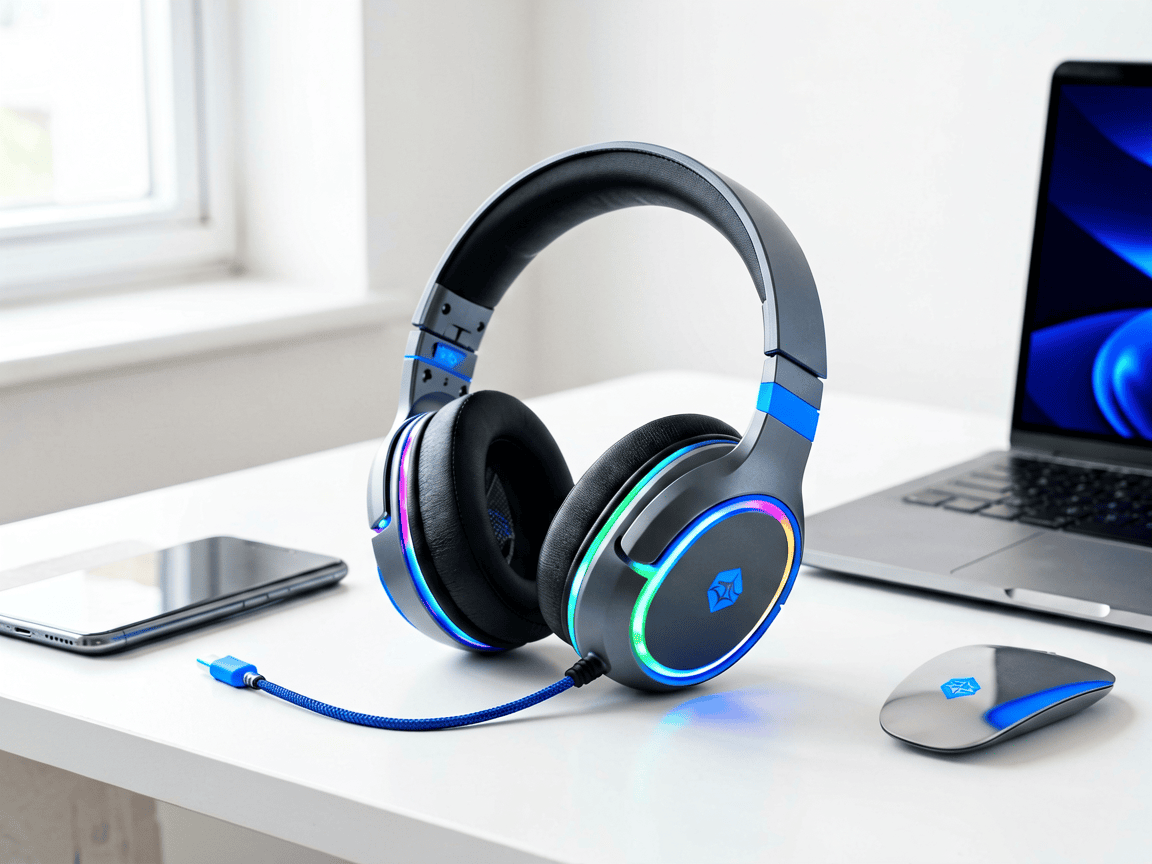
Choosing the right Bluetooth headphones in South Africa isn’t just about picking the first pair you see. Whether you’re commuting on the Gautrain, working from home, or gaming online, the right headphones make a real difference to your experience—and your wallet. This guide breaks down what actually matters when you’re shopping for wireless headphones in […]