
South Africans have always been good at making a plan. With load shedding disrupting routines and the cost of living climbing, more people than ever are opening up their own phones, laptops and gadgets to fix them instead of replacing them. A basic electronics repair toolkit is no longer just for hobbyists — it is a practical investment in keeping your devices alive.
This guide walks you through the essential electronic repair tools you actually need to get started in South Africa, how to choose each one, and the beginner mistakes that quietly ruin devices. No prior experience required — just a steady hand and a bit of patience.
There are three reasons a DIY repair habit makes particular sense on local soil.
E-waste is our problem too. South Africa generates growing volumes of discarded electronics, much of it still fixable. Every device you repair is one less item headed for a landfill or an informal dump. The skill scales — what you learn on a phone transfers to a remote, a tablet, ortablet, or a toy.
Load shedding teaches self-reliance. When the power drops, chargers and adapters take the hit. Knowing how to open a device, check a connection or resolder a loose joint means you are not stuck waiting on a repair shop that may itself be offline.
Replacement is expensive. A new phone or laptop is a large outlay. A handful of reusable tools, used across many fixes, pays for itself the moment you avoid a single out-of-warranty service call.
Right-to-repair momentum is real. Globally and locally, consumers are pushing back against sealed, unrepairable devices. Building your own skill set is the practical side of that movement — and it keeps e-waste out of landfill.
The goal is not to become a micro-soldering expert overnight. It is to handle the 80% of faults—loosefaults—loose connectors, dead batteries, cracked screens, andscreens, and cold solder joints—thatjoints—that a small, well-chosen kit can fix.
You do not need a workshop. Eight categories of tools cover almost every consumer-electronics fix you will meet.
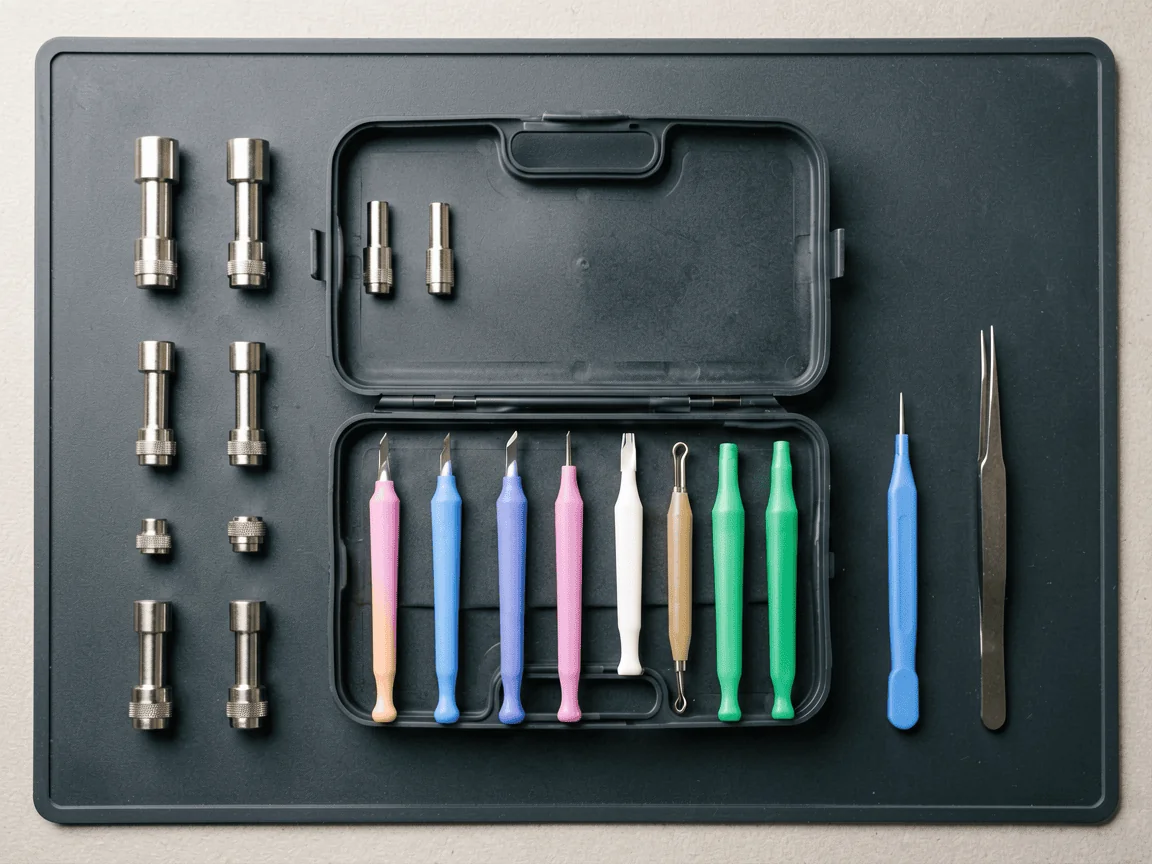
Most modern devices are held together by tiny Torx, Pentalobe and Phillips screws, plus clips and adhesive. A 26-in-1 precision electronics repair tool kit gives you the interchangeable bits and the spudgers, picks and tweezers needed to open phones, laptops, cameras and controllers without stripping screws or cracking shells. It is the one item we recommend every South African starter owns first.
Look for a kit with a magnetic driver (so screws stay put) and a solid, organised case. The 26-in-1 precision kit we cover is built exactly for this — it spans the bit types you will actually encounter on South African shelves.
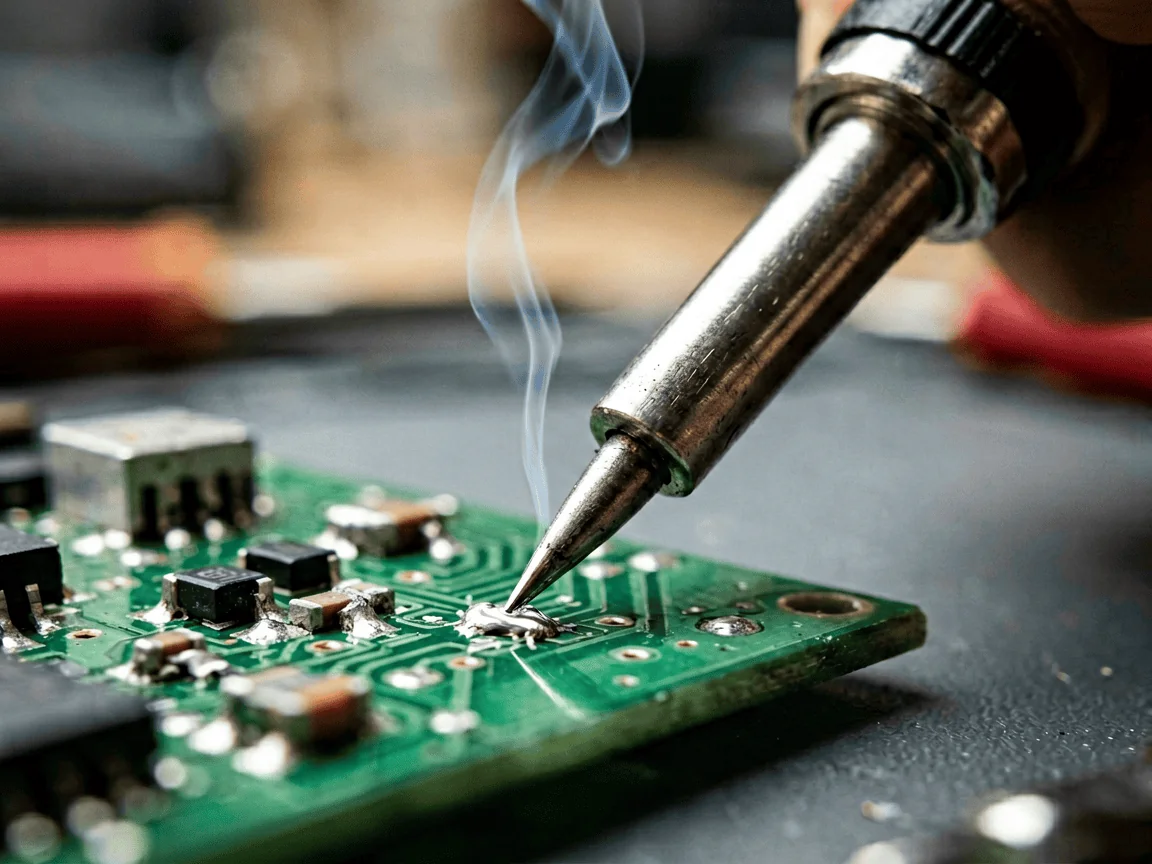
When a connection has failed — a broken headphone wire, a cold joint on a board, orboard, or a snapped charger pin — you need to melt metal. A 220–240V electric soldering iron with a fine-pointedfine-pointed tip is the right spec for South African mains. Pair it with quality 60/40 solder; the Supa Brite 60/40 flux-core and rosin-core reels are formulated for clean, reliable joints on electronics.
Beginners should start with a 25–40W iron and practise on scrap board before touching anything valuable. New to the craft? Our beginner’s soldering guide covers temperature, tinning and technique step by step.
A digital multimeter with non-contact voltage (NCV) detection is your diagnostic eye. Before you solder anything, you measure: is there continuity? What is the voltage at this point? Is the battery actually dead or just disconnected? The model we stock reads AC/DC, has aAC/DC, has a current ofof 20A and includes a live-wire alert — exactly what a careful beginner needs.
If you have never used one, our multimeter beginner’s guide explains the dial, the probes and the three measurements that solve most faults.
Fine anti-static tweezers let you place tiny components, lift ribbons and remove fragments without finger grease or static. A pair of curved and a pair of straight tips cover most needs.
Fixing means undoing. A desoldering pump (solder sucker) and a roll of solder wick let you remove old solder cleanly so you can redo a joint. Skip these and you will struggle to correct any mistake.
Eyes lie at this scale. A headband magnifier or a desktop magnifier lamp with built-in LEDs turns a blur into something you can actually work on. Essential past your thirties, useful from day one.
A simple anti-static mat and wrist strap prevent the invisible zap that kills sensitive chips. Cheap insurance against an expensive mistake.
Isopropyl alcohol (IPA) and a soft brush lift dust, corrosion and old thermal paste. A microfibre cloth finishes the job. Keep these separate from anything you cook with — IPA is not for the kitchen.
Buying well once beats buying twice. A few South Africa-specificAfrica-specific notes.
Buy for the job, not the label. A recognised name matters less than the right spec — 220–240V, the bits you need, andneed, and a meter you can trust. Read what the tool is rated to do, then match it to the devices you own. A kit that covers your phone and laptop beats a flashy set aimed at boards you will never touch.
Match the voltage. Our mains are 220–240V. An iron or station rated for that range runs safely on a normal plug. Avoid 110V-only gear unless you also run a step-down transformer.
Kits beat singles for starting out. A 26-in-1 precision kit costs less than buying bits separately and guarantees you have the obscure Pentalobe or Tri-point when you need it. Expand with singles later.
Solder choice matters. 60/40 tin-lead flows easily and is forgiving for learners. Lead-free is greener but needs higher heat and a steadier hand. Either way, flux-core or rosin-core saves you a separate flux step.
A multimeter you trust. Cheap meters drift. Pick one with a clear LCD, a hold function and NCV so you are not guessing near live wires. Practise on a known source (a fresh battery) before trusting it on a repair.
Spend on the iron, the kit and the meter. The tweezers, mat and brush are inexpensive—buy them; do not agonise.
Learn these now and you will save a device or two.
| Tool | Primary use | Difficulty | Where it lives in the range |
|---|---|---|---|
| Precision 26-in-1 kit | Opening devices, bit variety | Easy | Screwdriver & opening kits |
| 220–240V soldering iron | Rejoining connections | Medium | Soldering supplies |
| 60/40 solder (flux/rosin) | Feeding clean joints | Medium | Soldering supplies |
| Digital multimeter (NCV) | Continuity, voltage, current | Easy | Test & measurement |
| Desoldering pump + wick | Removing old solder | Medium | Soldering supplies |
For the full range, browse the electronics repair tools category.
The kit is only useful if you can picture the jobs. In South African homes, these are the fixes that come up most:
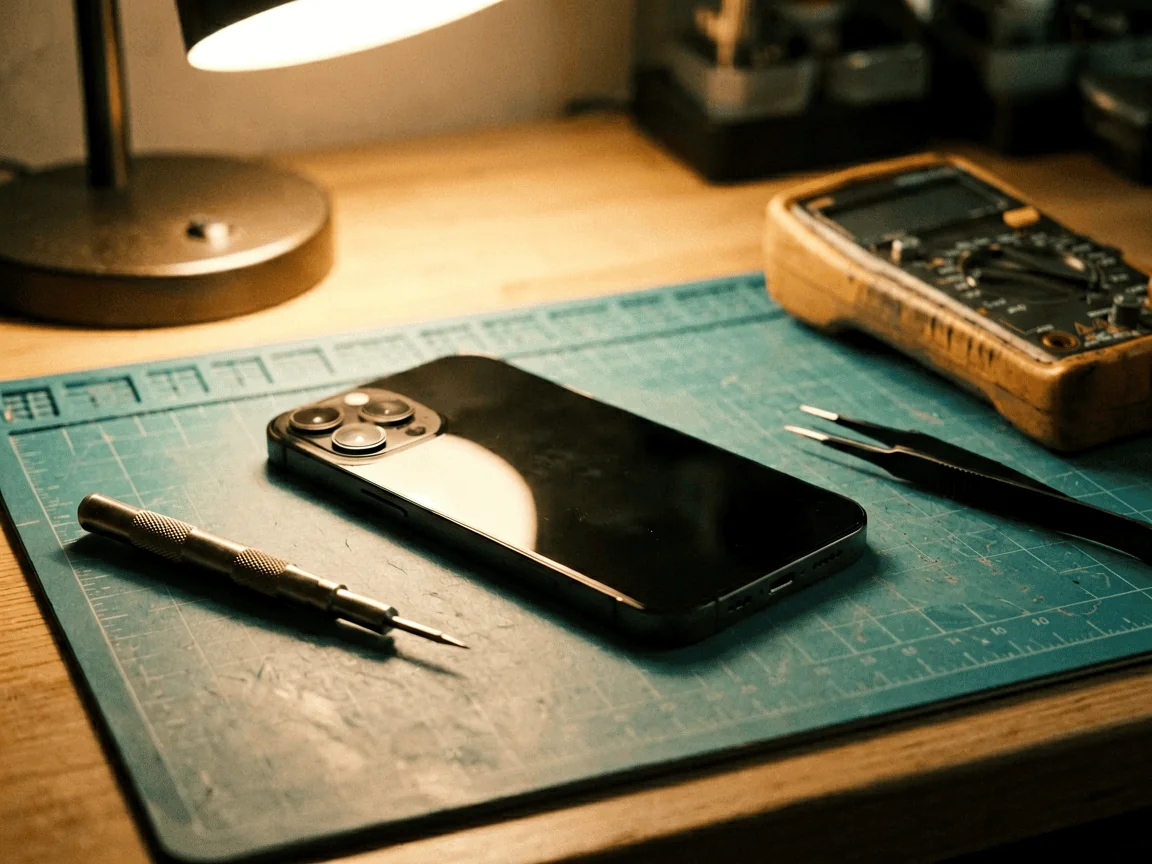
comfortable andIf you want a sensible order: begin with the precision kit and a multimeter, because opening and measuring solve more faults than heat does. Add the soldering iron and solder once you are comfortable, then the desoldering aids and magnification as your fixes get finer. You do not need everything on day one — start with two tools and grow the kit as real repairs land on your desk.
Our phone repair tools guide maps these tools onto a real phone teardown, which is the most common first repair in South Africa.
An AA precision screwdriver and opening kit plus a digital multimeter covers the majority of first repairs — opening a device and checking power. Add a soldering iron once you are ready for connections.
iron, only iron, only with a step-down transformer. Choose a 220–240V iron, and it plugs straight into a standard South African outlet.
It flows at a lower temperature and is more forgiving than lead-free, which makes it easier to learn on. Work in a ventilated space and wash your hands afterwards.
Strongly recommended. Static can destroy sensitive components with no visible sign. A mat and wrist strap are cheap and prevent silent failures.
Measure it. A multimeter tells you whether a point has continuity or voltage. Guesswork is how good boards get ruined — measurement is how they get saved.
Later – upgrade. A simple 220–240V iron is enough to learn on. A station adds temperature control for finer work later – upgrade once the basic iron starts to feel limiting.
Stick drift is when a game controller’s thumbstick reads movement with no input. The precision kit opens the pad so you can clean or recentre the potentiometer – often with no parts to buy.
Yes. Most consumer fixes are mechanical — opening, seating, and measuring — not microelectronics. Follow a guided teardown for your specific device and measure before you cut, and your first successful repair is closer than you think.
Good tools last decades if you treat them right.
Local mains bites. A few non-negotiables:
Respect the voltage and the heat, and the hobby stays fun instead of expensive.
Information Notice: Product names, specifications, prices, stock levels and delivery options mentioned or linked above may change. For current availability, specifications or delivery details, please use our Contact Us page. Nothing in this article constitutes a purchase offer or commitment to supply.
Information Notice:
Product availability, pricing and shipping details may change. For current information, please use our Contact Us page.Related reading: What Tools Do You Need to Repair a Phone? · How to Solder for Beginners · Best Phone Repair Tool Kit
Searches for electronic repair tools usually include two needs: phone teardown tools such as precision drivers and pry tools, plus diagnostic tools such as a multimeter and soldering equipment. Start with the repair you actually plan to do, then expand the kit as your skills improve.
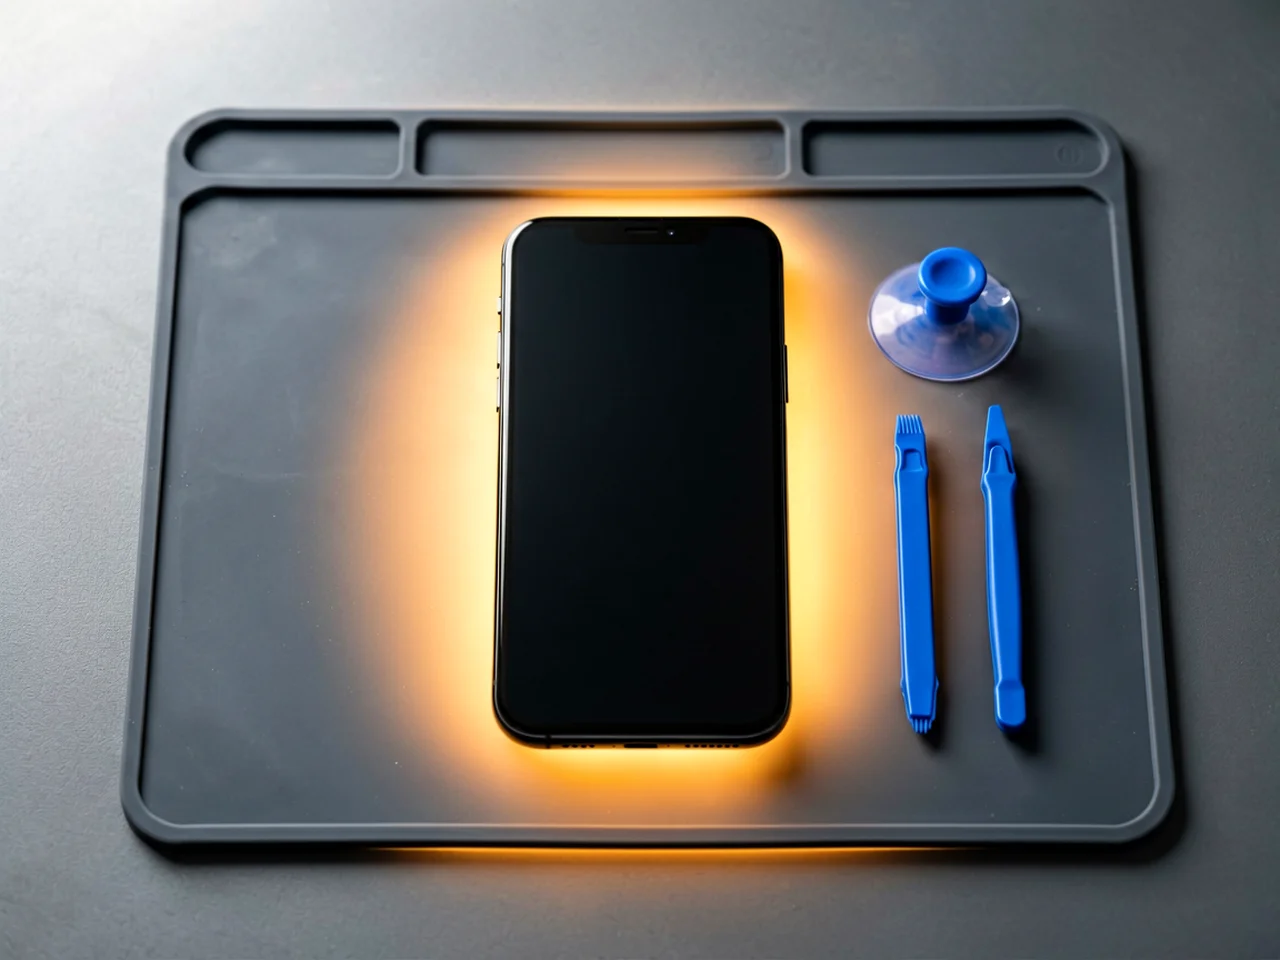
Most cracked phone panels don’t come from a shaky hand. They come from the wrong temperature. Heat the adhesive too little and the glass fights you until it snaps. Heat it too much, or in one spot, and you cook the panel underneath instead — which is how “repair” turns into “replace”. This guide is […]
You tap an app and nothing happens for ten seconds, then the whole screen freezes mid-animation. You wait, you tap again, the phone buzzes once and sits there. Sometimes a restart clears it for a day, sometimes it freezes again as soon as you open WhatsApp, and sometimes it started after an update or when […]

You open Maps or your taxi-hailing app, and the blue dot never settles, or it places you three streets away. You stand outside with a clear sky above you, and the phone still takes minutes to lock on, or it locks on and then drops your position into the middle of a field. Sometimes the […]
2 responses